How to Peel Garlic Easily: 5 Methods That Work

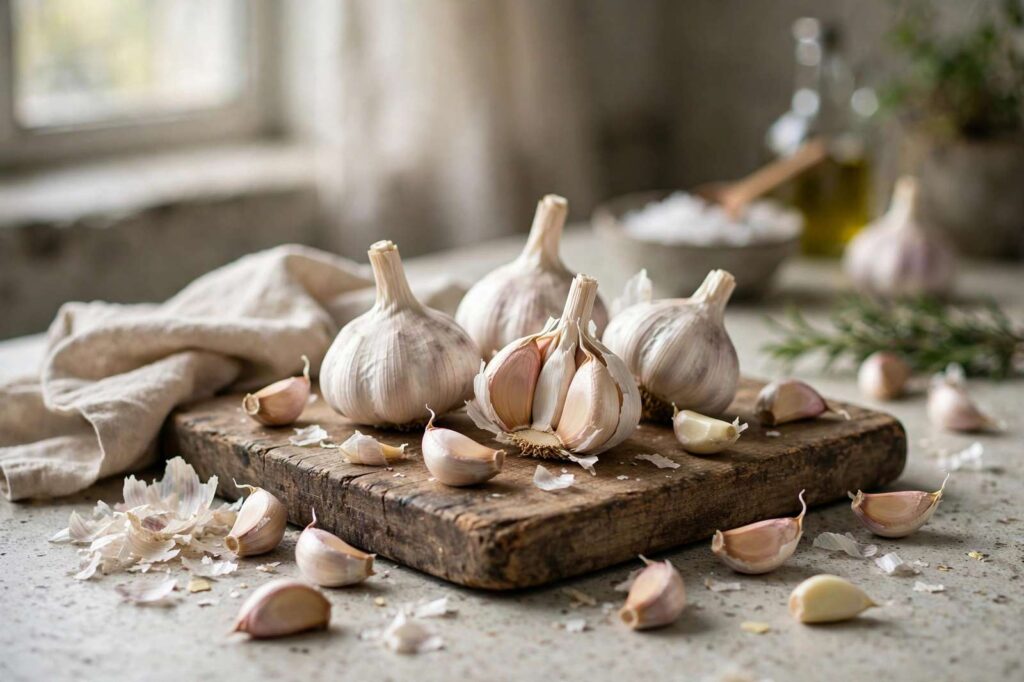
If you’ve ever stood at a cutting board wrestling with a head of garlic — papery skins sticking to your fingers, cloves pinging across the kitchen, that sticky garlic juice gluing everything to your skin — this one’s for you. Learning how to peel garlic easily changed my weeknight cooking more than any fancy knife ever did. It sounds like a small thing. It isn’t. When peeling garlic stops being a chore, you start using more of it, and everything you cook gets better.
I’ve peeled garlic every way there is over twenty years of home cooking: the fussy pick-at-it-with-your-fingernails method (terrible), the smash-it-with-a-knife method (great, with caveats), and the shake-it-like-you-mean-it method that made me feel like a genius the first time it worked. Below are all the methods that actually work, ranked by situation — because the right way to peel garlic depends entirely on whether you need two cloves or twenty.
The shake method: how to peel garlic easily in bulk
This is the one that feels like magic. Separate a whole head into cloves (don’t bother peeling them), drop them into a metal bowl, and cover with a second bowl or a pot lid to make a sealed container. Shake hard for 20–30 seconds — really put your shoulders into it. Open it up, and most cloves will be naked, skins rattling around loose.
Why it works: the cloves smack against each other and the bowl walls, and the impact breaks the papery skin’s grip. Metal bowls work best because they’re rigid and loud (you’ll know it’s working). Two nested stainless mixing bowls are the classic setup. It works for anywhere from one head to three — beyond that, do it in batches, because overcrowding cushions the impacts.
The catch: very fresh, moist garlic doesn’t shake-peel well. The skins cling tighter when the garlic is young. This method shines with the standard supermarket heads that have cured and dried a bit. If your garlic is fresh from a garden or farmers’ market, use one of the methods below instead.
The smash method: fastest for a few cloves
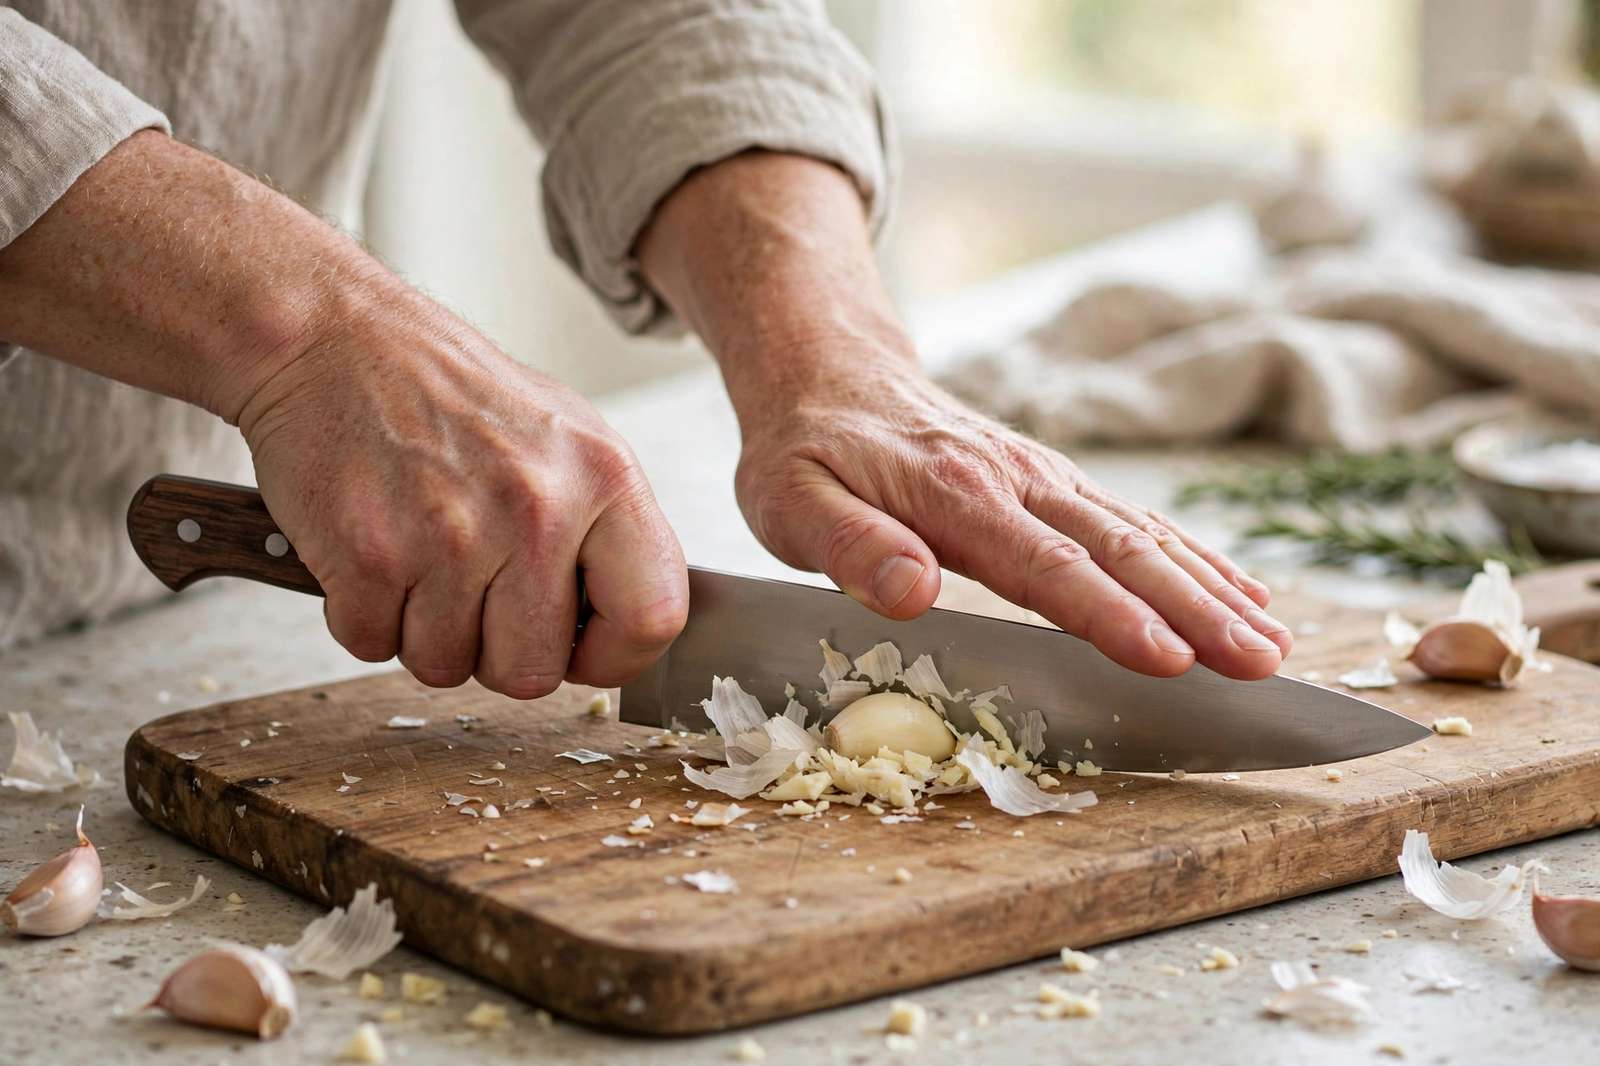
For one to four cloves, nothing beats the smash. Lay a clove flat on your board, lay the flat side of a chef’s knife over it, and give it one firm whack with the heel of your hand. The skin splits and practically falls off.
This is my default for weeknight cooking, and it’s what most professional cooks do. The trade-off: smashing bruises the clove, which releases more of garlic’s pungent compounds. That’s a feature, not a bug, if you’re sautéing or roasting — smashed garlic mellows beautifully in heat. But if you need pristine whole cloves for confit, pickling, or a recipe where garlic stays raw and pretty, smashing will leave them looking battered. Choose accordingly.
Safety note, because I’ve learned this the embarrassing way: keep your fingers clear and use the heel of your hand, not your fingertips. And go easy the first few times — a tentative tap does nothing, but a full-strength slam can send garlic shrapnel across the kitchen. One confident, controlled whack.
The hot water soak: for stubborn or older garlic
Got garlic that’s dried out and clinging to its skin like it owes it money? Soak the unpeeled cloves in hot (not boiling) water for 5–10 minutes. The skins absorb water, loosen, and slip off with barely a tug.
This is my rescue method for the sad head that’s been sitting in the pantry for a month. The skins on older garlic shrink-wrap themselves to the clove, and no amount of shaking will fix it. Hot water relaxes everything. Pat the cloves dry afterward — wet garlic spatters in hot oil, and nobody needs that excitement. I use this method most in winter, when my garlic stash is at its oldest.
The silicone garlic peeler: the gadget that’s actually worth it
I am deeply skeptical of single-use kitchen gadgets — my drawers are a graveyard of avocado slicers. But the silicone garlic peeler tube, that ribbed little cylinder you roll cloves inside, genuinely works. Drop in a few cloves, roll it back and forth on the counter with light pressure, and the skins come off clean. It keeps the garlic smell off your hands, which is the real selling point.
Is it faster than smashing? No. Is it more satisfying? Weirdly, yes. I keep one for the days I’m making something with raw garlic — aioli, bruschetta topping — where I want intact cloves and unscented fingers. At a couple of dollars, it’s the rare gadget that earns its drawer space.
The microwave trick: for a whole head, fast
Need a full head peeled in under a minute? Trim the root end off the head, microwave the whole thing for 15–20 seconds, and the cloves practically slide out of their skins when you squeeze them. The brief heat loosens the skin’s grip without cooking the garlic — 20 seconds isn’t enough to change the flavor.
Two warnings from experience. First, watch the time like a hawk: 30 seconds and you’re steaming the garlic, which dulls its bite. Second, let it cool for a moment before handling — microwaved garlic holds heat in a sneaky way. This is my emergency method when I’ve forgotten to prep and dinner is already underway.
Which garlic peeling method should you use?
Here’s my cheat sheet, refined over years of weeknight dinners:
Two to four cloves for tonight’s dinner: smash with a knife. Fastest, and the bruising improves the flavor in cooked dishes.
A whole head or more: the shake method. Nothing else touches it for volume.
Old, dried-out garlic: hot water soak. Patience beats force here.
Raw applications (aioli, dressings, bruschetta): silicone tube or careful hand-peeling, to keep cloves intact and your hands unscented.
Forgotten prep, dinner in ten minutes: microwave. No shame in it.
Storing peeled garlic the right way
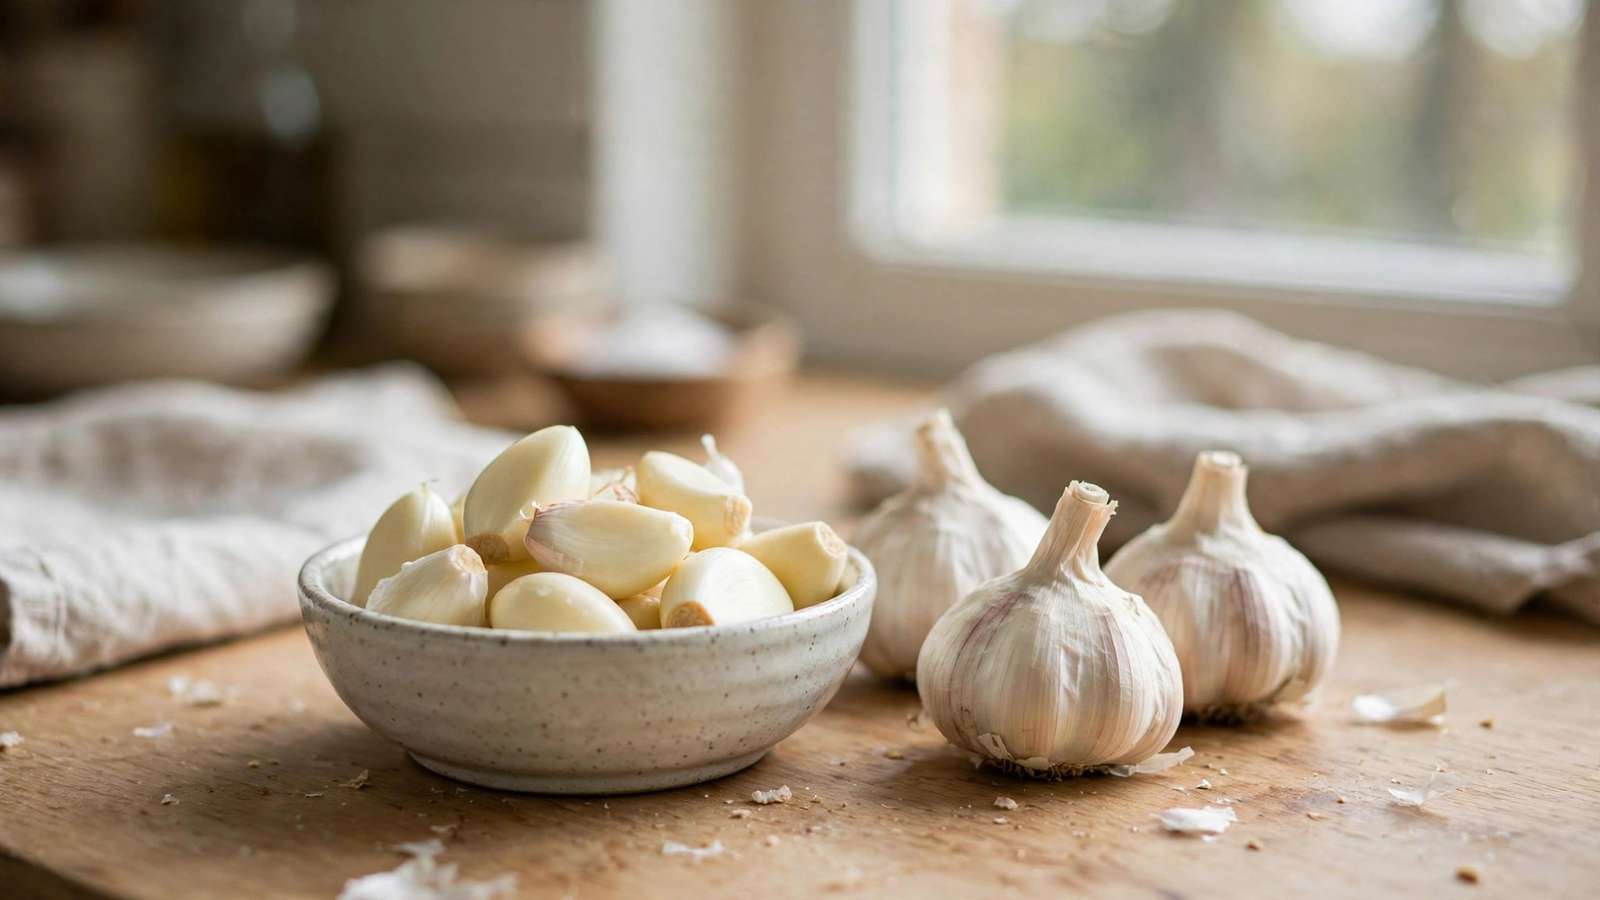
Once you’ve peeled a mountain of garlic, store it properly or the work goes to waste. Peeled cloves keep in an airtight container in the fridge for up to a week — I add a folded paper towel to absorb condensation, which keeps them firm. For longer storage, freeze them: spread peeled cloves on a sheet pan, freeze solid, then transfer to a freezer bag. They’ll keep for months and you can grate them frozen straight into the pan — no thawing needed, and frozen garlic actually grates into a beautiful fine paste.
What never to do: don’t store peeled garlic in oil at room temperature. Garlic in an oxygen-free, room-temperature environment can harbor the bacteria that causes botulism — it’s one of the few genuine food-safety rules in home cooking. Garlic-infused oil is wonderful, but make it fresh, keep it refrigerated, and use it within a few days. Your caution here is well placed.
And once your garlic is peeled, put it to work — our guide to batch cooking is full of recipes where generous garlic is the whole point.

Garlic peeling tools compared: what’s worth buying
The market is full of garlic gadgets, so here’s my honest ranking from twenty years of testing. Silicone peeler tube: the winner — cheap, effective, dishwasher-safe, and it keeps the smell off your hands. Buy one. Garlic press with built-in peeler: decent two-in-one if you’re short on drawer space, but the press is harder to clean than it’s worth. Dedicated garlic peeling gadgets (rockers, rollers): mostly gimmicks — they do what the silicone tube does, worse, for more money. Electric garlic peelers: overkill for home kitchens; they’re built for restaurants peeling pounds at a time. My actual recommendation: a silicone tube, a heavy chef’s knife for smashing, and two metal bowls for shaking. Total cost under $30, and you’ll never dread garlic prep again.
How to mince garlic like a pro
Once it’s peeled, the cut matters. For a fine mince, slice the clove lengthwise into thin planks, then cut those into matchsticks, then rock your knife across the pile — keeping the tip on the board and pivoting the handle — until it’s as fine as you want. For garlic paste (the secret weapon of marinades and dressings), mince it fine, sprinkle with coarse salt, and use the flat of the knife to drag and smash the pile repeatedly. The salt acts as an abrasive, breaking the garlic down into a smooth paste in under a minute. And here’s the timing rule most recipes bury: garlic burns fast. Add minced garlic to hot oil for 30 seconds before anything else goes in — any longer and it turns bitter. When in doubt, add it later rather than earlier.
Frequently asked questions
What is the easiest way to peel garlic?
For a few cloves, smash each one with the flat side of a knife — the skin splits right off. For a whole head, shake the separated cloves between two bowls for 20–30 seconds. Both take under a minute once you’ve done them twice.
How do you peel garlic without the smell on your hands?
Use a silicone garlic peeler tube, which keeps your hands off the cloves entirely. Or rub your hands on stainless steel under cold water afterward — the steel really does neutralize the odor compounds. Lemon juice works too, in a pinch.
Can you peel garlic in advance?
Yes — peeled cloves keep in an airtight container in the fridge for up to a week. You can also freeze them for months; grate frozen cloves directly into the pan. Don’t store peeled garlic at room temperature, and never store garlic in oil at room temperature (that’s a food safety risk).
Why is my garlic so hard to peel?
Usually it’s either very fresh (skins cling tighter on young garlic) or old and dried out (skins shrink-wrap onto the clove). Fresh garlic responds best to careful hand-peeling or the silicone tube; old garlic surrenders to a hot water soak.
Should you wash garlic after peeling?
No need — the papery skin protected the clove, and the inside is clean. Just brush off any loose skin bits. If you soaked the cloves in water, pat them dry before cooking so they sear instead of steam.