How to Make Gravy From Scratch: Silky, Lump-Free, Foolproof

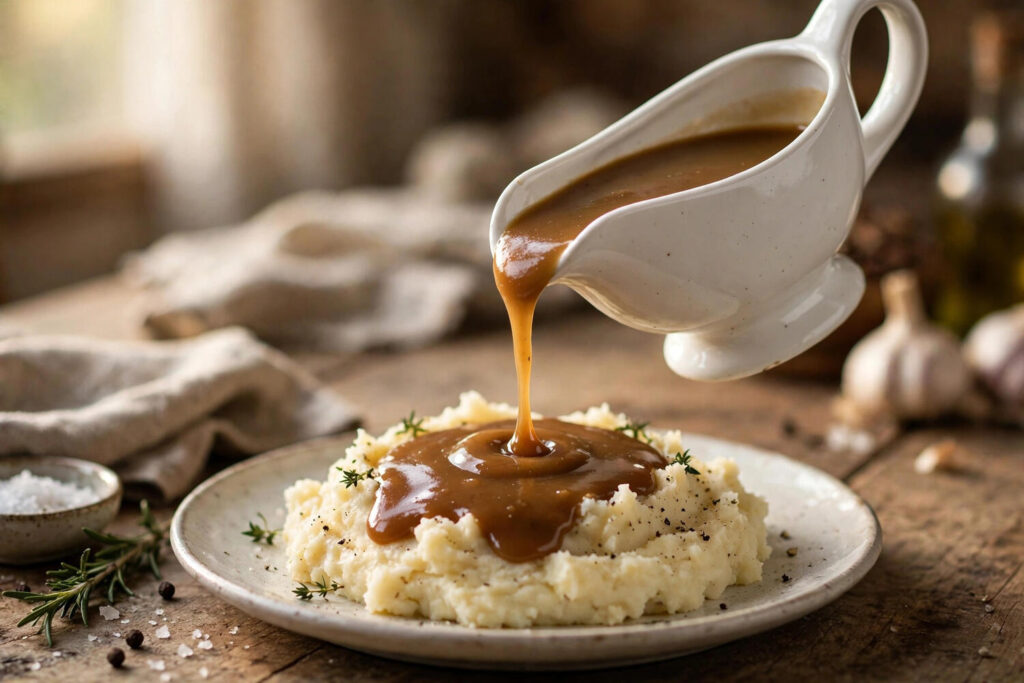
Every family has a gravy story, and most of them involve lumps. Mine involves my aunt, a Thanksgiving, and a gravy so lumpy my cousin named the lumps after family members. We laughed, but I went home determined: nobody in my kitchen would ever serve lumpy gravy again. Learning how to make gravy from scratch is not about talent — it is about understanding one thing, the roux, and respecting the order of operations. Get those right and you get gravy that pours like silk, tastes like the roast it came from, and makes people close their eyes on the first bite.
What Gravy Actually Is (It Is Simpler Than You Think)
Strip away the mystique and gravy is three things: fat, flour, and liquid, cooked together in that order. The fat — ideally drippings from your roast, but butter works beautifully — gets cooked with flour to make a roux. The roux is the thickener and the flavor base. Then liquid goes in gradually, and heat plus stirring turns it into a smooth, glossy sauce. Every gravy failure in history comes from violating this sequence: flour dumped into liquid makes lumps; liquid dumped all at once into roux makes lumps; impatience makes lumps.
The roux also controls color and depth. Cook it one minute and you get pale, delicate gravy. Cook it five to eight minutes, stirring, until it turns peanut-butter brown, and you get gravy with real backbone — nutty, complex, the kind that tastes like Sunday. Darker roux thickens slightly less than pale roux, so if you go dark, use a touch more flour.
The Ratio You Need to Memorize
For about two cups of gravy — enough for a family dinner — the formula is two tablespoons of fat, two tablespoons of flour, and two cups of liquid. That is it. Double it for a crowd, halve it for two. The liquid is where the flavor lives: pan drippings plus stock is the gold standard, but plain stock, broth, or even milk (for cream gravy) all work.
If you are working with a roast, pour off the drippings from the pan and let them sit a minute so the fat rises. Skim the fat — that is your two tablespoons, and it carries more flavor than butter ever could. The browned bits stuck to the pan, the fond, are pure gold: deglaze the pan with a splash of stock or wine and scrape them up, because that is where the roasted flavor hides.
How to Make Gravy From Scratch, Step by Step
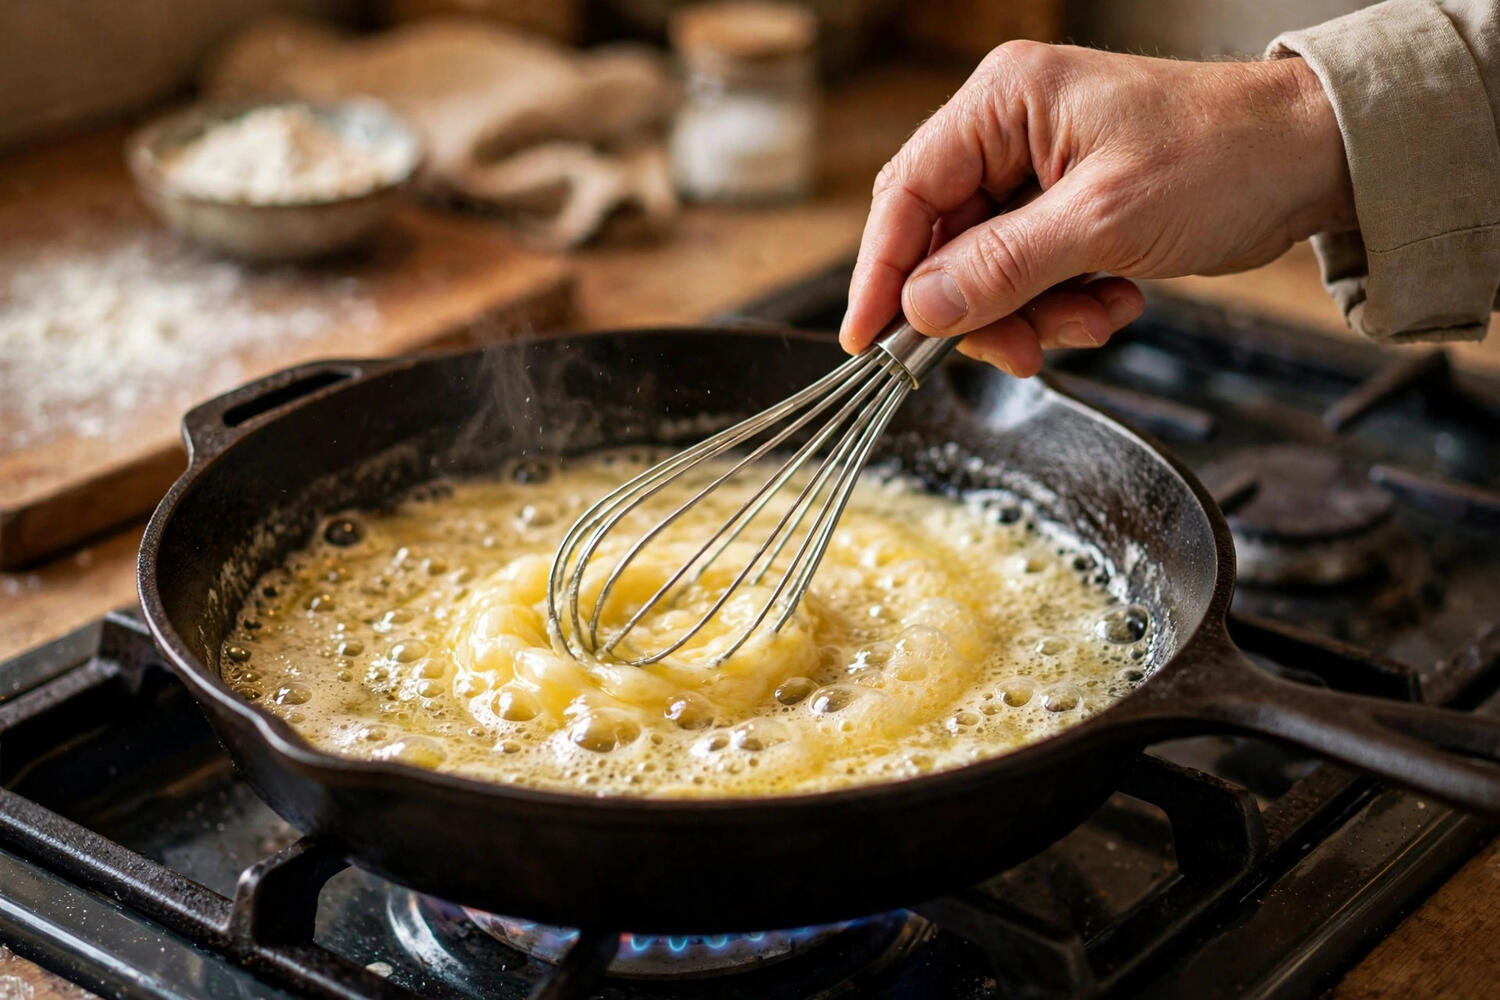
Step 1 — Make the roux. Melt your fat in a skillet or saucepan over medium heat. Sprinkle in the flour and whisk immediately. Keep whisking or stirring for two to three minutes for a standard gravy, longer if you want depth. The mixture should bubble gently and smell toasty, like pie crust. If it smells like raw flour, keep going.
Step 2 — Add liquid slowly. This is the moment that decides everything. Pour in about a quarter cup of warm liquid — warm matters, because cold liquid hitting hot roux seizes into lumps — and whisk vigorously until it is completely smooth. It will look like a thick paste at first. That is correct. Add another quarter cup, whisk smooth. Keep going in small additions, whisking each one smooth before adding the next. Once you have added about a cup this way, you can pour the rest in a steadier stream.
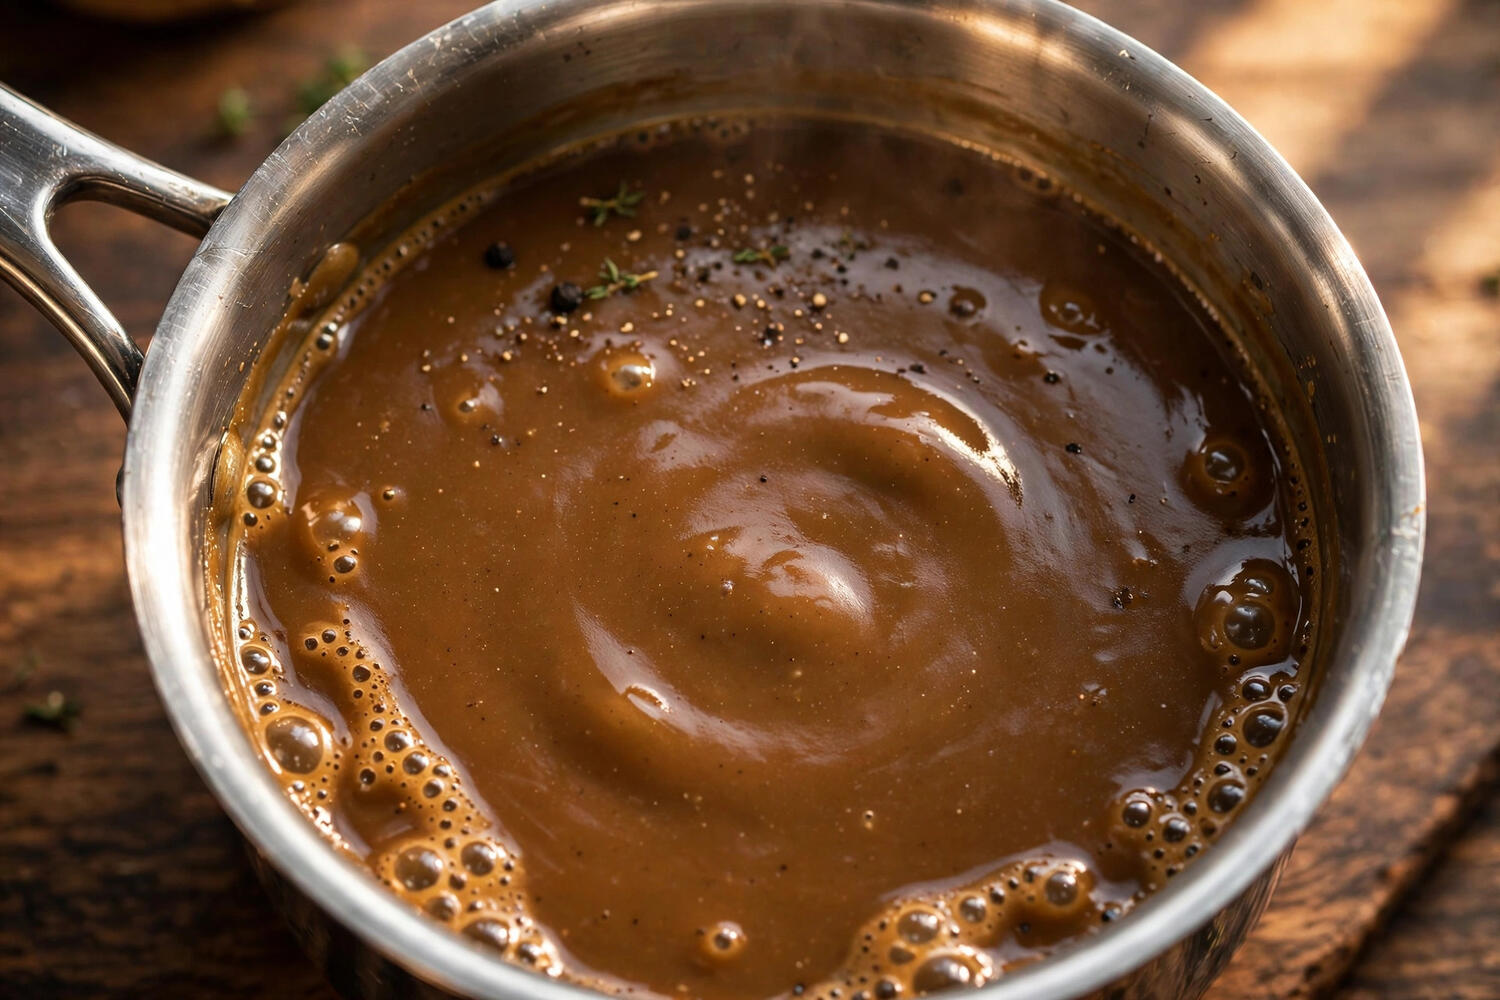
Step 3 — Simmer and season. Bring the gravy to a gentle simmer and let it bubble for three to five minutes, stirring. This cooks out any remaining raw flour taste and lets it thicken to its final consistency — gravy always looks thinner hot than it will be on the plate. Now season: salt, plenty of black pepper, and taste. Taste again. The gravy should taste like a concentrated, savory version of your meal.
Step 4 — Strain if you must, serve immediately. If a few lumps snuck in despite your best efforts, pour the gravy through a fine-mesh strainer into a serving boat. No shame in it — restaurants do this as standard practice. Serve hot, because gravy thickens and skins over as it cools.
Rescuing Lumpy Gravy (Every Method That Works)
Lumps happen to everyone, including people who write about gravy for a living. Here is the triage, in order of effort. First, whisk harder — a vigorous whisking while the gravy simmers dissolves small lumps made of under-mixed flour. Second, strain it through a fine-mesh sieve, pressing the lumps through with a spoon; the gravy that comes out the other side will be perfectly smooth.
Third, the blender: pour the gravy into a blender and blitz for fifteen seconds, or use an immersion blender right in the pan. This obliterates even stubborn lumps. Fourth, for lumps that are actually bits of something else — herbs, onion pieces — decide whether they are a bug or a feature. A rustic gravy with texture is a legitimate style; call it “country-style” and serve with confidence.
Too Thin? Too Thick? Too Bland? Fix It All
Too thin: Simmer it longer — evaporation is the honest fix. Or make a slurry: one tablespoon of cornstarch whisked into two tablespoons of cold water, stirred into the simmering gravy. It thickens in about a minute. Never add dry flour or cornstarch directly to hot gravy; that is how new lumps are born.
Too thick: Whisk in warm stock or water a splash at a time until it pours the way you want. Remember it thickens as it cools, so aim slightly thinner than your target.
Too bland: This is the most common complaint and the easiest fix. More salt first — under-salted gravy tastes like nothing. Then black pepper, a splash of soy sauce or Worcestershire for umami depth, a knob of butter whisked in at the end for gloss and richness, or a squeeze of lemon to brighten a heavy gravy. Taste between each addition. You are seasoning a sauce, not following a formula.
Too salty: Add more unsalted liquid to dilute, plus a peeled potato chunk simmered in the gravy for ten minutes — the potato absorbs some salt (the old trick works, modestly). A splash of cream also softens saltiness.
Gravy Without Drippings: The Weeknight Version
No roast? No problem. Melt butter instead of drippings, make your roux, and use good stock — and I mean good stock, because without drippings the stock is doing all the flavor work. Brown the roux a little darker than usual to build depth, add a splash of soy sauce and a pinch of onion powder, and finish with butter. Nobody at the table will know there was no roast involved. Mushroom gravy follows the same method: sauté sliced mushrooms in the butter before adding the flour, and use mushroom or vegetable stock. Onion gravy: caramelize sliced onions low and slow first, then proceed. The method is a template; the variations are endless.
Make-Ahead and Storage
Gravy reheats beautifully, which makes it a secret weapon for holidays. Make it up to three days ahead, cool it, and refrigerate in a sealed container — press plastic wrap directly on the surface to prevent a skin from forming. Reheat gently over low heat, whisking, and thin with a splash of stock because it will have thickened in the fridge. It also freezes well for up to three months; thaw overnight in the refrigerator before reheating. One thing gravy does not love is the microwave for reheating large batches — it heats unevenly and can break. Low and slow on the stove, whisk in hand.
Cream Gravy, Mushroom Gravy, and Other Classics
The master method adapts to every gravy you grew up with. Sawmill or cream gravy — the peppery white gravy of biscuits-and-gravy fame — starts with sausage: brown crumbled breakfast sausage in the skillet, use the rendered fat for your roux, then use milk as the liquid and season aggressively with black pepper. The sausage bits stay in. It is not elegant and it is not trying to be.
Mushroom gravy follows the same template with butter as the fat: sauté sliced mushrooms until deeply browned before adding the flour, then use beef or mushroom stock. The mushrooms’ browning is doing the flavor work that drippings would do. Onion gravy wants low-and-slow caramelized onions — twenty-five minutes of patience — before the flour goes in, with beef stock and a splash of Worcestershire. And giblet gravy, the Thanksgiving traditionalist’s choice, simmers the turkey neck and giblets into a stock that becomes the gravy liquid, with chopped hard-boiled egg stirred in at the end. Different liquids, different fats, same three-step soul.
Gravy for Special Diets
Gluten-free gravy is straightforward: replace the wheat flour with a gluten-free all-purpose blend or sweet rice flour, which makes an exceptionally smooth roux, and use the same ratio. Cornstarch works too — whisk it into cold liquid first as a slurry and add it to simmering drippings, skipping the roux entirely. The texture is slightly glossier than flour gravy, which nobody minds.
Vegetarian gravy needs the depth that meat drippings usually provide, so build it deliberately: brown the roux a shade darker, use a rich mushroom or roasted vegetable stock, and add umami boosters — soy sauce, miso paste, or a spoonful of nutritional yeast. A vegetarian mushroom gravy made this way has fooled committed carnivores at my table. Vegan gravy follows the same path with olive oil or vegan butter as the fat. The method does not care about your diet; only the ingredients change.
Frequently Asked Questions
Why is my gravy lumpy?
Lumps form when flour meets liquid too fast or at the wrong temperature. Add warm liquid to the roux gradually while whisking constantly, and strain or blend if lumps still appear.
How do you thicken gravy without lumps?
Simmer to reduce, or whisk a cornstarch slurry (one tablespoon cornstarch in two tablespoons cold water) into the simmering gravy. Never add dry starch directly to hot liquid.
Can I make gravy without pan drippings?
Yes — use butter for the roux and good-quality stock for the liquid. Brown the roux a little darker and add soy sauce or Worcestershire for the depth drippings would provide.
How long does homemade gravy last?
Three to four days refrigerated in a sealed container, or up to three months frozen. Reheat gently on the stove, whisking, and thin with stock as needed.
What is the ratio of flour to liquid for gravy?
Two tablespoons each of fat and flour per two cups of liquid gives a classic pourable gravy. Adjust flour up for thicker gravy, down for thinner.
Should gravy be made with hot or cold stock?
Warm stock is best. Cold liquid hitting hot roux can seize into lumps; warm liquid incorporates smoothly. Never boil stock separately — just warm it.