How to Remove Popcorn Ceiling Safely: The Complete DIY Guide

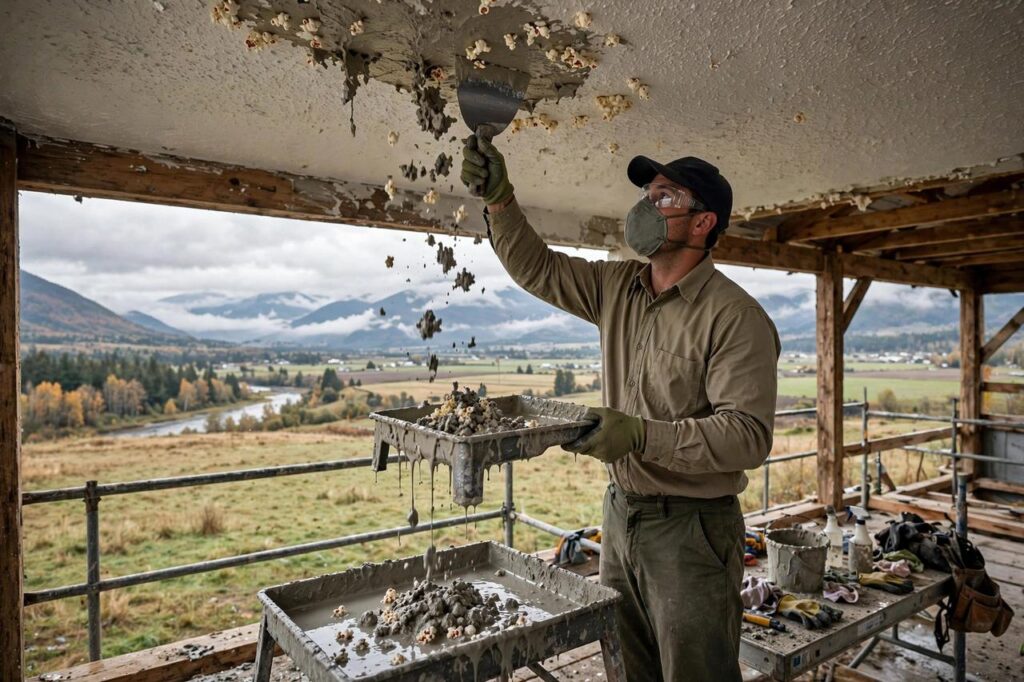
If your home was built before the 2000s, there’s a good chance you’re staring at a popcorn ceiling and wondering how to remove popcorn ceiling texture without turning your house into a disaster zone. The good news: it’s one of the most satisfying DIY projects there is, and it’s mostly labor, not skill. The critical news: if your ceiling predates the late 1970s, it may contain asbestos, and you must test before you scrape. This guide covers the safety check first, then the full process, mess control, and finishing.
Step Zero: Test for Asbestos (Non-Negotiable)
Popcorn ceilings installed before about 1980 commonly contain asbestos, and some products into the early 1980s do too. Asbestos is harmless when undisturbed but dangerous when its fibers become airborne, which is exactly what scraping does. Do not skip this step.
Buy a DIY asbestos test kit from a hardware store or hire a certified inspector to take samples. The lab result typically comes back in a few days. If the test is positive, stop. Asbestos abatement is not a DIY job; hire a licensed asbestos removal contractor. If it’s negative, you’re clear to proceed. Homes built after the mid-1980s are very unlikely to contain asbestos in the texture, but if you’re unsure of the age, test anyway. It’s cheap insurance.
Also check for lead paint if the ceiling has been painted and the home predates 1978. A lead test kit costs a few dollars and takes minutes.
What You’ll Need
- Garden pump sprayer (the big win for this project)
- Wide drywall taping knives or a dedicated ceiling scraper
- Plastic sheeting and painter’s tape for floors, walls, and fixtures
- Safety goggles, dust mask or respirator, and a hat
- Ladder or sturdy step platform
- Joint compound, sanding sponge, and primer for finishing
- Trash bags and a shop vacuum
Prep the Room Like You Mean It
Popcorn removal is messy in a way that surprises first-timers. Remove all furniture from the room, or shove it to the center and cover it completely with plastic sheeting taped at the seams. Cover the entire floor with plastic, running it a foot up the walls and taping it there. Remove ceiling light fixtures or cover them tightly. Turn off the HVAC so dust doesn’t get pulled into your ductwork, and shut off the breaker to any ceiling fixtures you’re removing.
Tape plastic over doorways to contain the mess. Wear goggles and a dust mask even with an asbestos-negative ceiling; the dust is unpleasant regardless.
How to Remove Popcorn Ceiling: The Wet-Scrape Method
Step 1: Test a small section. Spray a 4×4-foot test area with warm water from the pump sprayer until the texture is damp but not dripping, wait 10 to 15 minutes, then scrape. If the texture comes off in satisfying sheets, you’re golden. If it barely budges, it may have been painted, which makes the job harder (more on that below).
Step 2: Work in sections. Spray a section about 4 feet square, let it soak 10 to 15 minutes, and scrape with the drywall knife held at a low angle. The wet texture should fall in heavy sheets rather than dusty crumbles. Don’t oversaturate; you don’t want water pooling on the drywall underneath. Scrape into a mud tray or let it fall onto the plastic and bag it up as you go.
Step 3: Keep a rhythm. Spray the next section while the current one soaks. Steady, overlapping passes beat aggressive gouging. If you gouge the drywall, you’ll just have more patching later, so let the water do the work.
Step 4: Deal with painted texture. If the popcorn has been painted, water won’t soak in well. You’ll need to score or sand through the paint first, or accept a much slower scrape. Some people use a texture-softening solution for this; follow the product directions. In stubborn cases, skim-coating over the texture with joint compound is actually faster than fighting it.
Repair, Skim-Coat, and Finish
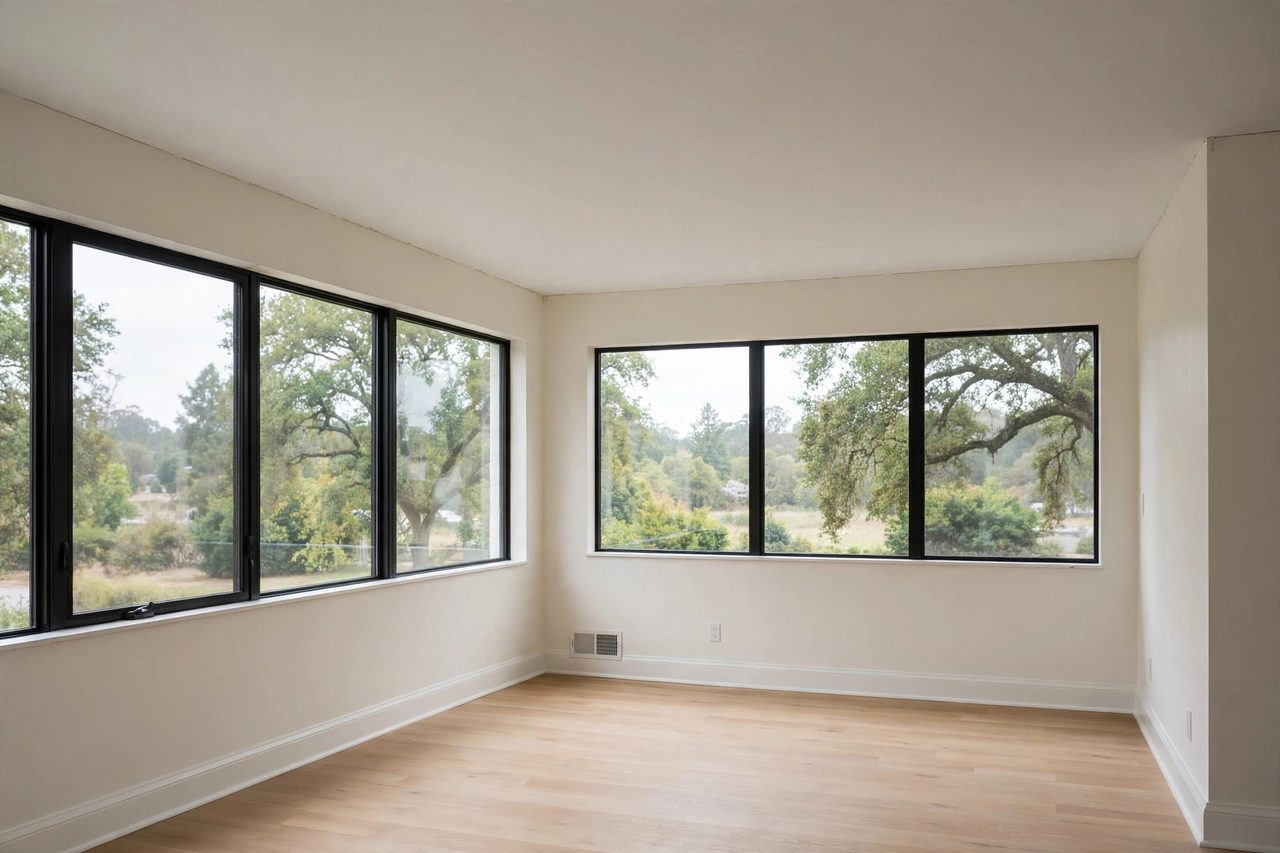
Once the texture is off, you’ll see every imperfection the popcorn was hiding: tape seams, nail pops, gouges. This is normal. Apply a thin skim coat of joint compound over the whole ceiling with a wide knife, let it dry, and sand smooth with a sanding sponge on a pole. You may need two coats. Prime with a quality drywall primer, then paint with a flat or matte ceiling paint, flat hides remaining imperfections best.
Cleanup and Disposal
Roll up the plastic sheeting from the edges inward to trap the debris, and bag everything. Wet popcorn waste is heavy, so double-bag it. Vacuum with a shop vac fitted with a fine-dust filter. If your asbestos test was positive and a contractor did the work, they’ll handle disposal under local hazardous-waste rules; never put asbestos waste in regular trash yourself.
How Long Does It Take and What Does It Cost?
A standard 12×12 room takes most DIYers a full weekend: a day to scrape, a day to skim-coat and sand, plus painting. DIY costs are mostly materials, usually under a hundred dollars for a room. Professional removal runs several hundred to over a thousand per room depending on your market, and asbestos abatement adds significantly to that. The DIY savings are real, but only if the ceiling tests clean.
Alternatives to Removing Popcorn Texture
Removal isn’t the only option, and for some ceilings it’s not even the best one. Covering with new drywall is the cleanest alternative: screw 1/4-inch or 3/8-inch drywall directly over the popcorn, tape, mud, and paint. It’s faster than scraping, creates a perfect surface, and, crucially, it’s the recommended approach when asbestos is present but undisturbed, since it encapsulates the material without releasing fibers. You lose a bit of ceiling height and need to extend electrical boxes, but the finish is flawless.
Skim-coating over the texture is the middle path: apply joint compound directly over the popcorn in thin layers until it’s buried, then sand smooth. It works best on light texture and avoids the mess of scraping, though heavy popcorn needs many coats. Plank or panel ceilings, wood planks, beadboard, or decorative tiles installed over furring strips, hide the texture entirely while adding character. They cost more but look intentional rather than remedial.
Which to choose? If the ceiling tests clean and the texture scrapes easily, removal is cheapest. If asbestos is present, cover it, don’t scrape it. If the texture is painted and fighting you, skim-coating or covering will save your weekend and your sanity.
What the Pros Wish Homeowners Knew
Contractors who do this work daily have a few truths that don’t make it into most guides. First, the test scrape predicts everything: if your 4×4 test section comes off in clean sheets, budget a day per room; if it fights you, double the estimate or pivot to covering. Second, painted popcorn is a different job, closer to skim-coating than scraping, and many pros quote it that way. Third, the finish work is the real work: anyone can scrape, but the skim-coat and sanding determine whether the ceiling looks professional, so don’t rush the last 20 percent.
On dust control, the pros have one more lesson: even with an asbestos-negative ceiling, fine drywall dust gets everywhere if you let it. Seal HVAC vents in the room with plastic and tape before you start, keep the door to the rest of the house closed with a taped plastic curtain, and run a box fan exhausting out a window to create negative pressure that pulls dust outside instead of into your hallway. A respirator rated P100 is cheap and far more comfortable than a paper dust mask for a full day of scraping. When the scraping is done, don’t sweep dry dust, which just launches it airborne again; vacuum with a shop vac fitted with a fine-dust or HEPA filter, then damp-mop hard floors. The hour you spend on containment saves three hours of cleaning the rest of the house.
On cost, professional removal typically runs several hundred dollars per room for unpainted texture, climbing for painted texture, high ceilings, or asbestos abatement, which is priced separately and regulated. Get the asbestos result before calling for quotes; contractors price blind jobs higher. And one practical tip: schedule the work before you move furniture in or before new flooring goes down. Doing ceilings last, after everything else is finished, is how floors get ruined.
Removing a popcorn ceiling is one of those projects where the preparation is the project: test for asbestos first, protect the room thoroughly, and let water do the scraping work for you. If the texture fights back or the test comes back positive, covering is a perfectly respectable plan B that professionals use all the time. Either way, the skim-coat and paint at the end are what people actually see, so budget your energy for the finish. A weekend of work, a modern ceiling, and one of the most visible upgrades you can make to an older home.
Frequently Asked Questions About Removing Popcorn Ceilings
How do I know if my popcorn ceiling has asbestos?
You can’t tell by looking. Ceilings installed before about 1980 commonly contain asbestos. Have it tested by a lab or certified inspector before scraping. If positive, hire a licensed asbestos abatement contractor.
Can I just paint over a popcorn ceiling instead?
Yes, and it’s a legitimate option if the texture is in good shape. Use a thick-nap roller and avoid overworking it. But painting doesn’t remove the dated look, and it makes future removal much harder.
Why won’t the texture scrape off easily?
Painted popcorn texture resists water, which is what makes scraping easy. Score or sand the paint first, use a texture-softening product, or consider skim-coating over it instead.
Do I need to skim-coat after removing popcorn?
Almost always, yes. Popcorn hides seams, nail pops, and imperfections. A thin skim coat of joint compound, sanded smooth and primed, is what gives you that clean modern ceiling.
Is removing a popcorn ceiling really a DIY job?
For an asbestos-free ceiling, absolutely. It’s labor-intensive but not technically difficult. The non-negotiable parts are the asbestos test first and thorough dust control during the work.
How do I protect my walls and floors during removal?
Cover floors completely with plastic sheeting run a foot up the walls and taped at the seams, drape plastic over doorways, remove or tightly cover light fixtures, and shut off the HVAC so dust doesn’t enter your ductwork. Containment is half the job.