How to Clean a Bathroom Exhaust Fan Safely

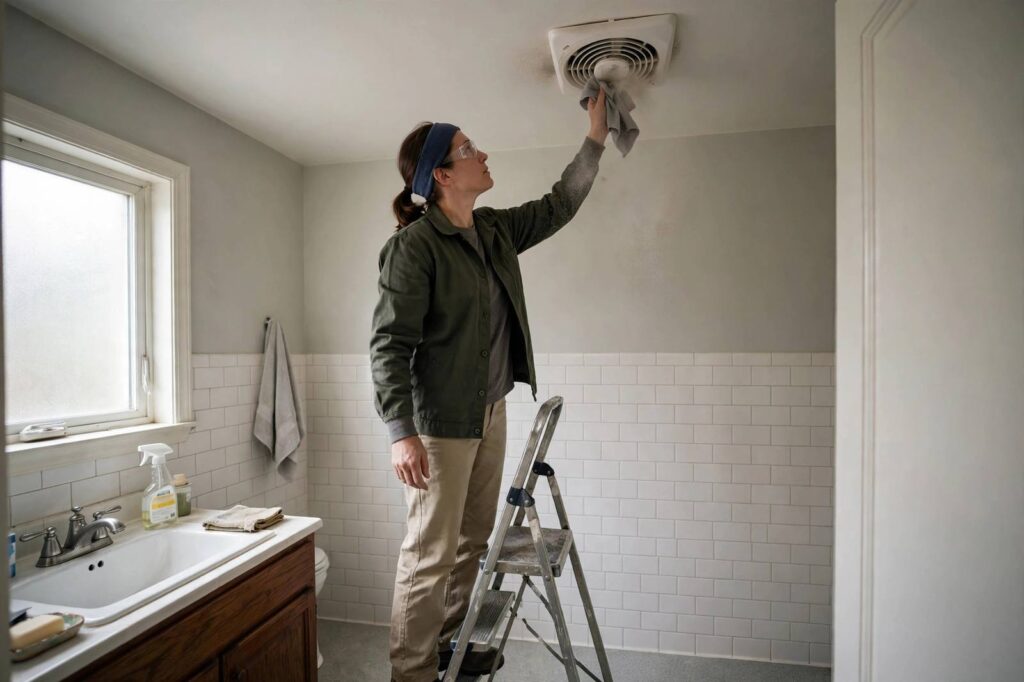
Most people never think about their bathroom exhaust fan until something goes wrong — the mirror stays fogged, a musty smell creeps in, or the fan starts humming like a small aircraft. I have cleaned more of these than I can count, and learning how to clean a bathroom exhaust fan properly takes about twenty minutes and fixes problems people spend hundreds of dollars calling someone about.
A dirty fan is not just noisy and useless. It is a moisture problem waiting to happen: poor ventilation means damp air sits in your bathroom, feeding mold in grout, peeling paint, and warping woodwork. This guide walks you through cleaning the cover, the housing, and the motor safely, spotting the warning signs of bigger problems, and testing that your fan is actually moving air when you are done.
Safety First: The Non-Negotiables
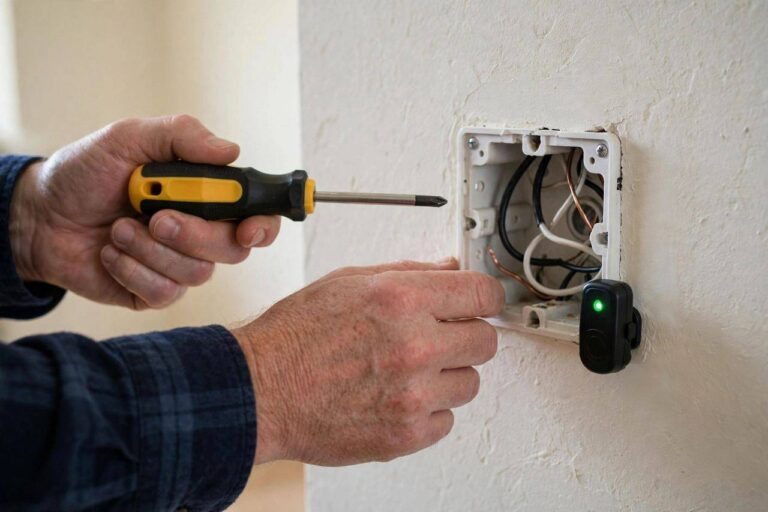
I will say this the way I say it to every homeowner I work with: electricity and water do not mix, and a bathroom fan has both. Before you touch anything, turn the fan off at the wall switch AND flip the breaker for the bathroom circuit. Test that it is dead by flipping the switch — if the fan stays silent, you are good.
You will need a sturdy stepladder, not a chair. Bathroom floors are slippery and you will be reaching overhead; a wobbling chair is how people end up in the ER. Wear a dust mask — years of accumulated fan dust is genuinely unpleasant to breathe — and keep a headlamp or flashlight handy, because the housing interior is always darker than you expect.
Step 1: Remove and Clean the Cover
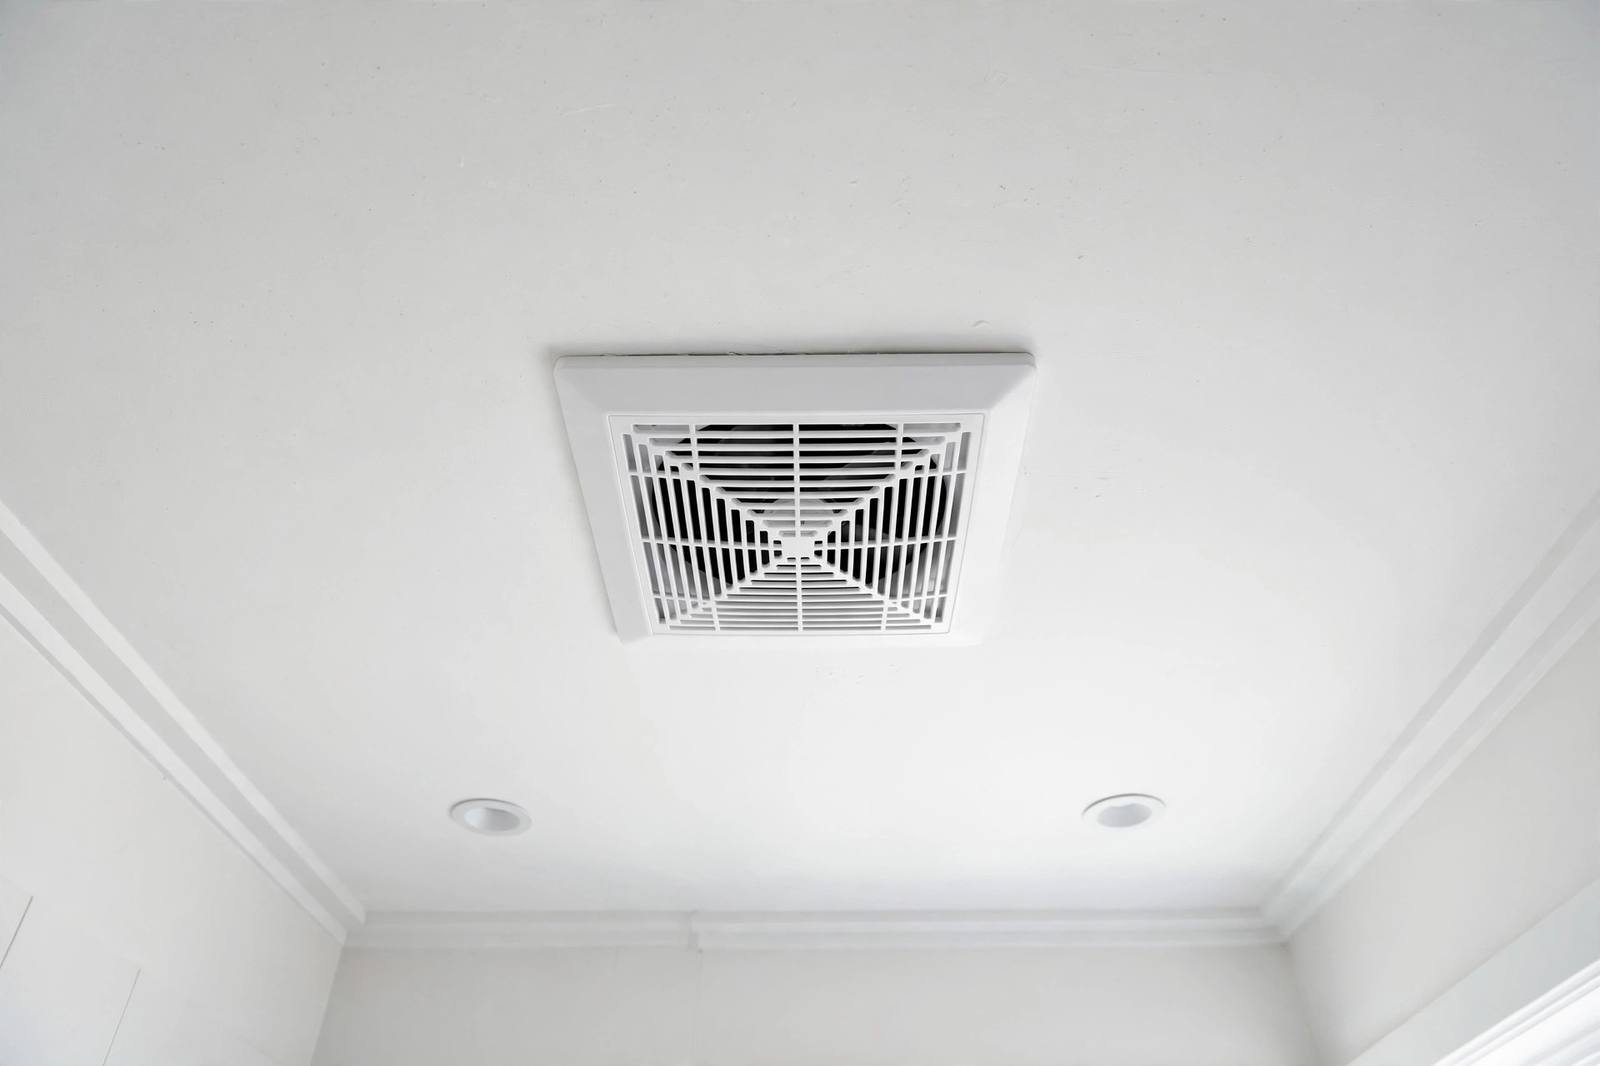
The cover (grille) is the visible plastic or metal piece, and it collects an impressive amount of dust, hairspray residue, and general gunk. Most covers are held by either spring clips or a center screw. For spring-clip covers, pull down gently and evenly — the springs will stretch, and you can unhook them by squeezing. For screw-mounted covers, remove the screw and lift the cover away.
Soak the cover in warm water with dish soap for ten minutes, then scrub with a soft brush or old toothbrush to get into the grille slats. Rinse thoroughly and let it dry completely before reinstalling — trapped moisture behind a damp cover defeats the whole purpose of the fan. If the cover is yellowed with age, a paste of baking soda and water lightens it up nicely.
Step 2: Vacuum the Housing Interior
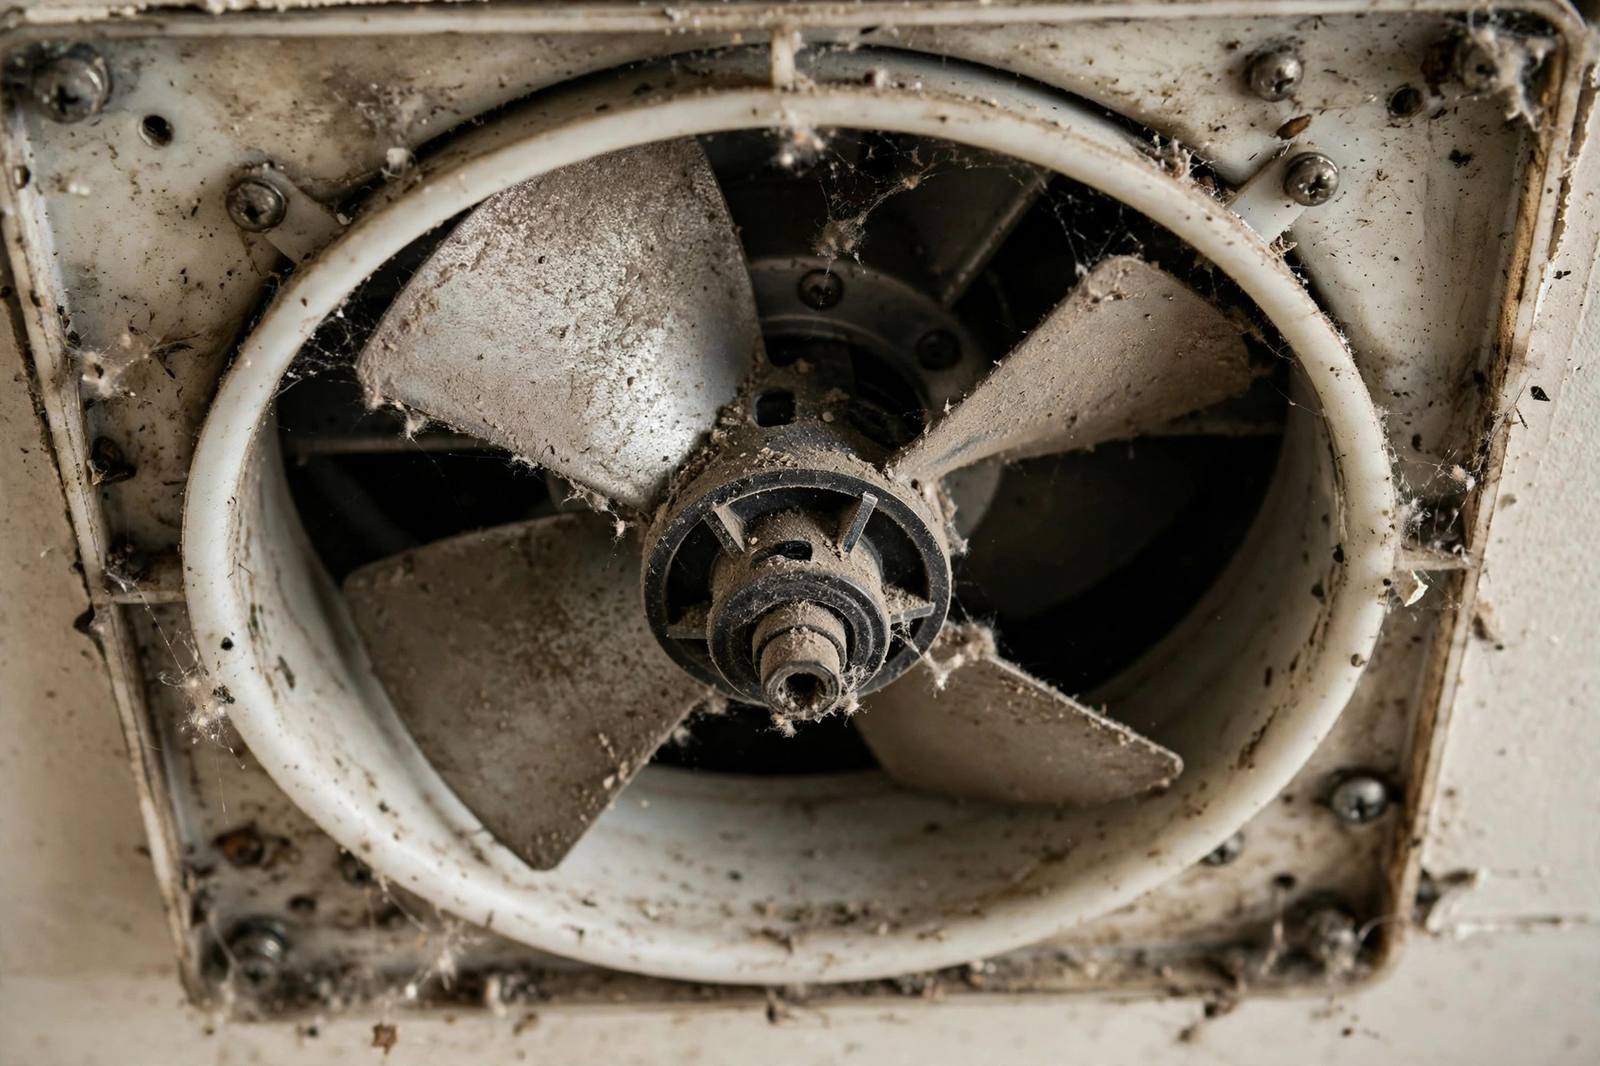
With the cover off, you will see the housing box and usually a shocking amount of dust. Use a vacuum with a brush attachment to remove loose dust from the housing walls, the fan blades, and around the motor. Be gentle around the blades — they are thin and bend easily, and a bent blade is what causes that awful wobbling hum.
For stubborn grime stuck to the housing, wipe with a damp (not wet) cloth and a little dish soap. Never spray water or cleaner directly into the housing — moisture near the motor windings is asking for trouble. The goal is dust-free and dry, not sanitized.
Step 3: Clean the Blades and Motor Area
The fan blades (usually a squirrel-cage blower wheel on modern fans) are where dust compacts into a felt-like layer that kills airflow. Use the vacuum’s crevice tool between the blades, then wipe each blade with a damp cloth. Rotate the wheel by hand to reach every blade.
Around the motor itself, vacuum carefully and wipe the accessible surfaces. Do not oil the motor unless the manufacturer’s instructions say to — most modern bathroom fan motors are sealed and oiling them just attracts more dust. If the motor looks corroded or the fan has been making grinding noises, cleaning will not fix it; that is a replacement job, and I will tell you how to judge that below.
Step 4: Check the Damper and Duct Connection
While you are up there, look for the damper — a small flap where the duct connects to the housing. It should swing freely and close when the fan is off. A damper stuck open lets cold air pour in during winter and lets moist air drift back; a damper caked with dust may not open fully, choking airflow.
Also check that the duct is actually connected. I have found fans venting straight into the attic — disconnected ducts that pump all that bathroom moisture into the insulation. If you can see the duct connection, give it a gentle tug to confirm it is secure and check for tears in flexible ducting.
Warning Signs of Mold and Bigger Problems
Cleaning day is inspection day. Here is what to look for. Black or green spots on the housing or cover suggest mold — wipe with a cloth dampened with white vinegar, let it sit ten minutes, and wipe again. Peeling paint or water stains on the ceiling around the fan mean moisture is escaping, possibly from a disconnected duct.
A fan that still barely moves air after cleaning may be undersized for the bathroom (it should exchange the room’s air about eight times per hour), or the duct run may be too long or kinked. And if the motor hums loudly, runs intermittently, or smells hot, stop using it and replace the unit — a struggling motor is a fire risk, not a cleaning project.
The Airflow Test: Prove It Works
Once everything is reassembled and the breaker is back on, test the fan with the tissue test: hold a tissue or single square of toilet paper up to the running fan. A healthy fan should hold it firmly against the grille. If the tissue barely sticks or falls, airflow is weak — recheck the damper, the duct, and whether the blades are truly clean.
Also listen. A clean, healthy fan makes a smooth, consistent sound. Rattling means a loose cover or housing screw. A wobble means a bent blade. A high-pitched whine can mean the motor bearings are going. Your ears are a legitimate diagnostic tool here.
How Often to Clean (And Making It Easy)
For a bathroom that gets daily use, clean the fan every six months. Guest bathrooms can go a year. The cover-only wipe — just pulling the grille and washing it — takes five minutes and you can do it quarterly without touching the breaker, since you are not opening the housing.
My pro tip: run the fan for 20 to 30 minutes after every shower, not just during. A timer switch or humidity-sensing switch makes this automatic and is one of the best small upgrades you can make to a bathroom. It costs little, installs in place of the regular switch, and it does more for mold prevention than any cleaning product.
How to Clean a Bathroom Exhaust Fan With a Built-In Light
Many bathroom fans include a light or nightlight, which adds a couple of steps. After killing the breaker, remove the light cover — usually a plastic dome that twists off or unclips — and take out the bulb. Wash the dome in warm soapy water and dry it completely; these domes collect an astonishing film of dust and moisture residue that dims the light significantly. Wipe the bulb with a dry cloth (never wet), and check whether it is the original incandescent — swapping to an LED bulb of the same base type cuts heat and lasts years longer in a humid bathroom.
With the light assembly out of the way, clean the fan exactly as described above. When reassembling, make sure the light dome is fully dry and seated properly before restoring power. If your fan-light combo has a separate nightlight bulb, replace it at the same time — they are cheap, and you are already up the ladder.
Should You Upgrade? Modern Fan Features Worth It
If your fan is over a decade old, cleaning helps, but a modern replacement helps more. Today is fans are dramatically quieter — look for a sone rating under 1.0 for near-silent operation, versus the 3-4 sones of old builder-grade fans that sound like small engines. Humidity-sensing fans turn themselves on when shower steam rises and off when the air clears, which solves the number one cause of bathroom moisture damage: humans forgetting to run the fan.
Size it right: you need roughly 1 CFM (cubic foot per minute) per square foot of bathroom, with a minimum of 50 CFM. An 80-square-foot bathroom wants an 80 CFM fan. Swapping a fan is a moderate DIY job — the housing sizes are standardized, and if the duct is already in place, it is mostly a matter of wiring and securing the new unit. When in doubt about the electrical, call an electrician; the fan itself is cheap, and the peace of mind is worth it.
Frequently Asked Questions
How do I know if my bathroom exhaust fan is working properly?
Do the tissue test: a working fan holds a tissue firmly against the grille. Also check that mirrors clear reasonably fast after a shower and there is no lingering musty smell — those are the real-world signs of adequate ventilation.
Can I clean a bathroom exhaust fan without turning off the breaker?
For just removing and washing the outer cover, the wall switch off is enough. But any time you open the housing or touch the motor and blades, flip the breaker too. It takes ten seconds and removes all risk.
Why is my bathroom fan so loud?
Common causes: dust buildup on the blades throwing them off balance, a loose cover or housing, or worn motor bearings. Clean it first — that fixes most noise. If grinding or whining persists after cleaning, the motor likely needs replacement.
How often should a bathroom exhaust fan be replaced?
A good fan lasts 10 to 15 years. Replace it when the motor fails, noise persists after cleaning, or it cannot move enough air for the room size. Modern fans are dramatically quieter and more efficient than old ones.
Should the fan vent into the attic?
No — it should vent all the way outside through the roof or a wall. Venting into the attic dumps moisture into your insulation and roof structure, which causes mold and rot. If yours vents to the attic, extending the duct outside is a priority fix.