How to Choose the Right Drill Bit for Wood (With Size Chart)

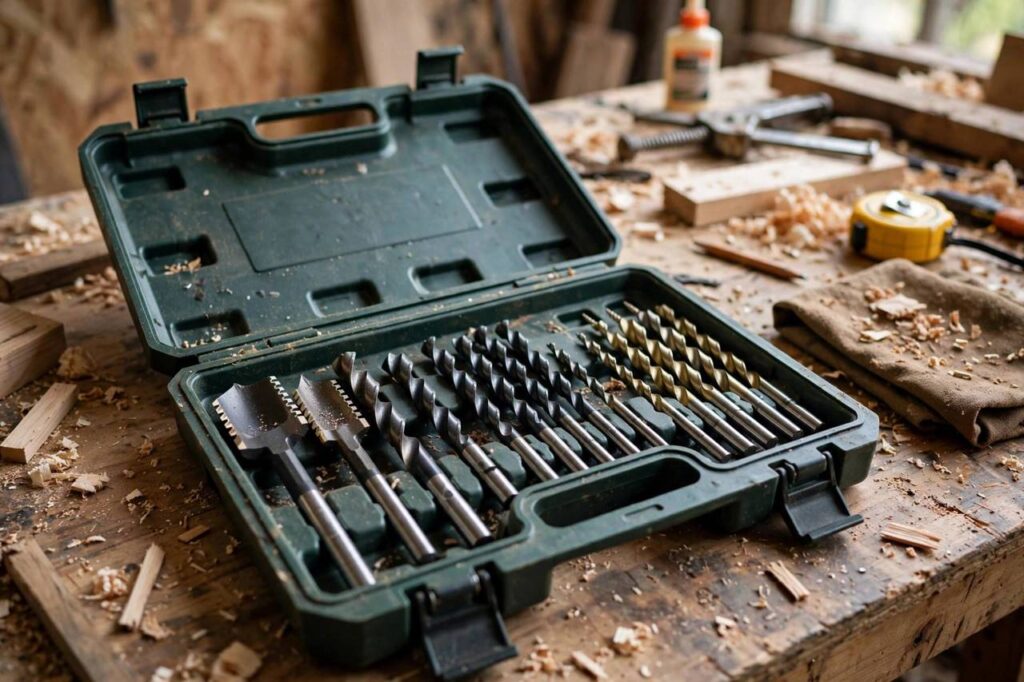
Grab the wrong drill bit for wood and you’ll know it immediately: splintered exit holes, wandering bits, smoking wood, and holes that look chewed rather than drilled. I’ve spent decades in the workshop, and I can tell you that knowing how to choose the right drill bit for wood is one of those small skills that separates frustrating projects from satisfying ones. The good news is you only need to understand three bit types to handle nearly everything.
This guide explains brad-point, spade, and twist bits in plain language, tells you which to reach for and when, and includes a screw-size chart so you stop guessing at pilot holes. Measure twice, drill once.
How to Choose the Right Drill Bit for Wood: The Three That Matter
Brad-point bits: the woodworker’s default
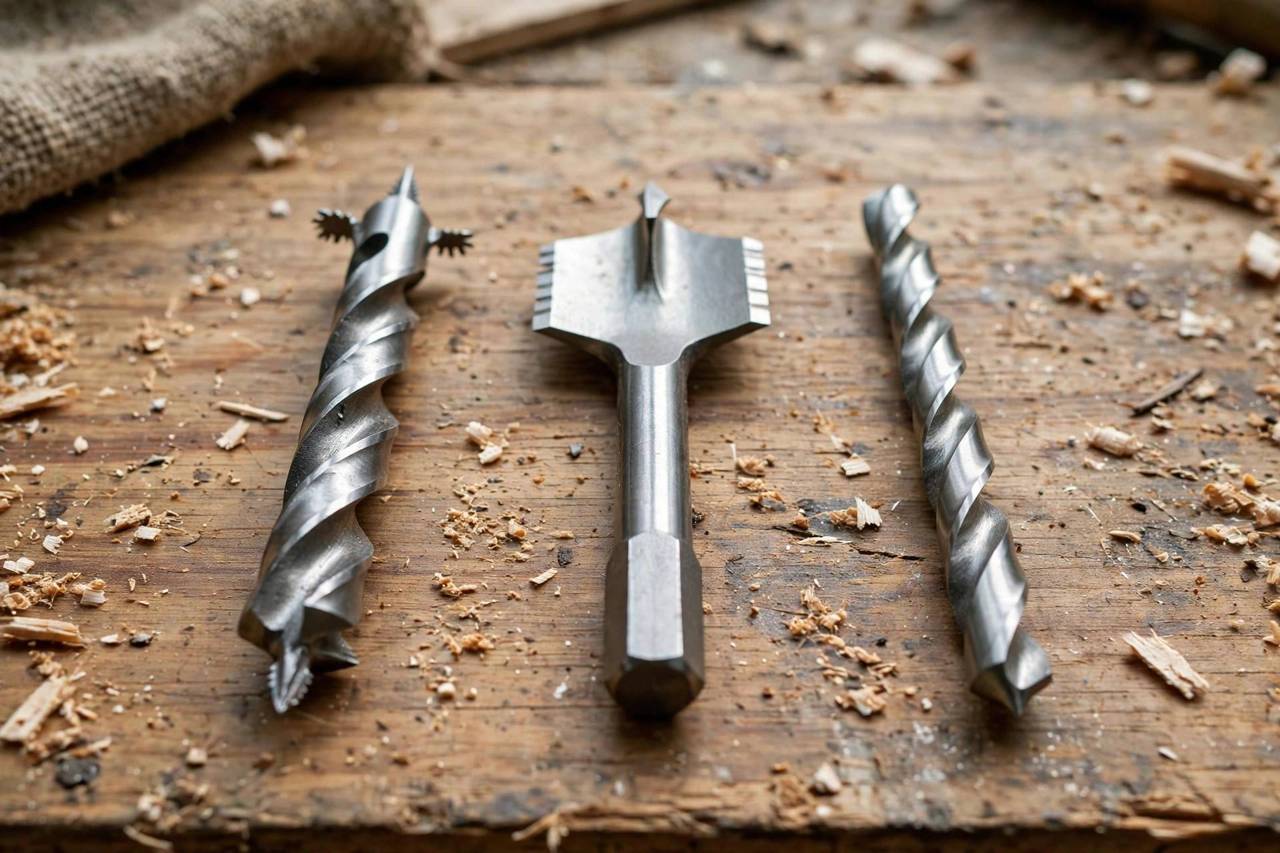
Brad-point bits are designed specifically for wood, and you can spot them by the sharp center point with two spurs on the edges. That center point bites exactly where you place it, so the bit doesn’t wander, and the spurs score the wood fibers before the main cutting edges arrive, which gives you clean entry holes with minimal tear-out.
Reach for brad-points for visible holes, dowel joints, and any work where appearance matters. They cut cleanest in the 1/8″ to 1/2″ range. Their weakness is deep holes: the flutes clog in thick stock, so withdraw the bit periodically to clear chips when drilling deep.
Spade bits (paddle bits): fast and rough
Spade bits are flat paddles with a pointed tip, built for speed in rough work. They hog out large holes fast, typically 1/2″ to 1-1/2″, which makes them the right choice for running wires, plumbing, and anywhere the hole will be hidden. They’re cheap, and every workshop should own a set.
The trade-off is cleanliness. Spade bits tear out the exit side aggressively and can grab and jerk the drill in thick wood. Always clamp your workpiece, drill at moderate speed, and back the exit side with scrap wood to prevent blowout. Never use a spade bit where the hole will show.
Twist bits: the generalists
Twist bits are the ones that come in every basic drill set, designed primarily for metal but perfectly serviceable in wood for small holes. Below 1/4″, a sharp twist bit drills wood just fine. Above that, brad-points outperform them noticeably.
Their real advantage is availability: you already own them. For pilot holes and small-diameter work, don’t overthink it. A sharp twist bit in the right size beats a dull brad-point every time, which brings us to the most important rule in this guide: sharp beats fancy. A cheap sharp bit outperforms an expensive dull one.
Choosing by the Job: A Quick Reference
| Job | Best Bit | Why |
|---|---|---|
| Visible holes, furniture, dowels | Brad-point | Clean entry, no wandering |
| Large hidden holes (wiring, plumbing) | Spade | Fast, cheap, size range |
| Pilot holes under 1/4″ | Twist or brad-point | Either works; use what’s sharp |
| Holes over 1-1/2″ | Hole saw or Forstner | Beyond spade bit territory |
| Flat-bottomed holes (hinges) | Forstner | Specialty bit for the job |
Pilot Hole Size Chart: Softwood vs. Hardwood
Drilling pilot holes prevents splitting, and the right size depends on the screw and the wood. Hardwood needs a larger pilot hole than softwood because it’s denser and splits more readily. Use this chart as your starting point.
| Screw Size | Softwood Pilot | Hardwood Pilot |
|---|---|---|
| #6 | 3/32″ | 7/64″ |
| #8 | 1/8″ | 9/64″ |
| #10 | 9/64″ | 5/32″ |
| #12 | 5/32″ | 3/16″ |
These are starting points, not gospel. If you’re driving screws near the end of a board, go one size up on the pilot hole; end grain splits if you look at it wrong. When in doubt, test on scrap from the same board. Thirty seconds of testing saves a split workpiece.
Speed, Pressure, and Technique
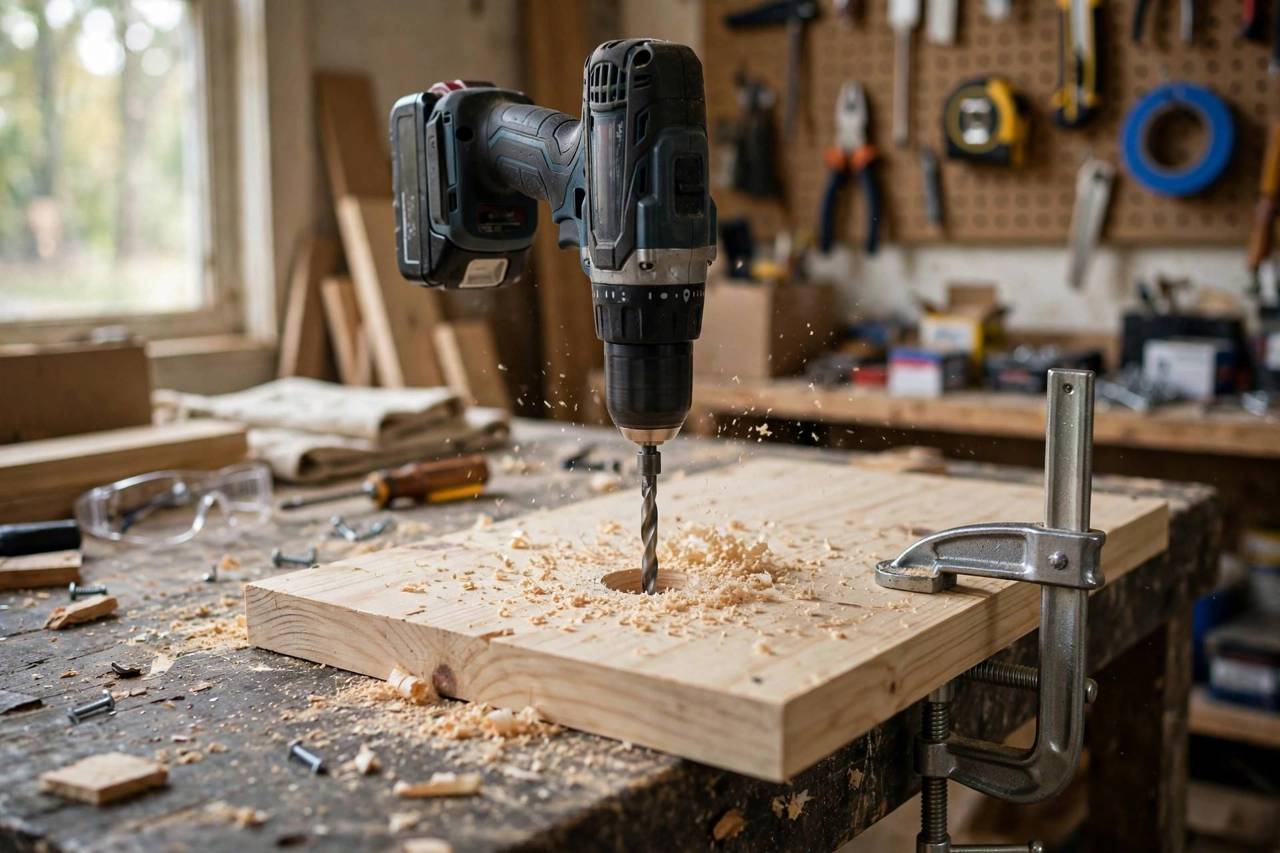
The right bit with the wrong technique still makes a mess. For wood, moderate speed is the rule: too fast burns the wood and dulls the bit, too slow makes the bit grab and tear. Let the bit cut; your job is to guide, not to push. Heavy pressure is how bits snap and holes go crooked.
Preventing exit blowout deserves special attention because it’s the most common visible defect. Either clamp scrap wood behind the workpiece, or drill halfway from one side, flip the piece, and finish from the other side using the pilot dimple as your guide. Both methods give you clean holes on both faces.
Back the bit out periodically when drilling deep holes to clear chips. Packed flutes generate heat, and heat dulls bits fast. If you smell burning wood, you’re either pushing too hard, spinning too fast, or drilling with a dull bit. Usually it’s the bit.
Bit Care: Keep Them Sharp
Drill bits are consumables, but decent ones last years with basic care. Store them in a case or block, not loose in a drawer where they bang against each other and dull. Wipe off pitch and resin after use, because buildup increases friction and heat.
Learn to recognize a dull bit: it requires heavy pressure, produces dust instead of chips, and leaves rough holes. Brad-points and twist bits can be resharpened with a bit sharpener or carefully by hand on a grinder; spade bits can be touched up with a file on the flat faces. When a bit won’t cut even after sharpening, replace it. Bits are cheap; workpieces aren’t.
Matching Bit to Wood Thickness
Wood thickness changes the equation. In thin stock (under 3/4″), tear-out on the exit side is the main enemy, so brad-points with a backing board are the answer regardless of hole size. Spade bits in thin stock tend to blow through violently; if you must use one, clamp scrap behind the workpiece.
In thick stock (2″ and up), chip clearing becomes the challenge. Brad-point flutes pack with chips in deep holes, generating heat and wandering. Withdraw the bit every half inch of depth to clear chips, or switch to an auger bit, which has deep flutes designed specifically for pulling chips out of deep holes. Auger bits are the unsung heroes of timber framing and thick workpieces.
For plywood and veneered sheet goods, the scoring spurs of a brad-point are essential to prevent the veneer from chipping. Tape over the drilling location with painter’s tape for extra insurance; it supports the surface fibers during entry and costs almost nothing.
Forstner Bits and Hole Saws: When to Step Up
When your needs exceed what brad-points and spade bits do well, two specialty tools take over. Forstner bits drill flat-bottomed, clean-sided holes with minimal tear-out, perfect for hinge cups, dowel holes, and overlapping holes. They require a drill press or very steady hands at low speed, and they’re slower than spade bits, but the hole quality is in another league.
Hole saws cut large-diameter holes (up to 6″) by sawing a circle rather than drilling it out. They’re the tool for doorknob holes, recessed lighting, and large cable passages. Use them at low speed with steady pressure, and clear the plug from the saw frequently. Both tools earn their place the moment your project outgrows basic bits.
Drilling End Grain Without Splitting
End grain, the cut ends of boards, is wood’s weak direction for drilling: bits wander, holes go oval, and splitting is almost guaranteed without precautions. The fix starts with a sharp brad-point and a center punch mark to seat it. Drill at moderate speed with light pressure, and back the bit out frequently.
For screws into end grain, drill the pilot hole slightly oversized and consider the joint design itself: end-grain screw joints are inherently weak no matter how clean the hole. Where strength matters, orient the joint so screws go into long grain, or reinforce with glue and dowels. Clean holes in end grain are achievable; strong end-grain joints require design, not just drilling.
Frequently Asked Questions
Can I use metal drill bits on wood?
Yes for small holes. Standard twist bits, designed for metal, drill wood fine up to about 1/4″. For larger or visible holes, brad-point bits designed for wood give cleaner results with less wandering.
Why does my drill bit keep wandering?
Usually because you’re starting with a twist bit on a smooth surface. Switch to a brad-point, whose center spur bites exactly where placed, or start the hole with a center punch or an awl to give the bit a place to sit.
What size drill bit for a #8 screw?
For a #8 screw, drill a 1/8″ pilot hole in softwood or 9/64″ in hardwood. Near board ends or in very hard wood, consider going one size larger to prevent splitting.
Do I need a drill press for wood?
Not for most work. A handheld drill with sharp bits and good technique handles the vast majority of woodworking holes. A drill press earns its keep for perfectly perpendicular holes, repeated production work, and large Forstner bits.
How do I drill without splitting the wood?
Drill a proper pilot hole, keep the bit sharp, don’t force it, back the exit side with scrap wood, and stay away from board ends. Splitting is almost always a preventable combination of no pilot hole and too much force.
What’s the difference between a brad-point and a standard twist bit?
A brad-point has a sharp center spur that positions the bit exactly and edge spurs that score wood fibers for clean holes. A twist bit has a conical point designed for metal that tends to wander on wood surfaces. For visible holes in wood, brad-points win clearly.
What drill speed should I use for wood?
Moderate speeds work best: roughly 1,000-1,500 RPM for small bits, dropping to 500-750 RPM for bits over 1/2 inch. Too fast burns wood and dulls bits; too slow causes grabbing and tear-out. Let the bit cut without forcing it.
Can I sharpen spade bits myself?
Yes, with a flat file. File the flat cutting faces (not the pointed tip) maintaining the original angles, using a few light strokes per side. Spade bits are inexpensive enough that many woodworkers just replace them, but a quick filing extends their life significantly.
The Bottom Line
Brad-points for clean visible holes, spade bits for fast hidden ones, twist bits for small pilot holes. Size the pilot to the screw and the wood, let the bit do the cutting, and back your exits. Do that and every hole comes out clean.