How to Caulk a Bathtub Properly: The Pro Method, Step by Step

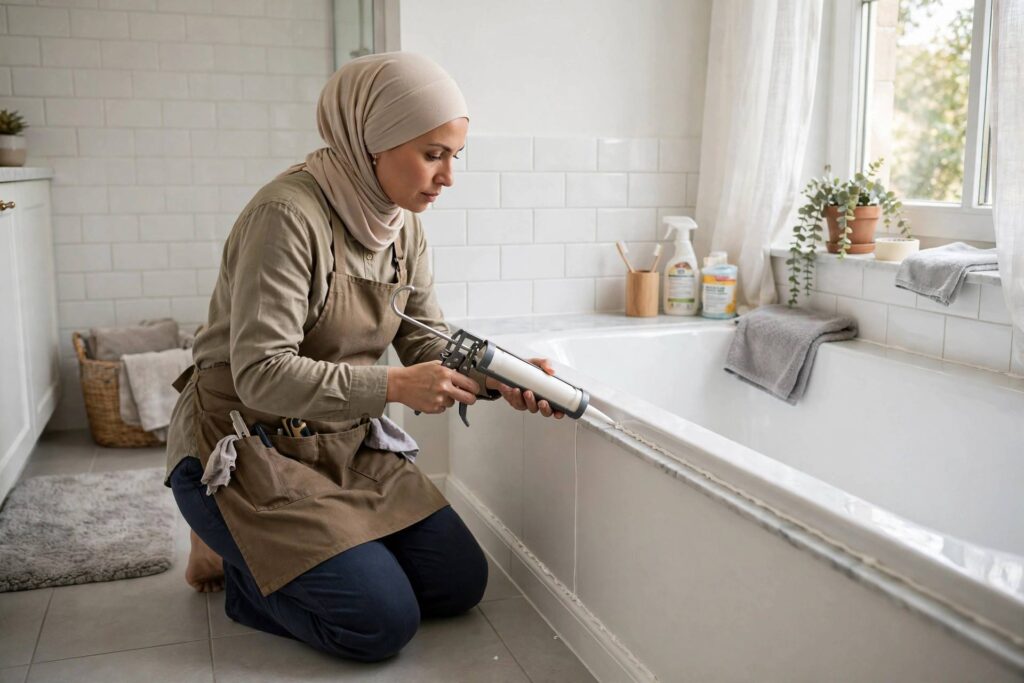
I have recaulked more bathtubs than I can count — my own, my rental properties, my mother-in-law’s — and I will tell you straight: how to caulk a bathtub properly is 20% technique and 80% preparation. Most DIY caulk jobs fail not because the person could not squeeze a trigger, but because they skipped the removal, rushed the prep, or missed the one pro trick that separates a seal lasting five years from one peeling in five months. Do it right and this is a Saturday morning job. Do it wrong and you are doing it again by spring.
Why it matters beyond looks: the caulk line where your tub meets the tile or wall is a waterproof barrier. When it fails, water seeps behind the tub — into the wall cavity, the subfloor, places you cannot see until the damage is expensive. Recaulking is cheap insurance. A $12 tube of caulk and two hours of your time protects against a repair bill with three zeroes. Let us do it properly.
How to Caulk a Bathtub Properly: What You Need
You do not need much, but you need the right much. Silicone caulk labeled for kitchen and bath — not painter’s caulk, not generic silicone, not the stuff for windows. Kitchen-and-bath silicone has mildew inhibitors and the flexibility a tub joint needs. White is standard; clear exists but shows every imperfection. One standard tube does an average tub with room to spare — buy two if it is your first time, because running out mid-bead is how bad joints happen.
A caulk gun — the $8 metal kind, not the plastic toy. Smooth, controlled flow is the whole game. A utility knife and a plastic razor scraper for removal. Painter’s tape (the blue stuff) for clean lines. Rubbing alcohol or denatured alcohol for final surface prep. Paper towels and rags — more than you think. And nitrile gloves, because silicone on skin is a special kind of misery that soap barely touches.
Step 1: Remove Every Trace of the Old Caulk
This is the step everyone rushes, and it is the step that determines everything. New caulk does not bond to old caulk — it bonds to clean tub and tile. Caulk over old caulk and you have built your seal on a foundation that is already failing.
Score along both edges of the old bead with the utility knife, then pull it away in strips. For stubborn remnants, use the plastic razor scraper — plastic, not metal, because metal gouges fiberglass and acrylic tubs and scratches tile glaze. For silicone residue that will not budge, a dedicated caulk remover solvent helps, but give it the dwell time the label specifies; impatience here just means scraping twice.
Then clean the joint like you mean it: scrub with a bathroom cleaner to remove soap scum and mildew, rinse, and finish with rubbing alcohol on a rag. The alcohol removes the invisible film — body oils, soap residue — that prevents adhesion. Let it dry completely. The joint should look and feel surgically clean. If you are thinking “that is probably clean enough,” it is not. Do it again.
Step 2: The Pro Trick — Fill the Tub With Water
Here is the trick most tutorials skip, and it is the difference between amateur and pro results. Fill the bathtub with water before you caulk.
Why: a tub full of water is hundreds of pounds heavier than an empty tub, and that weight flexes the tub downward — exactly as it does every time someone takes a bath. If you caulk with the tub empty, the joint is at its widest open position only when empty; the first time someone fills it for a bath, the tub settles, the joint compresses, and your fresh caulk bead gets stressed, cracked or pulled away from one surface. Caulk it weighted and the bead cures in the position the joint actually lives in. This single step probably doubles the life of the seal.
Fill it to normal bathing depth — you are simulating real use, not stress-testing the plumbing. Leave the water in for the full cure time (24 hours minimum for silicone). Yes, the tub is out of commission for a day. Plan around it. This is the cheapest life-extension your caulk will ever get.
Step 3: Tape the Lines
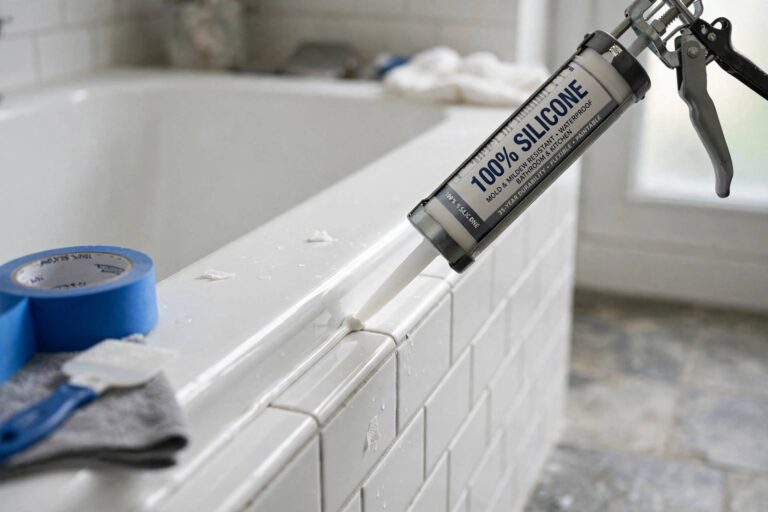
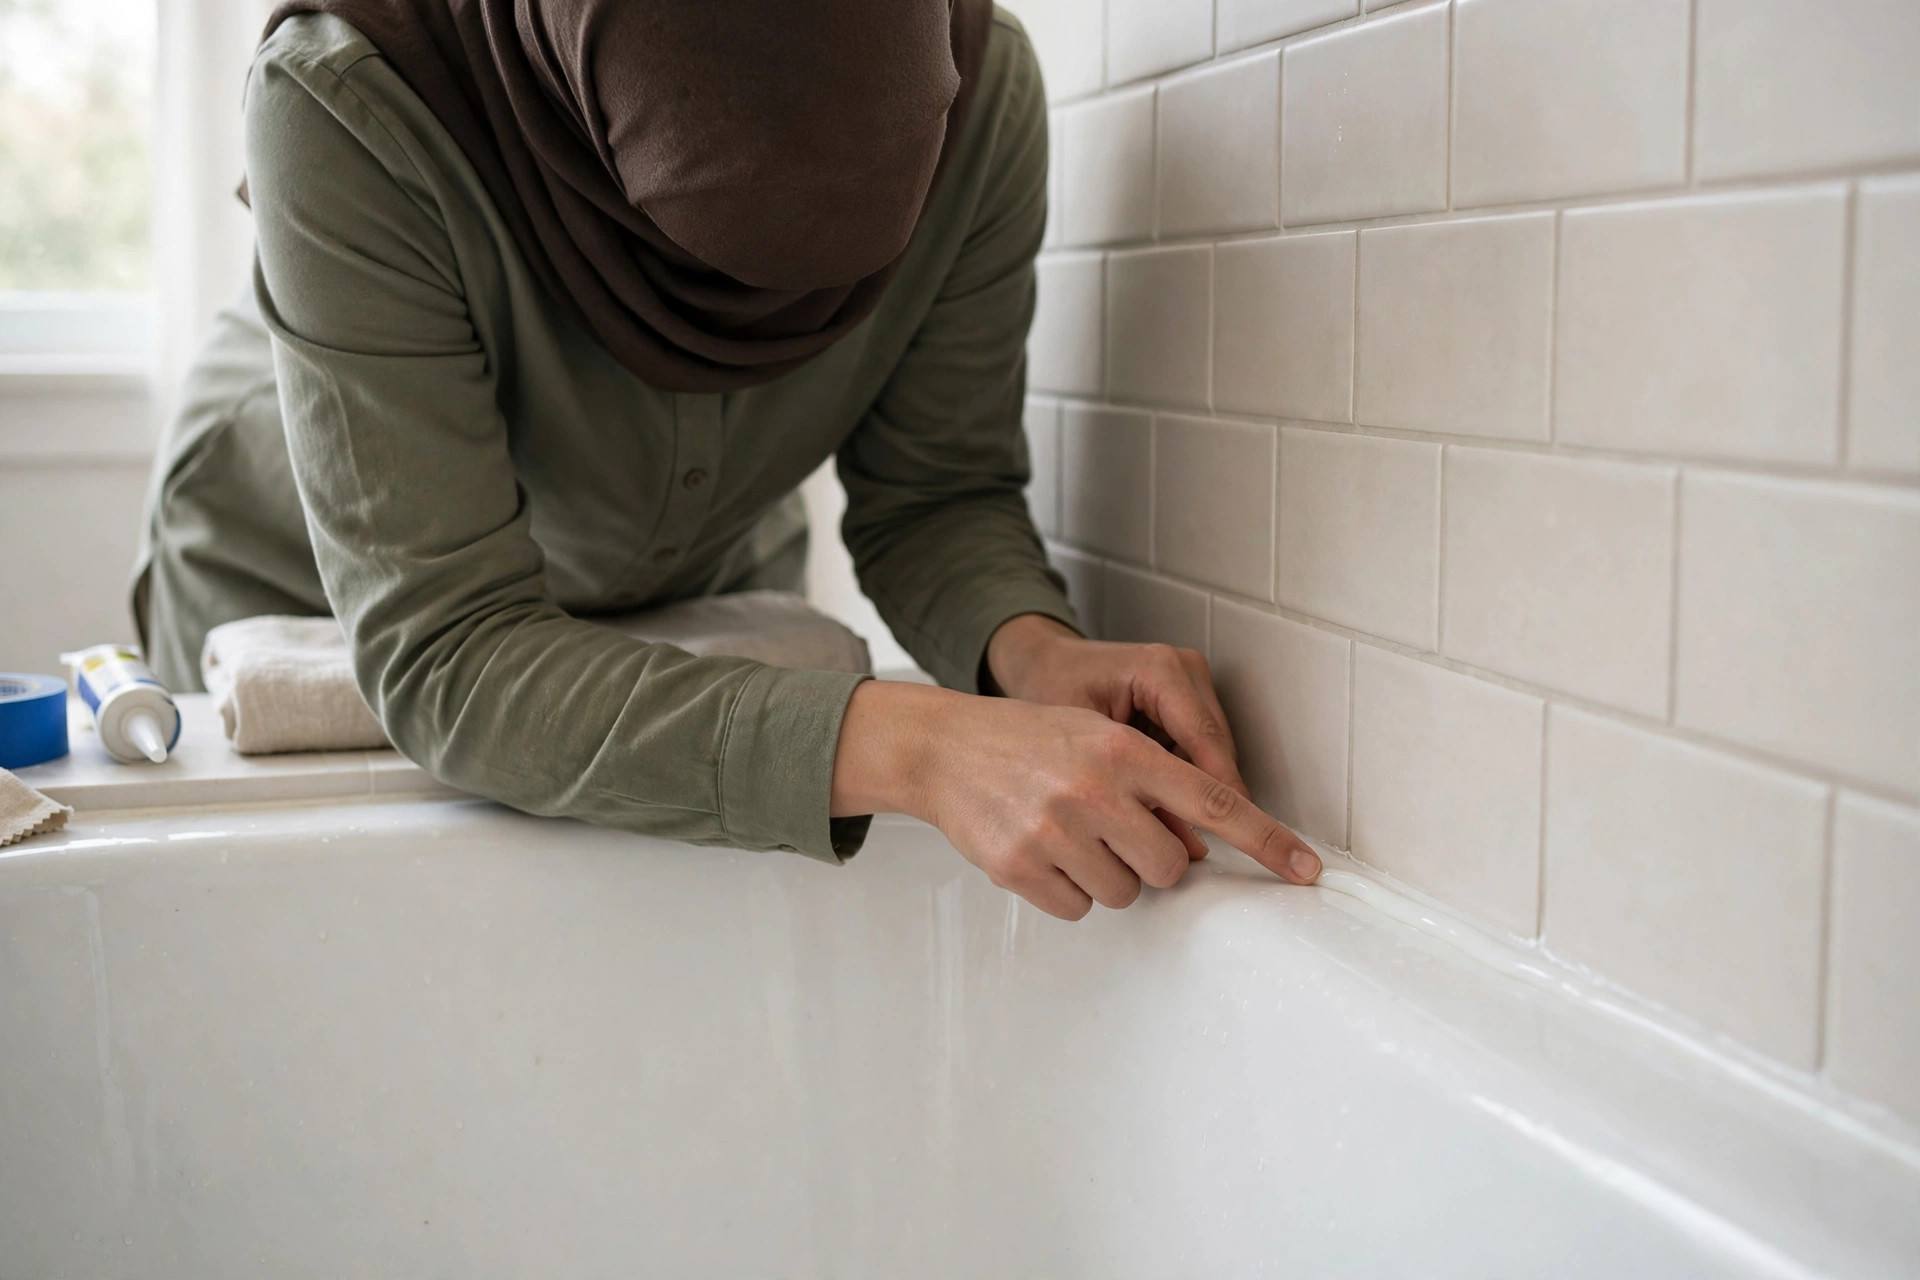
Run painter’s tape along both sides of the joint — one strip on the tub, one on the tile — leaving a gap of about 1/8 to 3/16 inch where the caulk will go. The tape does two things: it gives you razor-crisp edges, and it catches every smear and slip so cleanup is peeling tape instead of scrubbing silicone off tile.
Press the tape edges down firmly, especially along the joint side. Any gap under the tape edge becomes a ragged caulk line. Take your time here — taping is fast, and it is what makes the final result look like a professional did it. Because the difference between a pro caulk line and a DIY one is almost never the caulking itself. It is the tape.
Step 4: Cut, Load, and Lay the Bead
Cut the caulk tube nozzle at a 45-degree angle, with the opening about the width of the joint — start small; you can always cut more, you cannot cut less. Poke the inner seal (the wire on the caulk gun handle or a long nail does this).
Hold the gun at 45 degrees and push the bead forward into the joint rather than dragging it behind you — pushing forces caulk into the gap instead of skimming over it. Move at a steady pace with steady trigger pressure. The bead should slightly overfill the joint; you will tool it down in the next step. If the bead breaks or blobs, stop, cut the nozzle a hair wider, and continue — inconsistent flow usually means the opening is too small for your speed.
Work in sections you can tool before the caulk skins over — silicone starts skinning in 5 to 10 minutes. For a standard tub, do the back wall in one go, then each side. Do not try to bead the entire tub and then tool it; the first section will have skinned before you get back to it.
Step 5: Tool the Joint and Pull the Tape
Tooling — shaping the bead — is what makes it waterproof and pretty. Wet your gloved finger (or a dedicated caulk tooling stick) with a little water mixed with a drop of dish soap, and run it along the bead in one smooth, continuous motion with light pressure. You are pressing the caulk into the joint and creating the concave profile that sheds water. One pass. Going back over it repeatedly just makes a mess — silicone does not forgive rework once it starts setting.
Then pull the tape immediately, while the caulk is still wet — pull at a sharp angle away from the joint, slowly. Waiting until the caulk skins means the tape pulls the bead with it and ruins the edge you just created. This is the step where first-timers hold their breath, and then grin, because the line underneath is suddenly perfect.
Wipe any small smudges with a rag dampened with rubbing alcohol before they cure. Once silicone cures, removal is a scraping job — catch mistakes in the first minutes, not the next day.
Step 6: Cure It Properly (The Boring Part That Matters)
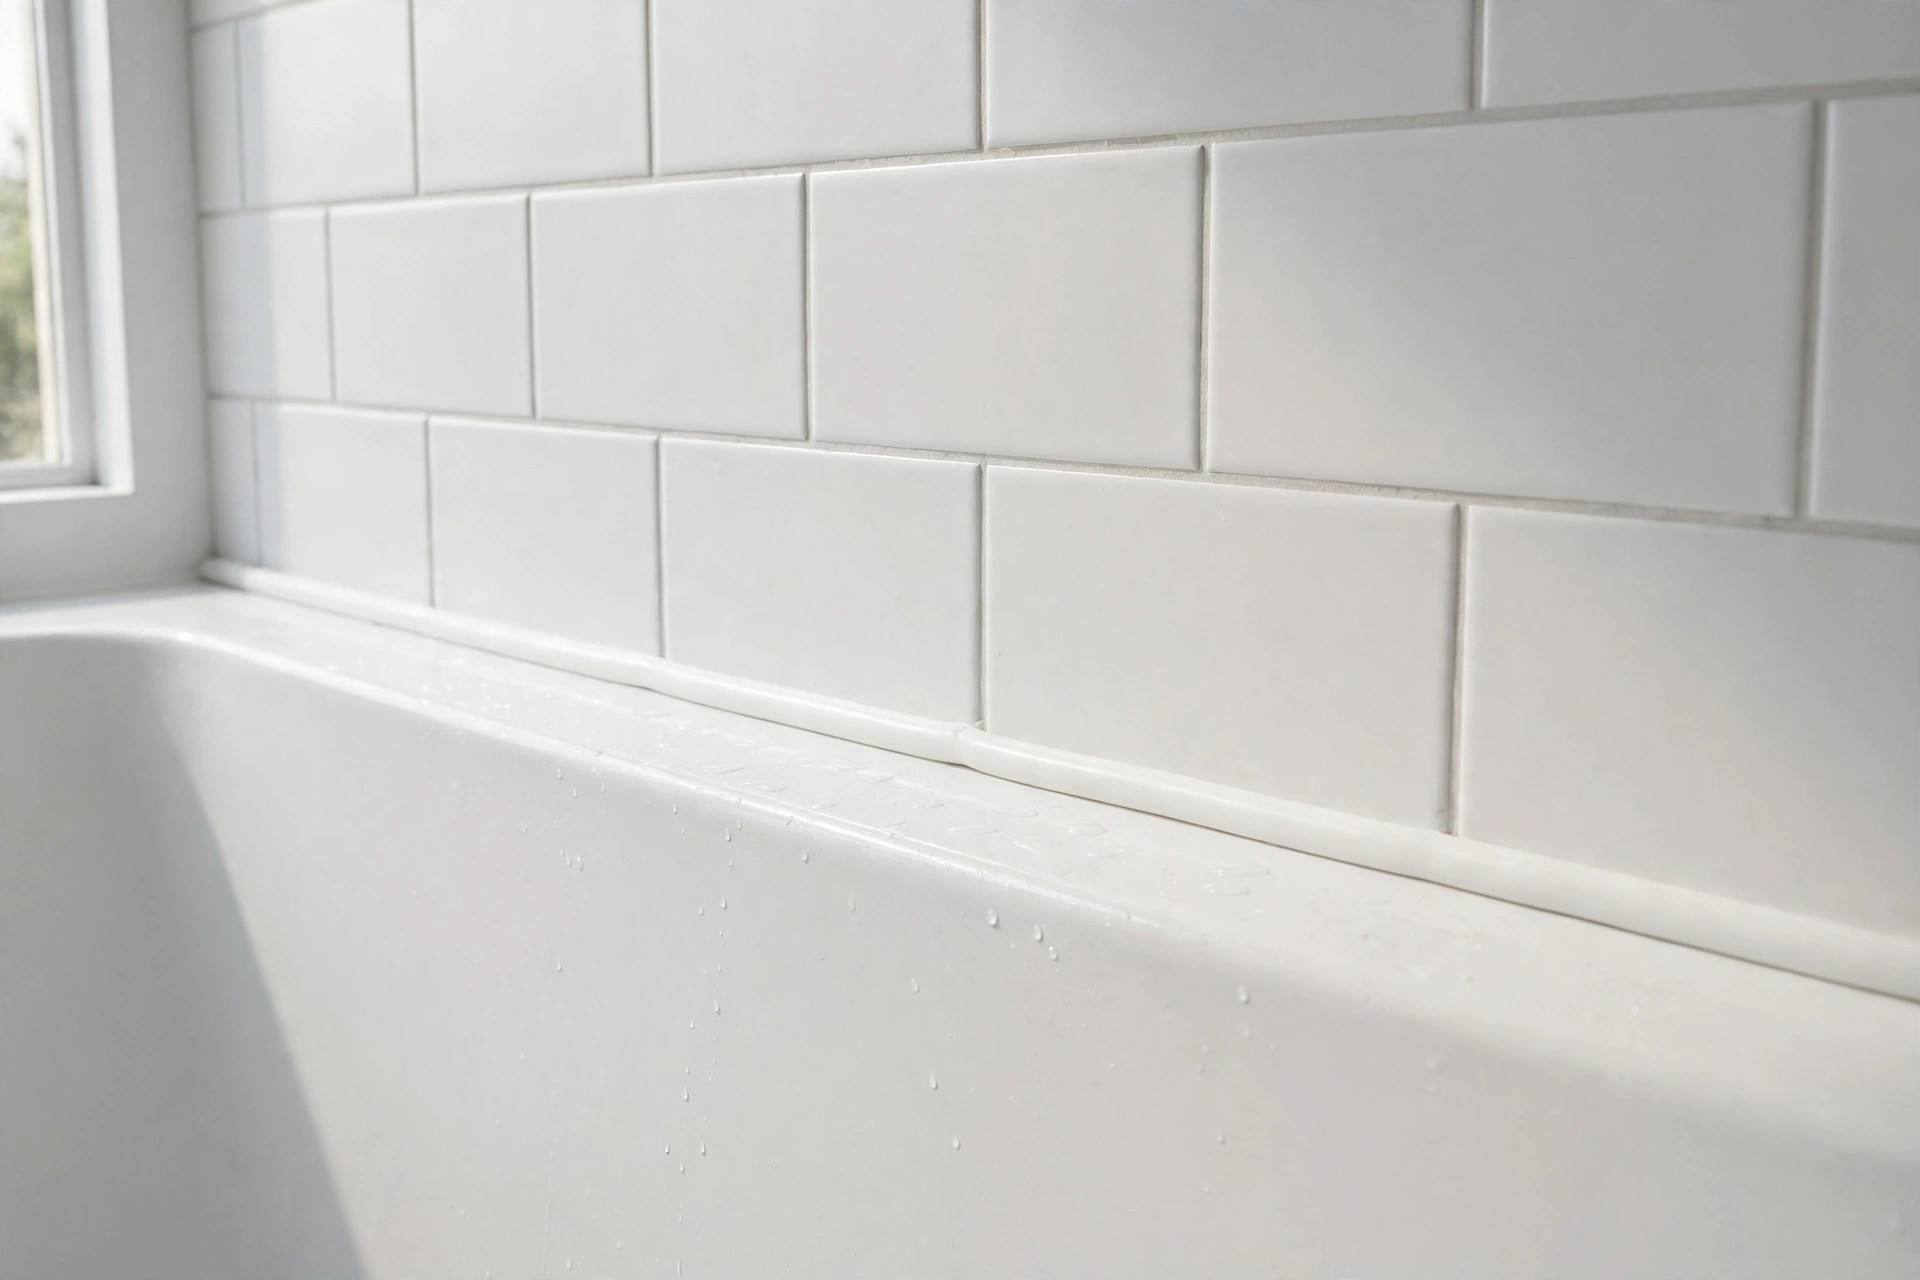
Silicone caulk needs 24 hours minimum to cure — 48 is better — before water hits it. Keep the tub full during cure (remember Step 2), keep the bathroom ventilated, and do not touch the bead. “Touch-dry in 30 minutes” on the label means you can touch it, not shower on it. Water before full cure is the second most common cause of premature failure, right after bad prep.
Maintenance: Making It Last Five Years
Even a perfect caulk job is not permanent — plan on redoing it every 3 to 5 years. Stretch that by ventilating the bathroom during and after showers (an exhaust fan run for 20 minutes post-shower is the single best mildew prevention), squeegeeing the tub surround, and cleaning with non-abrasive cleaners — abrasive scrubbing wears the bead down. At the first sign of peeling, gaps or persistent mildew under the bead (surface mildew cleans off; mildew beneath means the seal has failed), it is time to redo it. Catching failure early is the difference between recaulking and repairing water damage.
Frequently Asked Questions
Should I fill the tub with water before caulking?
Yes — this is the pro trick most DIY guides skip. A full tub’s weight flexes the tub down to its in-use position; caulking it weighted means the bead cures in the joint’s real working position instead of cracking the first time someone takes a bath. Keep it full for the 24-hour cure.
What kind of caulk should I use for a bathtub?
100% silicone caulk labeled for kitchen and bath, with mildew inhibitors. Not painter’s caulk (it is not waterproof enough), not generic silicone (no mildew protection). White is standard and most forgiving for beginners.
How long does bathtub caulk need to dry before showering?
Minimum 24 hours, 48 is better. “Touch dry” is not “waterproof” — silicone needs a full cure to develop its seal. Showering too early is one of the top causes of early caulk failure.
Can I caulk over old caulk?
No — new caulk does not bond reliably to old caulk. Remove every trace of the old bead, clean the joint down to bare tub and tile, and then apply fresh caulk. Skipping removal is the most common reason DIY caulk jobs fail within months.
How often should I recaulk my bathtub?
Every 3 to 5 years with proper application and bathroom ventilation. Redo it sooner if you see peeling, gaps, or mildew growing beneath the bead — that last one means water is already getting behind it.
The Bottom Line
How to caulk a bathtub properly: strip the old caulk completely, clean to bare surfaces, fill the tub with water, tape your lines, lay a steady bead, tool it once, pull the tape wet, and let it cure a full day. It is a simple job — the professionals just refuse to skip the boring parts. Now you know which parts those are.