How to Install Floating Shelves: A No-Guesswork Guide


Here’s how to install floating shelves so they stay level, stay solid, and don’t slowly tilt toward the floor over the next year. Floating shelves look simple — a clean board with no visible brackets — but that clean look means all the structural work is hidden, which is exactly where DIYers get into trouble. I’ve hung hundreds of these. The difference between a shelf that holds books for a decade and one that sags by spring comes down to five things: finding real structure in the wall, using the right anchors, getting level on the first try, respecting weight limits, and not rushing the layout. This guide covers all five, step by step.
First, an honest assessment: floating shelves are not the strongest shelf type. A bracketed shelf can hold far more. Floating shelves are for looks plus moderate loads — decor, small plants, a row of paperbacks, folded linens. If you need to hold a full set of hardcover textbooks, build a bracketed shelf instead. Knowing the limit is part of doing it right.
How to Install Floating Shelves: Tools and Materials
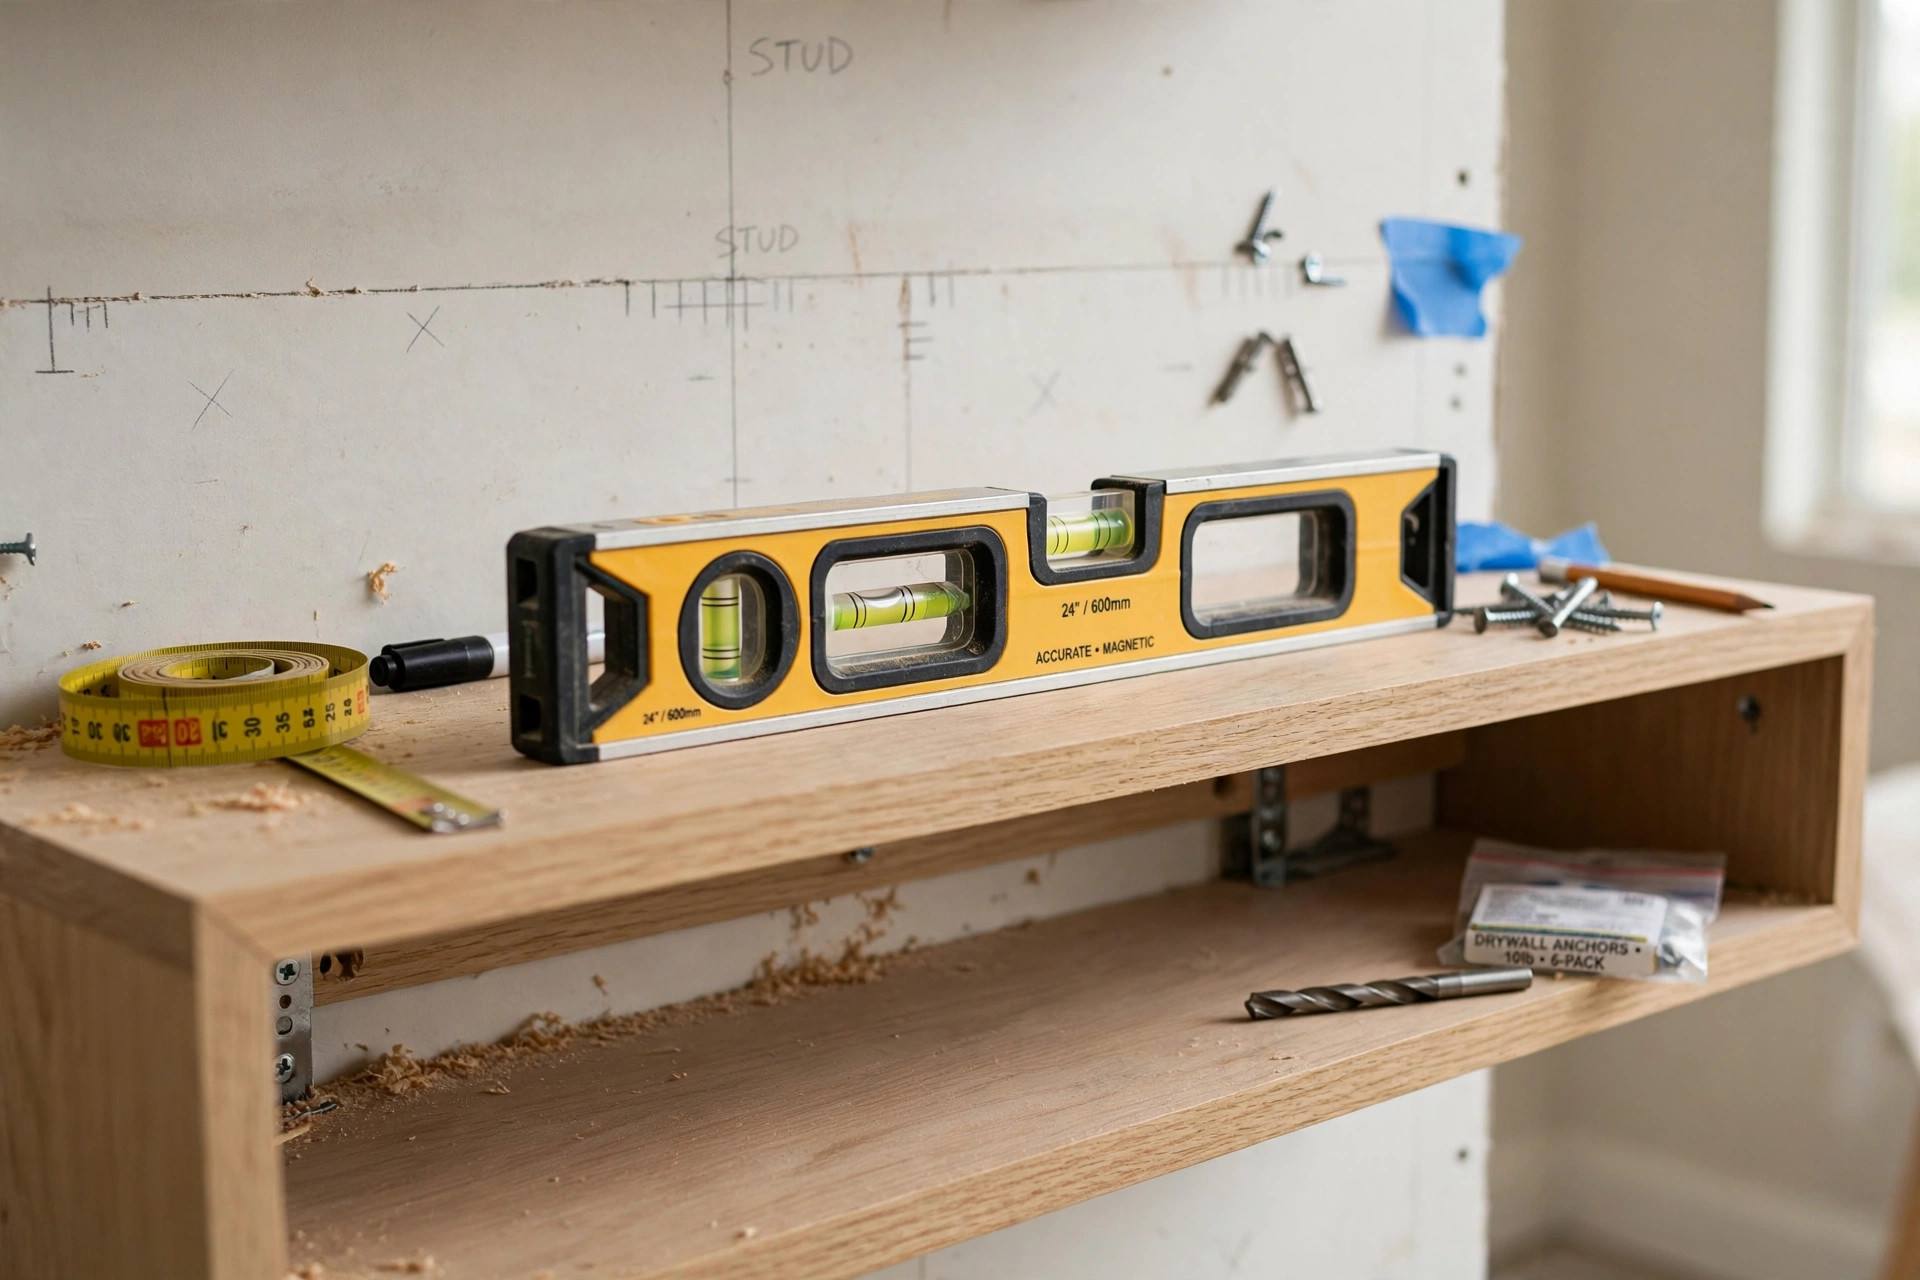
Gather everything before you drill the first hole. You’ll need: the floating shelf kit (shelf plus its hidden bracket hardware), a stud finder, a level (a 2-foot level minimum — your phone is not a level), a drill with drill bits, a pencil, painter’s tape, a tape measure, and the correct wall anchors for your wall type if you’re not hitting studs. For drywall without studs, get toggle bolts or snap-toggle anchors rated well above your expected load — not the little plastic expansion anchors that come free in the box.
About those included anchors: they’re usually the cheapest part of the kit. For anything heavier than picture frames, replace them with proper toggles. This single upgrade prevents most floating-shelf failures I get called to fix.
Step 1: Find the Studs
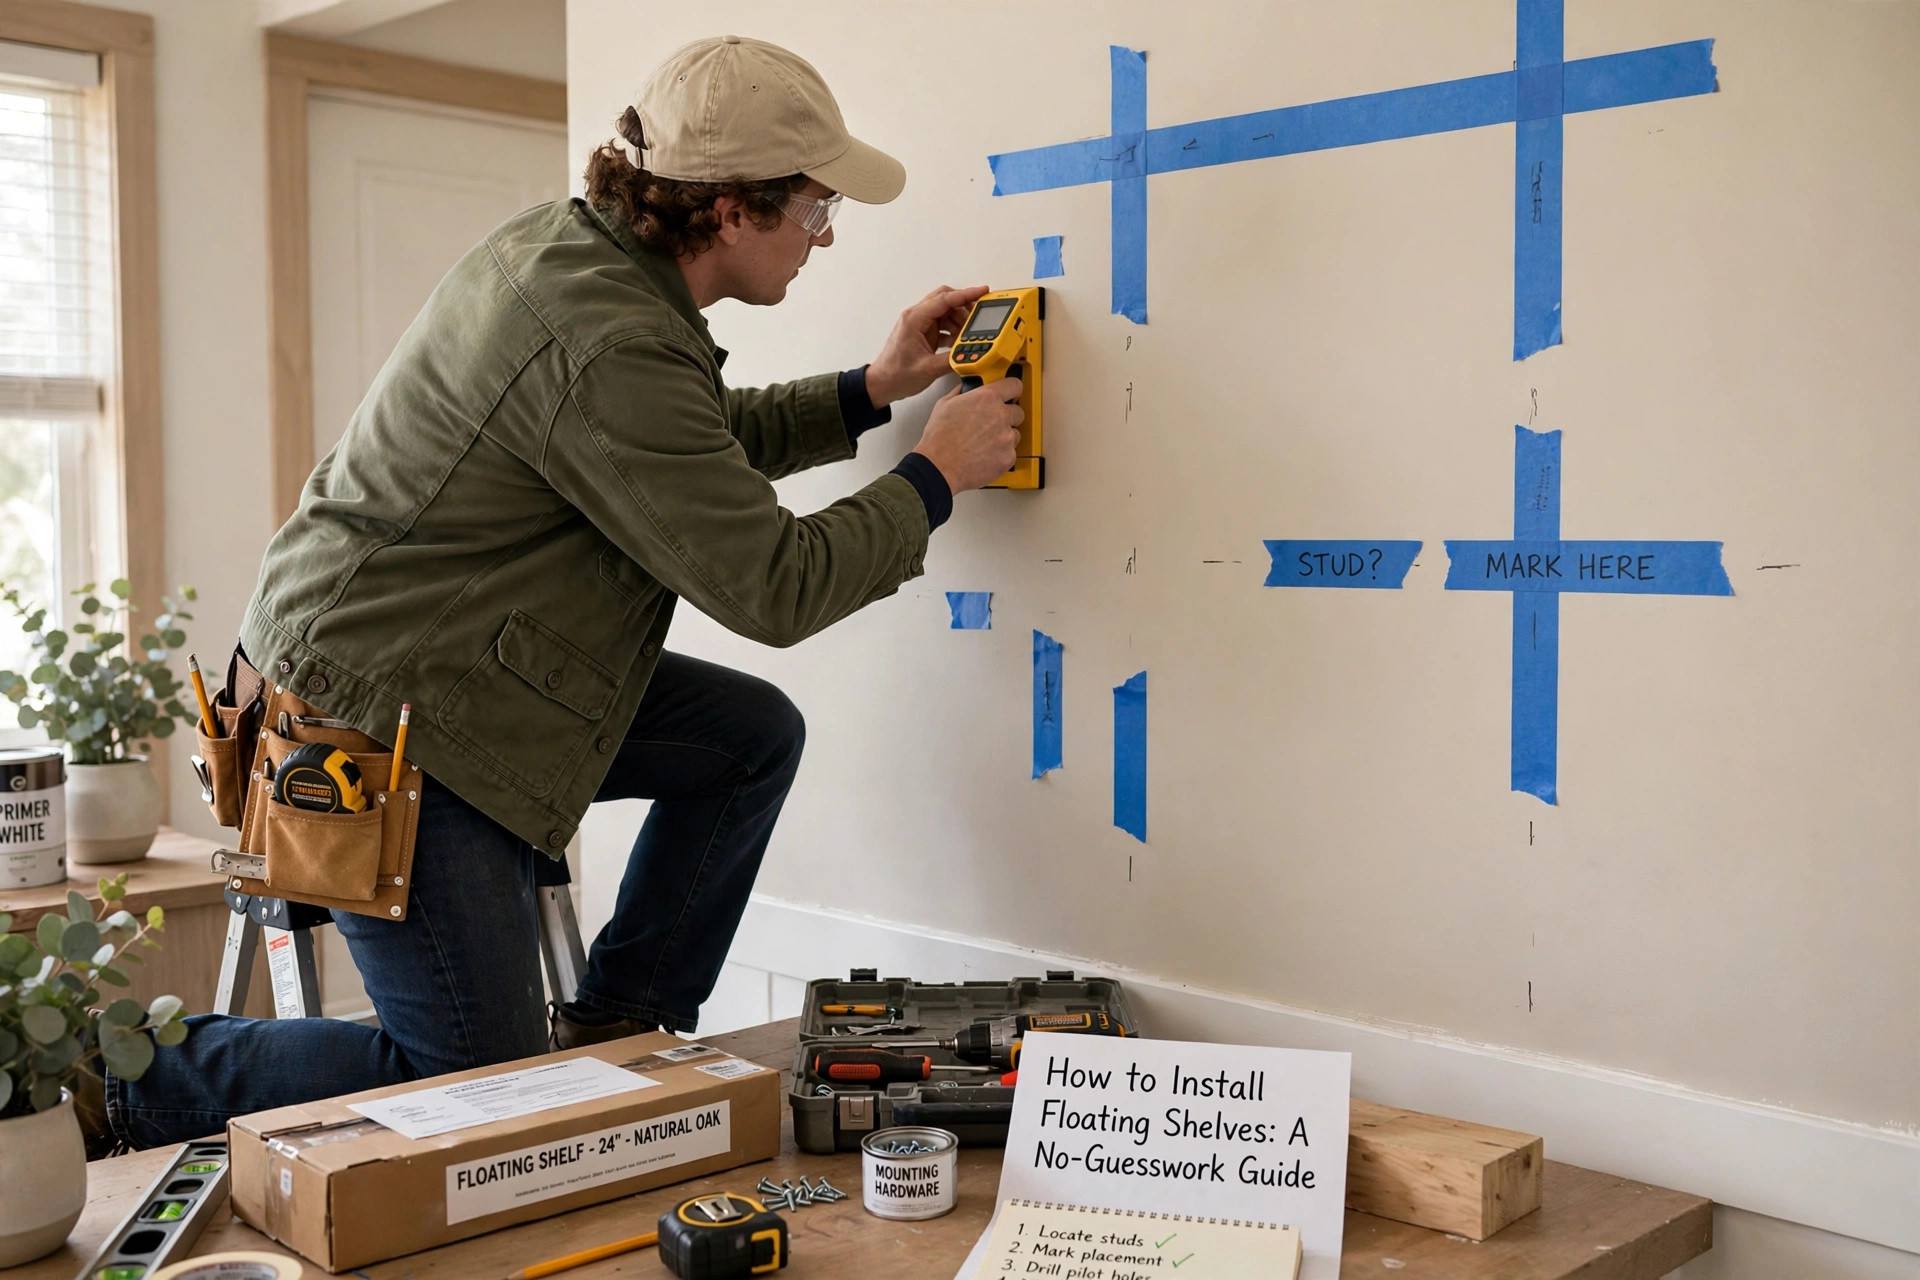
Run the stud finder slowly across the wall at shelf height and mark each stud’s edges with painter’s tape, then mark the center. Verify by finding the same stud at a second height — studs run vertically, so a real stud shows up in both places. Standard spacing is 16 inches on center in most homes, but don’t assume; verify every stud you’re counting on.
The golden rule: at least one end of every floating shelf bracket should land in a stud. A shelf anchored only to drywall — even with good toggles — will eventually work loose under cyclic loading (that’s engineer-speak for “books being taken on and off for years”). Stud + toggle on the other end is solid. Toggle-only is a compromise; keep the load light if that’s what you’ve got.
Step 2: Mark Your Layout
Decide the shelf height and mark a level line across the wall with painter’s tape — tape gives you a visible, adjustable line without penciling up the paint. Standard heights: 12–18 inches above a desk or console, 48–60 inches for standalone display shelves, and for multiples, 12–15 inches of vertical spacing between shelves (measure your tallest intended item and add two inches).
Hold the shelf up with a helper and step back. Look at it from across the room, from the doorway, from the couch. Shelves get installed at the height that looked right from two feet away and wrong from everywhere else. Take the thirty seconds to check sightlines now; moving a shelf later means patching holes.
Step 3: Install the Bracket Hardware
Most floating shelf kits use either a hidden metal bracket bar that the shelf slides onto, or individual concealed rods. Either way, the process is: hold the bracket against your level tape line, mark every mounting hole with a pencil through the bracket, then drill. Drill pilot holes slightly smaller than your fasteners — into studs, drive screws directly; into drywall, install your toggle anchors first, then mount the bracket.
Critical detail: check level on the bracket itself before tightening fully. A bracket that’s off by two degrees becomes a shelf that’s visibly sloped, and you can’t fix it after the shelf is on. Tighten in stages, checking level after each screw. This is the step people rush, and it’s the step that determines whether the shelf looks professional.
Step 4: Mount the Shelf and Check
Slide the shelf onto the bracket rods or bar. Most kits have small set screws underneath that lock the shelf to the bracket — find them and snug them; they’re what keep the shelf from walking forward over time. Then load-test: press down firmly on the front edge. A properly mounted shelf feels absolutely rigid. Any flex or creak means something’s wrong — usually a missed stud or a loose anchor — and it’s far easier to fix now than after you’ve styled it.
Final check with the level on top of the shelf, front-to-back as well as side-to-side. Walls are rarely plumb and floors are rarely level; trust the level, not your eye. If it’s off, loosen, shim the bracket with a washer or two behind the low side, and retighten.
Weight Limits: The Honest Numbers
Manufacturer ratings are optimistic — they assume perfect installation into studs. In the real world, derate by half. A shelf rated for 30 pounds per stud-mounted bracket is a 15-pound shelf in practice once you account for drywall-only ends, dynamic loading, and time. Distribute weight toward the wall (heavy items at the back), keep the heaviest items over the stud-anchored sections, and never hang a shelf by one end and load the other — that’s a lever, and levers win.
For books specifically: books are brutally heavy. A foot of paperbacks weighs roughly 15–20 pounds. Do the math on your shelf length before committing to a wall of floating bookshelves, and when in doubt, go shorter — two 24-inch shelves into studs beat one 48-inch shelf into drywall every time.
Mistakes That Make Shelves Sag
The sag hall of fame, from most to least common: relying on the free plastic anchors for real loads; mounting with no stud contact on a long shelf; skipping the level check on the bracket; overtightening screws into drywall anchors (spinning them loose); and installing into plaster or lath with drywall techniques (old walls need their own approach — drill carefully, expect surprises, use longer fasteners that bite the lath). Every one of these is a callback I’ve done. Every one was preventable in ten minutes during installation.
One more: hanging shelves on tile or masonry without masonry bits and anchors. Standard twist bits skate on tile and crack it; you need a carbide or diamond bit, low speed, and no hammer action until you’re through the tile. If that sentence made you nervous, that’s a job for a handyman, not a Saturday experiment.
Styling Without Overloading
Now the fun part — but keep the physics in mind. Style back-to-front by weight: heavy items (books, ceramics) at the back against the wall, lighter decor toward the front edge. Leave negative space; a shelf packed edge-to-edge looks cluttered and loads the front edge where leverage is worst. The rule of thirds works on shelves like it does in photography: group items in odd numbers, vary heights, and let some sections breathe.
Plants on floating shelves: check the watered weight, not the dry weight. A potted plant gains serious pounds after watering, and drip trays are non-negotiable unless you enjoy refinishing shelves. Small succulents and air plants are the safe play; a big watered fern is a structural decision.
Floating Shelves in Kitchens and Bathrooms
Kitchens and bathrooms are where floating shelves shine visually — and where installation gets trickier. Kitchens: open shelving for daily dishes works beautifully, but mount into studs (dishes are heavy), keep shelves away from the stove’s heat and grease zone, and expect to dust more often — open kitchen shelves collect a fine film of cooking grease that closed cabinets avoid. Wipe them monthly and it’s a non-issue.
Bathrooms: moisture is the enemy. Use shelves rated for humid environments (sealed wood, metal, or solid surface — not raw MDF, which swells), mount with stainless or coated hardware that won’t rust, and keep them out of direct shower spray. Small floating shelves beside the mirror for daily items are genuinely useful; just don’t store anything you can’t afford to get damp.
Removing or Moving Floating Shelves
Eventually every shelf moves. Removal is straightforward: unload, remove the set screws, slide the shelf off the bracket, unscrew the bracket, and patch the holes. The patching is the real job — toggle bolt holes are bigger than screw holes, so expect to fill, sand, and touch up paint. Pro tip: save your paint can or at least the color code when you install; matching touch-up paint years later is a special kind of misery.
If you’re a renter, think twice before installing with large toggles — the hole repair at move-out is on you. Smaller shelves into studs with standard screws leave the smallest footprint. And photograph the wall before you drill; it settles any deposit dispute about what was “already there.”
Frequently Asked Questions
How do floating shelves stay up without brackets?
They have hidden brackets — typically a metal bar or rods mounted to the wall that slide into hollow channels inside the shelf. All the structural work is concealed inside the shelf itself, which is why proper wall anchoring matters so much: there’s no visible bracket to compensate for a weak mount.
Can you install floating shelves without studs?
Yes, with good toggle bolts or snap-toggle anchors rated well above your load — but keep the load light and the shelf short. At least one stud contact per shelf is strongly recommended for anything holding books or heavy decor; toggle-only mounting is fine for light display items.
How much weight can a floating shelf hold?
It depends on the mounting: into studs, a quality 24–36 inch shelf typically handles 15–30 pounds in real-world use (derate manufacturer claims by about half). Drywall-anchor-only mounting holds far less. Books are especially heavy — roughly 15–20 pounds per foot of paperbacks — so plan accordingly.
Why is my floating shelf sagging?
The usual causes: inadequate anchors (cheap plastic expansion plugs), no stud contact on a long shelf, an unlevel bracket, or overloading. Sagging that’s appeared over time usually means the anchors are slowly pulling out — unload the shelf, remount into a stud or with proper toggles, and check level on the bracket before reloading.
What height should floating shelves be installed at?
Common guidelines: 12–18 inches above a desk or console table, 48–60 inches for standalone display shelves, and 12–15 inches of vertical clearance between stacked shelves (measure your tallest item first and add two inches). Always verify sightlines from across the room before drilling.
Can I install floating shelves on tile or brick?
Yes, but you need masonry-appropriate tools: a carbide or diamond drill bit, low drill speed, and proper masonry anchors — standard twist bits will skate on and crack tile. For tile, drill through the grout line where possible. If you’re unsure, this is a reasonable job to hand to a professional.