How to Fix Squeaky Floors (From Above or Below)

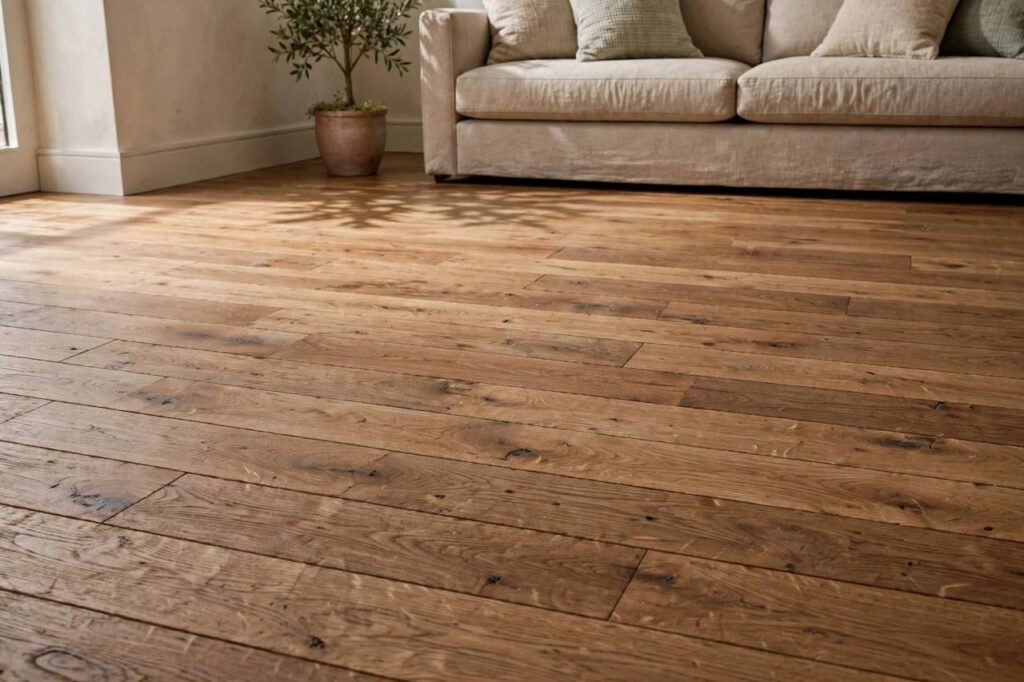
Nothing announces your midnight trip to the kitchen like a floorboard that screams under your feet. Squeaky floors are one of those annoyances that seem minor until you’re trying to sneak past a sleeping baby or you realize every guest hears your house creak. The good news: most squeaks are a simple, fixable problem, not a sign your house is falling apart. I’ve fixed hundreds of these over the years, and I’m going to show you exactly how — from above, from below, and every trick in between. Here’s how to fix squeaky floors for good — whether you can access them from below or have to work from above.
Why Floors Squeak in the First Place
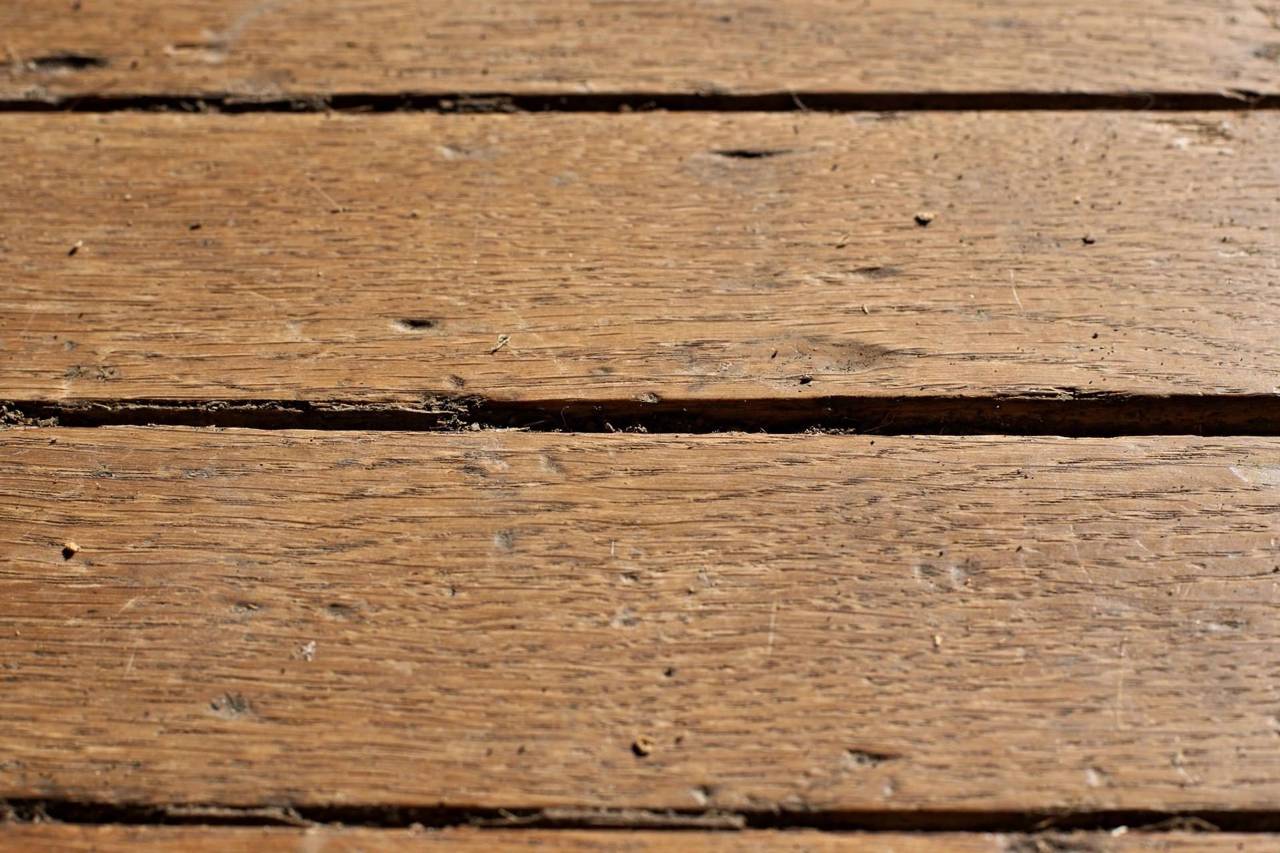
Here’s what’s actually happening when your floor squeaks: two pieces of wood are rubbing against each other, or wood is rubbing against a nail. That’s it. That’s the whole mystery. Specifically, it’s usually the subfloor (the plywood or boards under your finished flooring) moving slightly against a floor joist, or a hardwood plank rubbing against its neighbor.
Wood moves. It expands in humid summer air and shrinks in dry winter air. Nails that held everything tight when the house was built can loosen over years of this seasonal movement. The result: tiny gaps where movement happens, and movement plus friction equals noise. Older homes squeak more because they’ve had more seasons of this cycle — but even newer homes develop squeaks.
Understanding this matters because it tells you the fix is mechanical, not cosmetic. You’re not masking a sound; you’re stopping movement. Every effective fix comes down to one principle: secure the moving parts so they can’t rub anymore.
How to Fix Squeaky Floors, Step 1: Find the Exact Source
Before you fix anything, you need to know precisely where the noise comes from. Walk the floor slowly, shifting your weight, and mark each squeaky spot with painter’s tape. Have someone else walk while you listen if you can — a second set of ears helps pinpoint the location.
Pay attention to the pattern. Squeaks near walls often mean the subfloor has pulled away from the joist at the edge. Squeaks in the middle of a room usually indicate movement between the subfloor and a joist, or between finish flooring boards. Squeaks on stairs are their own category (usually the tread rubbing against the riser).
Mark every spot. You’ll often find that what sounds like one big squeaky area is actually two or three distinct points. Fix them all while you’re set up — the tools are already out.
Step 2: Figure Out Your Access
This is the fork in the road that determines your whole approach:
- Can you access the floor from below? (unfinished basement or crawl space under the squeaky area) — You have the easiest, most invisible fix options. Lucky you.
- No access from below? (slab foundation, finished ceiling below, second floor over a finished first floor) — You’ll fix from above. Still very doable, just requires a bit more finesse.
Know which situation you’re in before buying anything. It saves a wasted trip to the hardware store.
Fixing Squeaks From Below (The Best-Case Scenario)
If you can get under the floor, this is straightforward. Have someone walk above while you’re below — you’ll hear and often see exactly where the subfloor separates from the joist.
Method 1: Shims. If there’s a visible gap between the subfloor and the joist, coat a wooden shim with construction adhesive and tap it gently into the gap. The key word is gently — drive it in too hard and you’ll push the subfloor up, creating a bump in the floor above. Snug is the goal, not forced.
Method 2: Blocking. For longer gaps, cut a short piece of 2×4 to fit snugly between adjacent joists, right under the squeaky spot. Apply construction adhesive to the top, wedge it tight against the subfloor, and secure it to the joists with screws. This gives the subfloor solid support across the gap.
Method 3: Screws from below. Drive short wood screws up through a small steel plate or piece of plywood into the subfloor (being careful not to poke through the finished floor above — measure your screw length against the floor thickness). This pulls the subfloor tight against the joist.
Any of these, done properly, permanently eliminates the movement — and therefore the squeak. Construction adhesive plus mechanical fastening is the belt-and-suspenders approach that lasts.
Fixing Squeaks From Above (No Basement Access)
No access from below? No problem. You’ll secure the floor from the top, and with the right technique, the fix is nearly invisible.
For carpeted floors: You’re in luck — carpet hides everything. Use a stud finder to locate the floor joists (they run perpendicular to the direction of most squeaks, typically 16 inches apart). Then drive screws through the carpet and subfloor into the joist. Special breakaway screws are made exactly for this: you drive them in, then snap off the head below the carpet surface. The carpet fibers close over the tiny hole and it’s invisible. Mark joist locations with tape across the whole squeaky area first, then work systematically.
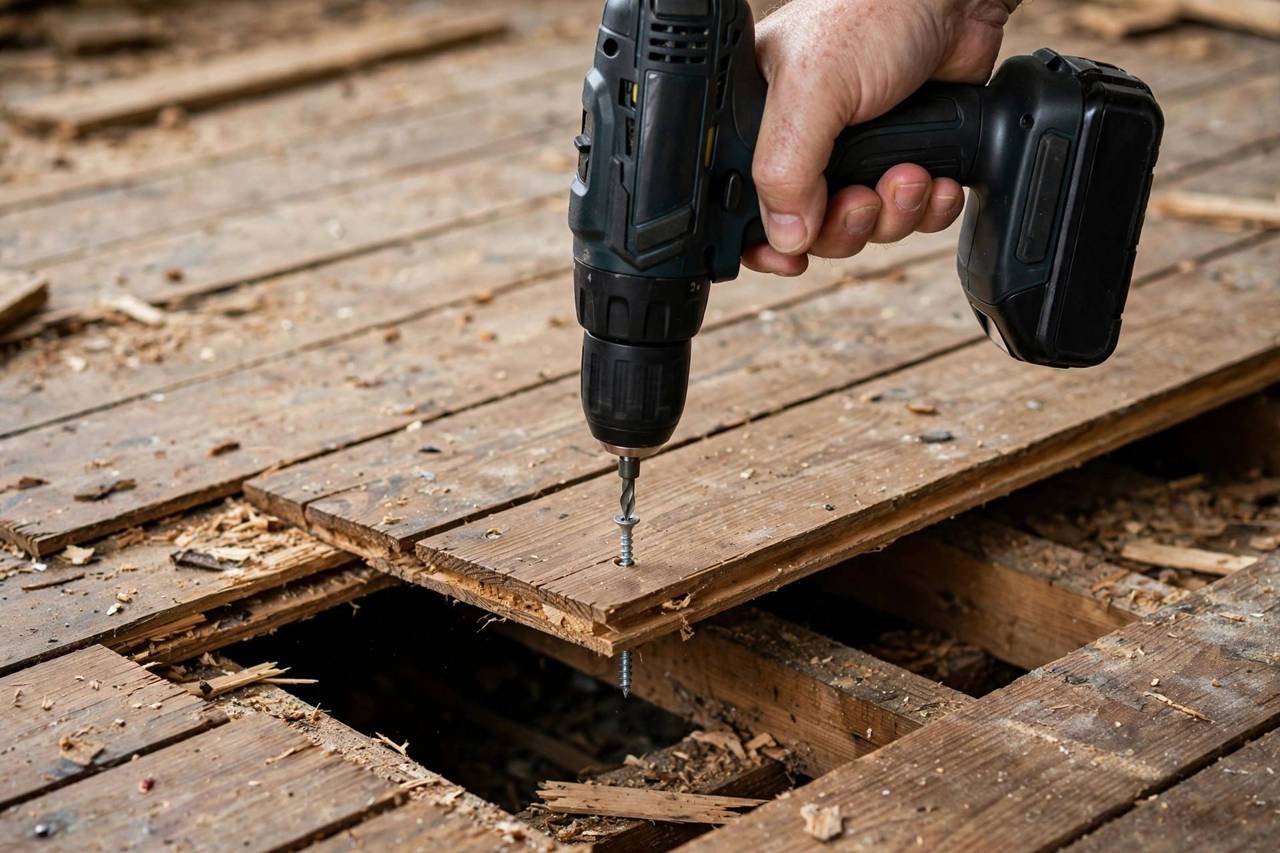
For hardwood floors: This requires more care, since the fix will be visible. The technique: drill a pilot hole through the finish flooring and subfloor into the joist at a slight angle, then drive a finish screw or specialized squeak-repair screw. The pros use kits with scored screws that snap off below the surface — you fill the tiny hole with a color-matched wood filler or wax stick, and it virtually disappears. Place screws where they’ll be least noticeable: along board seams, in darker grain patterns, or near walls under furniture.
The talcum powder / graphite trick: For minor squeaks between hardwood boards (not subfloor movement), work powdered graphite or talcum powder into the seams between boards. It lubricates the friction points and can quiet small squeaks. I’ll be honest: this is a temporary fix, not a permanent one. But for a quick improvement before guests arrive, it works.
What You’ll Need: The Shopping List
Don’t overbuy. For most squeak repairs, you need:
- Stud finder (to locate joists from above)
- Drill/driver
- Wood screws (length matched to your floor thickness — measure!)
- Construction adhesive (for from-below fixes)
- Wooden shims (for from-below fixes)
- Painter’s tape (for marking spots and joists)
- Wood filler or wax sticks in a matching color (for hardwood top-fixes)
- Powdered graphite or talcum powder (for minor board-on-board squeaks)
Total cost for a typical repair: well under the price of a single service call. This is one of the highest-ROI DIY jobs in homeownership.
Squeaky Stairs: A Special Case
Stairs squeak for a slightly different reason: the tread (the part you step on) rubs against the riser (the vertical part) or the stringer (the diagonal support). The fix depends on your access.
From behind (if you can access the underside of the staircase, like from a closet): apply construction adhesive along the joint where tread meets riser, and drive screws or add small wooden blocks (glue blocks) to reinforce the connection.
From the front: work glue into the joint where the tread meets the riser, and consider adding quarter-round molding along the joint, nailed into both the tread and riser. It reinforces the connection and looks like intentional trim. A few finish nails through the tread into the riser, set below the surface and filled, also works.
When Squeaks Mean Something Serious
I’ll be straight with you: 95% of squeaks are just annoying, not dangerous. But pay attention to these warning signs that warrant a closer look:
- Noticeable sagging or bouncing in the floor — not just noise, but actual movement you can feel and see.
- Squeaks that appeared suddenly after being quiet for years, especially with visible gaps opening up.
- Water damage signs — staining, soft spots, musty smell. Water rots subfloors, and a rotted subfloor is a structural issue.
- Termite or pest evidence — sawdust-like frass, hollow-sounding wood, visible tunnels.
If you see any of these, the squeak is a symptom, not the problem. Get a professional assessment before the small issue becomes a big one. There’s no shame in calling in expertise for structural concerns — that’s what the pros are for.

Preventing Future Squeaks
You can’t stop wood from being wood, but you can slow the process:
- Control indoor humidity. Big humidity swings cause the most movement. Keeping indoor relative humidity roughly stable year-round (a humidifier in dry winters helps enormously) reduces expansion-contraction cycles.
- Fix new squeaks promptly. A small gap gets bigger with every footstep. A five-minute screw today prevents a weekend project next year.
- Use screws, not just nails, in any new flooring work. Screws hold tighter and resist loosening far better than nails. If you’re ever having floors installed or repaired, specify screws for the subfloor.
- Don’t ignore the subfloor. If you’re replacing finished flooring anyway, take the opportunity to screw down the subfloor properly. It’s cheap insurance while everything’s exposed.
That’s the whole job. Now you know how to fix squeaky floors: find the spot, stop the movement, enjoy the silence. There’s something deeply satisfying about walking across a floor you fixed yourself — every quiet step is a small reminder that you know how your house works. Now go mark those squeaky spots with tape. Future quiet-midnight-snack you says thanks.
FAQ
Can I fix squeaky floors without removing carpet?
Yes. Use a stud finder to locate joists through the carpet, then drive breakaway screws through the carpet into the joists. The screw heads snap off below the surface and the carpet fibers hide the tiny holes completely.
Will talcum powder permanently fix a squeaky floor?
No — it’s a temporary lubricant for minor board-on-board squeaks, not a structural fix. It can quiet things down for a while, but the real solution is securing the moving parts with screws, shims, or adhesive.
Why do my floors squeak more in winter?
Dry winter air shrinks wood, opening tiny gaps between the subfloor and joists or between boards. Those gaps allow the movement that causes squeaking. Running a humidifier to stabilize indoor humidity often reduces winter squeaks noticeably.
How do I find floor joists under hardwood?
Use an electronic stud finder set to deep-scan mode, or look for the rows of existing nails in the subfloor if any are visible. Joists typically run 16 inches apart. You can also check from below in a basement or crawl space and transfer measurements up.
Are squeaky floors a sign of structural problems?
Usually not — most squeaks are just normal wood movement and loosened fasteners. But if squeaking comes with sagging, bouncing, sudden onset, water damage, or pest signs, have a professional take a look. Those combinations can indicate real structural issues.