How to Start a Bullet Journal: A Friendly Beginner’s Guide

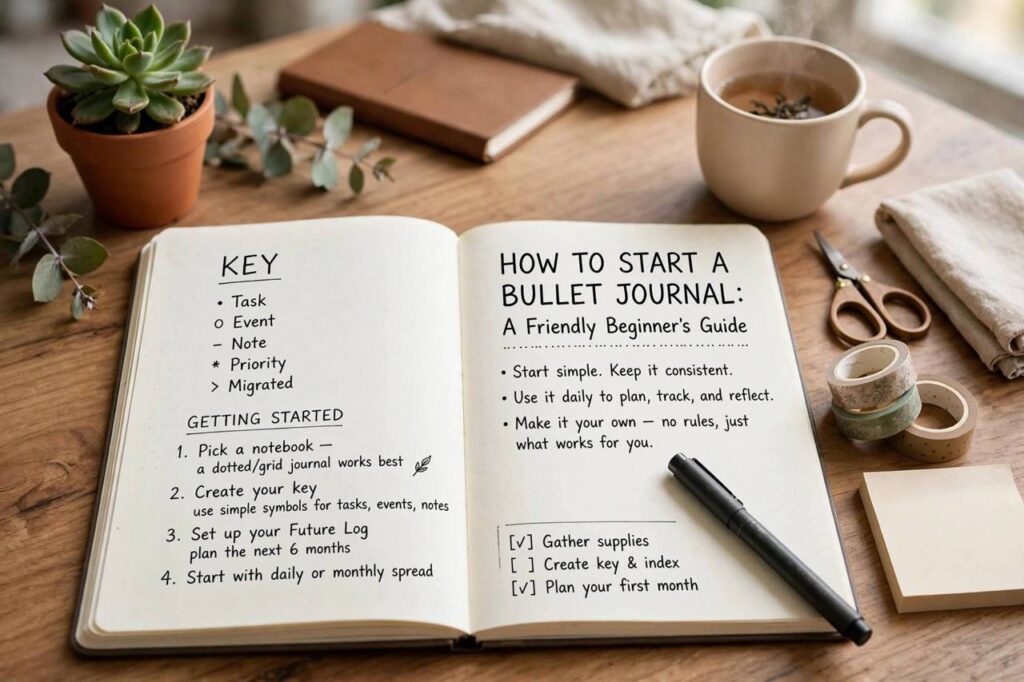
When I first decided to learn how to start a bullet journal, I bought the prettiest dotted notebook I could find, watched about forty setup videos, and then stared at the blank first page for a week. Sound familiar? Here is the good news: a bullet journal is not an art project. It is a flexible, analog system for keeping your tasks, appointments, and thoughts in one notebook — and you can set up a working one in a single afternoon.
Forget the rainbow calligraphy spreads you have seen online (unless those bring you joy). The original method, created by Ryder Carroll, is beautifully simple: short, bulleted entries that you organize with a few standard page types. This guide walks you through everything — supplies, the key system, the core spreads, and a first-week plan — so your journal actually gets used instead of gathering dust on a shelf.
How to Start a Bullet Journal: The Big Picture First
Before you touch a pen, it helps to understand what makes this system different from a regular planner. A pre-printed planner gives you boxes to fill. A bullet journal gives you a method and blank pages, and you build exactly the layouts you need. The philosophy behind how to start a bullet journal is “intentional living” — pausing briefly, writing things down, and deciding what deserves your time.
The whole system rests on two ideas. First, rapid logging: you record tasks, events, and notes as short bullets instead of full sentences. Second, migration: at the end of each month you review unfinished tasks and deliberately move them forward — or cross them out. That monthly review is where the magic happens, because it forces you to notice which “urgent” tasks were never important at all.
What You Actually Need to Begin
One of the best parts of learning how to start a bullet journal is how little you need. The entire required kit is:
- Any notebook. Dot-grid is popular because dots guide your writing without visible lines, but lined, blank, or even a cheap spiral notebook works perfectly.
- A pen you enjoy writing with. One comfortable black or blue pen is all you need. Fancy brush pens are optional and, honestly, a distraction at the start.
That is genuinely it. You can add a ruler for straight lines, washi tape for decoration, sticky notes for temporary lists, and colored markers later — but none of them are required. I used a five-dollar notebook and a single gel pen for my first three months, and that journal worked just as well as the leather-bound one I upgraded to later.
If you want a small upgrade that pays off daily, pick a notebook with numbered pages (or number them yourself) and a built-in index page. The index — a list of your page topics with their page numbers — is what turns a pile of notes into a system you can actually search.

The Key: Your Bullet Journal’s Secret Language
The “bullet” in bullet journal refers to the symbols you put at the start of each entry. Learning the key is the single most important step when figuring out how to start a bullet journal, because every spread uses it. The classic symbols are:
- • (dot) — a task, something to do
- × (X) — a completed task, drawn over the dot
- > (arrow) — a task migrated to another day or month
- < (arrow back) — a task scheduled, moved to the future log
- — (dash) — a note, something worth remembering but not a task
- ○ (circle) — an event, something dated like a meeting or appointment
- ! (asterisk) — a priority marker added to any bullet
Reserve one of the first pages of your notebook for this key so you can glance at it while the symbols become second nature. They will feel clumsy for about three days and automatic by day seven — that is the normal learning curve, and it passes fast.
A practical tip: keep your key short. Beginners sometimes invent twenty symbols and then cannot remember what half of them mean. Five to seven symbols is plenty. You can always add more once the basics are habit.
The Five Core Spreads You Need
Spreads are just the page layouts that hold your system together. When you start a bullet journal, set up these five in order. Do not skip ahead to fancy collections until these exist — they are the skeleton everything else hangs on.
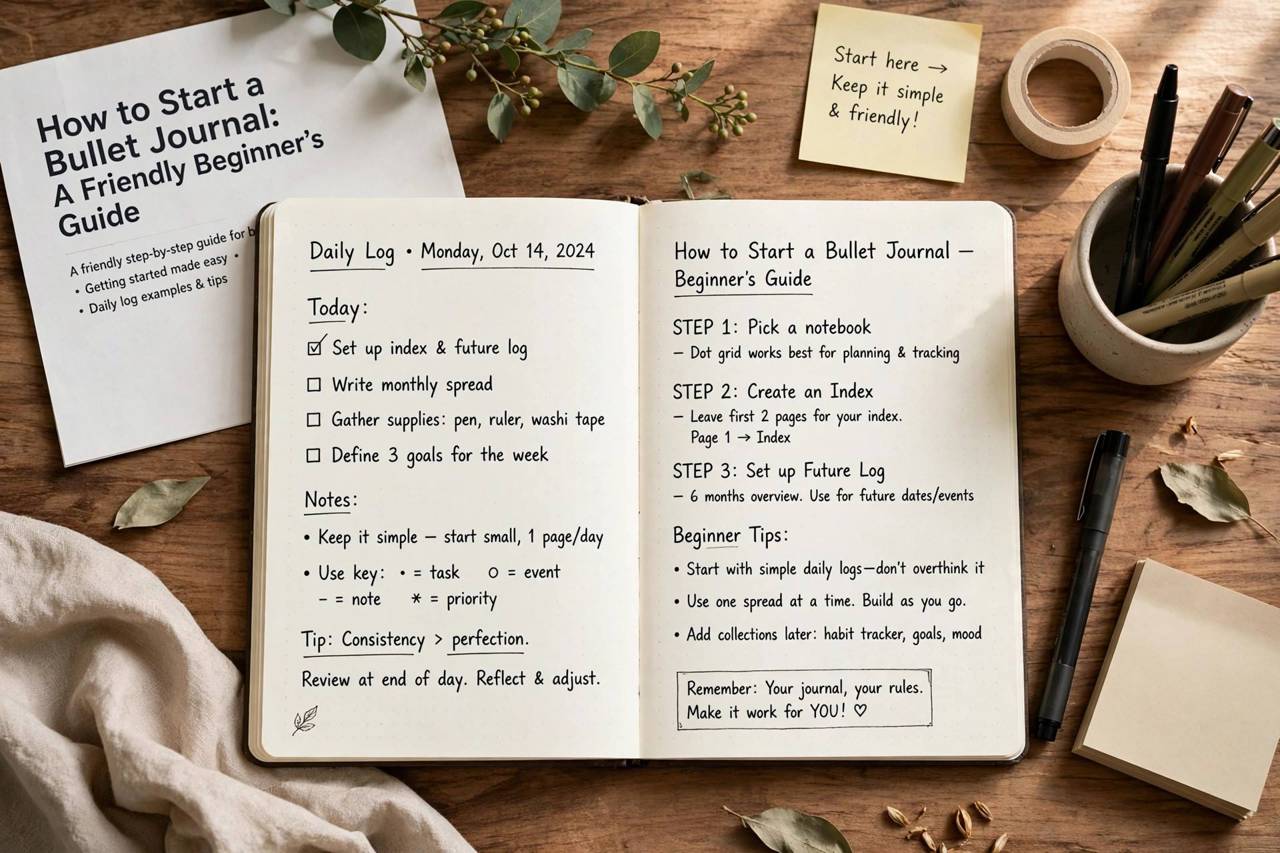
1. The Index
The first spread of your notebook. Every time you create a new spread — a monthly log, a project list, a habit tracker — you add its name and page number here. This two-minute habit is what makes a six-month-old journal searchable instead of a black hole.
2. The Future Log
A year-at-a-glance spread where you park events and deadlines months away: holidays, birthdays, travel dates, project deadlines. Most people divide two facing pages into six boxes (three months each) or use a simple list per month. Anything with a future date goes here until its month arrives.
3. The Monthly Log
Set this up at the start of each month: a calendar page listing the month’s dates down the left with events beside them, and facing it, a task page for everything you want to accomplish that month. The monthly task list is also where migration happens — old tasks you are carrying forward land here.
4. The Daily Log
Your workhorse. Each day gets a dated header and your rapid-logged bullets: tasks, events, and notes as they come. Write them as they occur rather than planning the whole day in advance — the daily log is a capture tool first and a plan second.
5. Collections
Collections are themed pages for anything that deserves its own space: books to read, gift ideas, project plans, packing lists, things you are grateful for. When a collection grows, give it its own page and add it to the index. This is where the journal becomes truly yours.
Your First Week: A Day-by-Day Plan
Knowing the theory is one thing; using the journal is another. Here is a gentle ramp that has worked for dozens of beginners I have coached through their first journal:
Day 1 — Set up. Write your key on page one. Build the index, future log, and this month’s monthly log. Number your pages as you go. This takes about thirty minutes.
Day 2 — Start daily logging. Date a page and rapid-log everything: tasks, calls, ideas, appointments. Do not worry about formatting. Capture is the skill you are practicing.
Day 3 — Add one collection. Pick something fun: a reading list, a wishlist, or a “someday” ideas page. This reminds you the journal is for your life, not just chores.
Day 4 — Try time-blocking. On today’s daily log, assign rough times to your top three tasks. Notice how many fit. Most beginners over-schedule by double; the journal teaches you your real capacity.
Day 5 — Do a mini review. Look back at the week. Cross out completed tasks with a satisfying X. Notice what got ignored — ask yourself whether it actually matters.
Day 6 — Experiment with one layout tweak. Maybe a small habit tracker, a gratitude line at the bottom of the day, or a weekly spread instead of daily pages. Change one thing at a time so you can tell what helped.
Day 7 — Plan next week. Migrate unfinished tasks forward (or drop them), glance at the future log for upcoming dates, and set up next week’s pages. You now have a functioning system.
Minimalist or Artistic? Pick Your Style Honestly
Search results will show you journals that look like illuminated manuscripts. They are beautiful — and they are the reason many beginners quit. Here is my honest advice after years of journaling: start plain. A functional journal you use every day beats a gorgeous one you abandon in February because each page takes forty minutes.
That said, some decoration genuinely helps. A colored header makes pages scannable. A small doodle in the margin makes the habit enjoyable. The test is simple: if decorating makes you more likely to open the journal tomorrow, keep it. If it makes the journal feel like homework, drop it. You can always add flair in month three once the habit is solid.
One more style note: do not tear out “ugly” pages. Everyone’s early spreads look rough. The journal is a tool, not a portfolio, and ripping out pages breaks your page numbering and your index. Leave the messy pages in; they become the funniest thing to look back on.
Mistakes That Kill a New Bullet Journal
Most abandoned journals die from the same handful of errors. Watch for these:
Setting up a month of spreads in advance. Your needs will change by week two. Set up one week at a time so the journal can evolve with you.
Writing tasks you will never do. The monthly migration review exists to catch these. If you have migrated the same task three months in a row, it is either not important (cross it out) or it is too big (break it into a smaller next step).
Keeping a separate to-do app “just in case.” Running two systems means trusting neither. Give the journal a full month as your single capture point before judging it. These organized planner habits pair well with a journal routine once you commit to one home for your tasks.
Comparing your pages to social media spreads. Those photos took hours and were staged. Your journal’s job is to hold your life, not to win likes. Function first, always.
Skipping the monthly review. This is the habit that separates bullet journaling from ordinary list-making. Fifteen minutes at month’s end — reviewing, migrating, reflecting — is what makes the system intelligent instead of just ink on paper.

Keeping the Habit Past Month One
The first month runs on novelty. Month two runs on routine, so build the journal into existing anchors: open it with your morning coffee, and close it with a two-minute evening review where you cross off done items and pull tomorrow’s tasks forward. Those two touchpoints — five minutes total — are the entire maintenance cost of the system.
When life gets busy, shrink the journal instead of abandoning it. A chaotic week gets one line per day, not a full spread. The system survives on consistency, not completeness. And when you fall off for a week (everyone does), just date a fresh page and start again. There is no streak to protect and no penalty for pausing.
Over time, you will notice the journal quietly changing how you spend your days. Writing a task down forces a micro-decision: is this worth my time? That question, asked dozens of times a week, is the real product of the system — and it is why so many people stick with it for years. If you want to squeeze even more out of each day, these ideas for getting more done each day combine naturally with a morning journal session.
Frequently Asked Questions
How much time does a bullet journal take each day?
About five to ten minutes once you are set up: a minute or two of morning planning and a few minutes of logging through the day. The initial setup takes around thirty minutes. If it starts taking much longer than that, simplify your layouts.
Can I start a bullet journal in the middle of the year?
Absolutely — that is one of its biggest advantages over printed planners. Just date your first page with today’s date and go. There are no wasted months and no waiting for January.
What is the best notebook for a bullet journal?
The best notebook is the one you will actually carry and write in. Dot-grid notebooks with thick paper are popular because they guide layouts and handle markers without bleed-through, but a basic notebook works fine for learning the system. Upgrade later if you want to.
Do I need to be artistic to bullet journal?
Not at all. The original method uses plain lists and simple symbols — no drawing required. Artistic spreads are an optional hobby layered on top of the system, not a requirement. Plenty of long-term journalers use nothing but a black pen.
What is the difference between a bullet journal and a regular planner?
A regular planner comes pre-printed with fixed layouts; a bullet journal is a blank notebook plus a method, so you design layouts around your actual life. It also includes reflection tools — the index, migration, and collections — that turn scattered notes into an organized, searchable record.