The first time I installed Stable Diffusion locally, I did it the hard way — manual Python environment, dependency conflicts, three hours of error messages — because I didn’t know the easy way existed. You get to skip my suffering. These days, running it on your own machine is a genuinely approachable afternoon project, and the payoff is enormous: unlimited free image generation, total privacy, and access to thousands of community models that hosted services never offer.
This guide walks you through the whole thing: picking the right interface, installing it, grabbing your first model, and generating your first image. I’ll assume you’re on Windows with an NVIDIA GPU (the most common setup), with notes for Mac and Linux where it matters. If you haven’t yet, check the hardware side first — and if the concept itself is new, my overview of what Stable Diffusion is and how it works is the right starting point.
Table of Contents
- Why Run It Locally Instead of Using a Website?
- Step 1: Check Your Hardware
- Step 2: Choose Your Interface
- Step 3: Install the Software
- Step 4: Download Your First Model
- Step 5: Generate Your First Image
- Step 6: Install Extensions and Explore
- Common Installation Problems and Fixes
- Staying Updated Without Breaking Things
- Frequently Asked Questions
Why Run It Locally Instead of Using a Website?
Hosted AI image generators are convenient, but local running has advantages that matter:
It’s free and unlimited. No credits, no subscriptions, no per-image fees. Once it’s installed, generating a thousand images costs you nothing but electricity.
It’s private. Your prompts never leave your machine. For personal projects, client work, or anything you wouldn’t type into a stranger’s website, this matters.
You get the whole ecosystem. Thousands of community-trained models, styles, and extensions exist for local Stable Diffusion. Hosted services offer a curated slice; local gives you the entire buffet.
It works offline. No internet required once models are downloaded. Generate on a plane, in a cabin, during an outage.
The trade-off is setup effort and hardware requirements. If that trade appeals to you — and if you enjoy tinkering even a little — local is the way.
Step 1: Check Your Hardware
Before downloading anything, confirm your machine can handle it. The short version: you need an NVIDIA GPU with at least 6GB of VRAM, 8GB+ of system RAM, and about 15GB of free disk space. The GPU is the non-negotiable part — everything else is flexible.
Don’t guess at your specs. On Windows, open Task Manager, go to the Performance tab, and check your GPU model and its dedicated memory. If you see 6GB or more on an NVIDIA card, you’re good to proceed. If you’re unsure about the full picture, I’ve written a detailed breakdown of the requirements that covers every component and the workarounds for weaker machines.
Step 2: Choose Your Interface
You don’t interact with the raw model — you use an interface (a “UI”) that wraps it. The three main choices:
AUTOMATIC1111 (A1111). The most popular and most documented. A browser-based interface with every feature the community has invented, plus a massive extension ecosystem. Slightly dated visually, infinitely capable. This is the default recommendation and what this guide assumes.
ComfyUI. A node-based interface — you build generation workflows by connecting boxes. Steeper learning curve, but far more powerful for advanced work: precise control over every step of the process, reusable workflows, and often better performance. Many serious users eventually migrate here.
Fooocus. The minimalist option. Designed for people who just want good images with minimal fiddling — fewer settings, smart defaults, clean interface. Great first choice if A1111’s wall of sliders intimidates you.
My advice: start with A1111 or Fooocus. You can always try the others later — they can share the same downloaded models, so switching costs you nothing but install time.
Step 3: Install the Software
Here’s the modern easy path for AUTOMATIC1111 on Windows:
-
Install Python 3.10. Download it from python.org — version 3.10 specifically, as newer versions cause compatibility headaches. During installation, check the box that adds Python to your PATH. This is the step people skip and then wonder why nothing works.
-
Install Git. Download from git-scm.com. The installer uses Git to fetch updates, so it’s required, not optional.
-
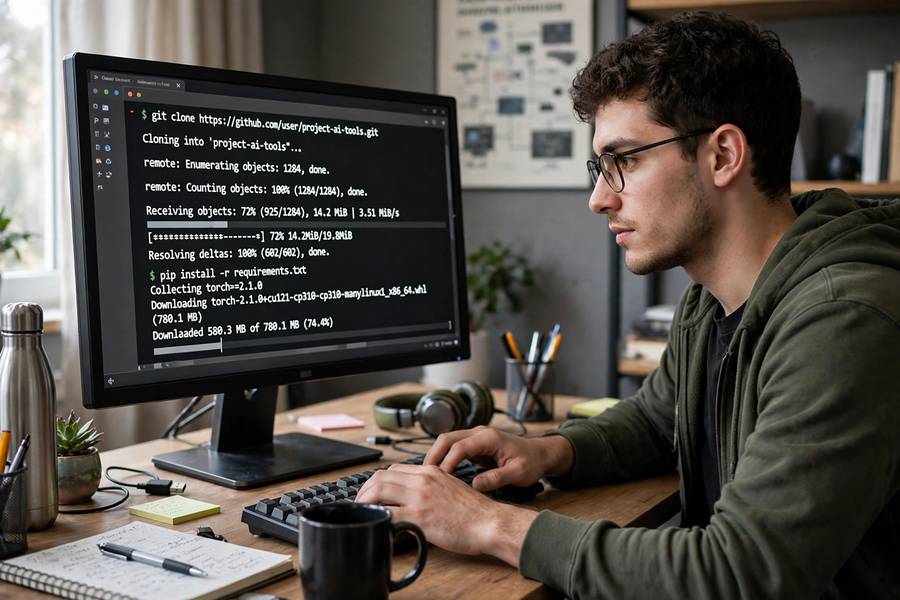
Clone the repository. Open a terminal in the folder where you want Stable Diffusion to live and run the clone command from the A1111 GitHub page. This downloads the interface code.
-
Run the launcher. Double-click
webui-user.bat. The first run downloads PyTorch, dependencies, and supporting files — this takes a while (15–45 minutes depending on your connection) and looks alarming. Let it finish. Future launches are fast. -
Open the interface. When the terminal shows a local URL (usually
localhost:7860), open it in your browser. You’re in.
For Fooocus, it’s even simpler: download the package, run the batch file, done — it bundles everything including Python.
Mac users: the process is similar but uses a different launcher script, and you’ll want the MPS-optimized builds. Performance is decent on Apple Silicon but don’t expect NVIDIA speeds.
Linux users: you already know what you’re doing. Clone, run webui.sh, and enjoy the best performance of any platform.
Step 4: Download Your First Model
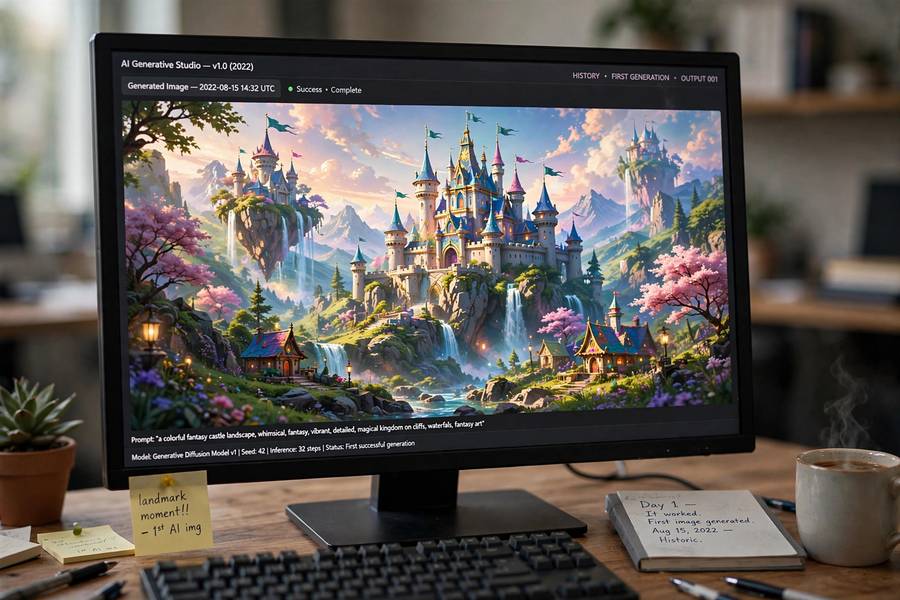
The interface without a model is an empty gallery — you need a checkpoint file. The base model most people start with is Stable Diffusion 1.5 (about 4GB) or SDXL (about 7GB, needs more VRAM).
Download from a model hub (the community’s main libraries), and place the file in the interface’s models/Stable-diffusion folder. Restart the interface, and the model appears in the checkpoint dropdown at the top. Select it.
A practical tip: don’t download twenty models on day one. Start with one solid general-purpose checkpoint and learn prompting first. The model is the engine; your prompts are the steering. A skilled driver in a decent car beats a novice in a supercar — and the same applies here, as anyone exploring whether AI can really make art quickly discovers.
Step 5: Generate Your First Image
With the interface open and a model selected:
-
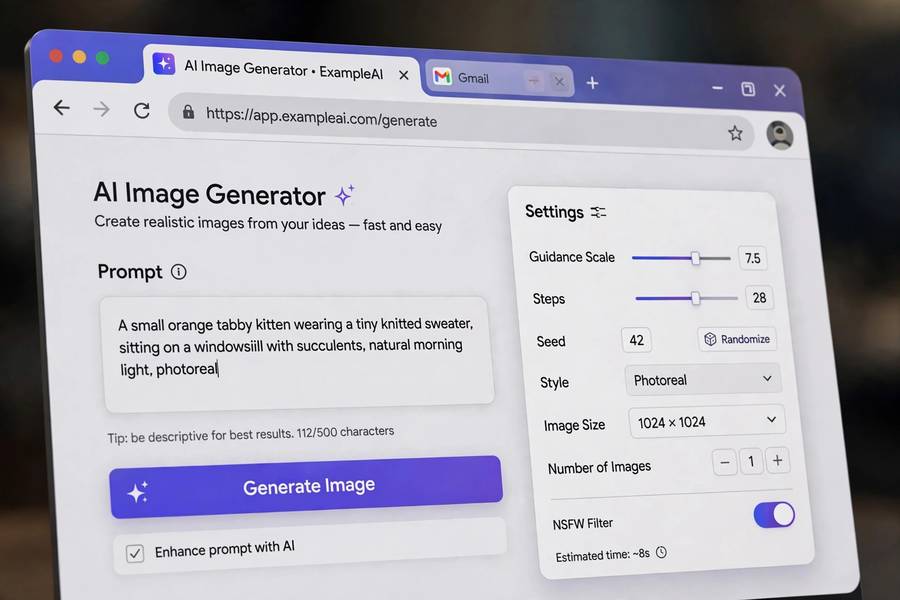
Type a prompt. Start descriptive: “a cozy cabin in snowy mountains at dusk, warm light in windows, detailed, cinematic lighting” beats “cabin.”
-
Set the size. 512×512 for SD 1.5 (its native resolution). Don’t start bigger — upscale later.
-
Leave the rest at defaults. Sampling steps around 20–30, CFG scale around 7. Defaults are sane.
-
Hit Generate. Wait. Watch your first image materialize from noise.
It won’t be perfect. That’s normal and actually the fun part — you’re about to spend the next weeks learning how small prompt changes produce big image changes. Save the ones you like (there’s a save button), note what worked, and iterate.
Step 6: Install Extensions and Explore
Once the basics work, the extension ecosystem is where local Stable Diffusion pulls ahead of everything else:
ControlNet lets you guide generation with poses, edges, depth maps, and reference images — the single biggest leap in controllability.
Upscalers take your 512×512 generations to print-worthy sizes without the mushiness of naive resizing.
LoRAs are small add-on models that teach the base model specific styles, characters, or concepts — thousands are shared by the community.
Prompt helpers (wildcard scripts, prompt galleries) speed up experimentation.
Install extensions from the interface’s Extensions tab — most are one click. Each one is a rabbit hole; budget your time accordingly.
Common Installation Problems and Fixes
“Torch is not able to use GPU.” Your PyTorch installed the CPU-only version. This usually means the installer couldn’t detect your NVIDIA drivers — update your GPU drivers from NVIDIA’s site and reinstall.
Out of memory errors. Close other GPU-using apps (browsers with hardware acceleration are the usual culprit). Lower resolution to 512×512. Enable memory-efficient attention options in settings.
Python version issues. If you installed Python 3.12+ and things break, uninstall it and install 3.10.6. The ecosystem moves slower than Python releases.
The web UI won’t load. Check the terminal for the actual error — the browser showing “can’t connect” just means the backend crashed. The terminal output tells you why. Copy the error into a search; someone has solved it.
It was working, then broke after an update. Extensions break on updates constantly. Disable extensions first when troubleshooting, then re-enable one by one. Keep a note of which extension versions work together.
Staying Updated Without Breaking Things
The ecosystem moves fast, which is both exciting and hazardous. My update discipline:
- Don’t update mid-project. If everything works and you’re in a creative flow, leave it alone.
- Update extensions before the core. Most breakage comes from extension/core mismatches.
- Keep a known-good backup. Copy the whole folder before major updates. Disk space is cheap; rebuilding from scratch is not.
- Read the changelog. Especially for breaking changes to model compatibility.
The beautiful thing about local installation is that it’s yours. No company can deprecate your setup, change the pricing, or filter your prompts. That independence is worth the occasional troubleshooting session — and after the first install, the second one takes twenty minutes.
If you’re curious how this compares to the hosted alternative, my guide on how to use Midjourney covers the other end of the spectrum — cloud-based, polished, and subscription-priced.
Frequently Asked Questions
Yes — the software and base models are free and open source. Once installed, you can generate unlimited images at no cost beyond electricity. You only need a PC with a capable NVIDIA GPU.
The first installation takes 30–60 minutes including downloads (Python, PyTorch, and the model). Subsequent launches take under a minute. Using a one-click installer like Fooocus can cut setup to about 15 minutes.
Only for the initial installation and downloading models. Once everything is downloaded, generation works fully offline — one of the main advantages of running it locally.
Fooocus is easier — minimal settings and smart defaults get you good images fast. AUTOMATIC1111 has far more features and extensions but a steeper learning curve. Start with Fooocus if you want simplicity, A1111 if you want depth.
Yes, on Apple Silicon Macs (M1 and later) via Apple’s Metal framework. It works but is slower than an equivalent NVIDIA setup, and some extensions lag behind. Intel Macs are not practical for this.