How to Ripen Bananas Quickly: 6 Methods Ranked by Speed

There is a special kind of frustration in buying bananas for tomorrow’s baking and finding them still green, or wanting a sweet banana today and staring at a bunch the color of limes. I have been on both sides of this — the banana bread emergency is practically a rite of passage in my kitchen. So here is everything I know about how to ripen bananas quickly: the methods ranked by actual speed, the honest caveat about heat methods that nobody mentions, and how to control the process in both directions.
The science in one paragraph: bananas ripen because of ethylene gas, a natural plant hormone they produce themselves. Ethylene triggers the conversion of starches to sugars (that is why ripe bananas taste sweet), softens cell walls, and develops the aroma compounds. Green bananas are not “unripe” in some mysterious way — they are just bananas that have not been exposed to enough ethylene yet. Every ripening method below is a strategy for concentrating ethylene around the fruit, or accelerating the chemistry with heat. Once you see that, the whole topic clicks.
How to Ripen Bananas Quickly: Methods Ranked by Speed
1. The oven method — 15 to 30 minutes (with a caveat)
Place unpeeled bananas on a foil-lined baking sheet and bake at 300°F (150°C) for 15–30 minutes, until the skins turn black and shiny. They will look alarming — nearly burnt — but inside, the flesh softens and sweetens dramatically. This is the fastest method by far, and it is the one to use for banana bread and baking, where texture does not matter.
Here is the caveat I promised: heat changes the texture. Oven-ripened bananas are soft, almost jammy, and slightly cooked-tasting. They are perfect mashed into batter, but nobody is slicing these onto cereal and enjoying it. Heat accelerates sugar development without fully replicating natural ripening’s texture. Know what you are making before you choose this method — for baking, it is unbeatable; for eating fresh, skip it.
2. The microwave method — 30 seconds (emergency only)
Poke holes in the peel with a fork, microwave on medium for 30 seconds, check, and repeat if needed. This softens a banana fast enough for mashing into oatmeal or a smoothie. But let us be honest: this is not ripening, it is cooking. The flavor stays starchy and bland compared to ethylene-ripened fruit. Use it when you need soft banana now and flavor is secondary — a hungry toddler does not critique sugar development.
3. The paper bag method — 1 to 2 days
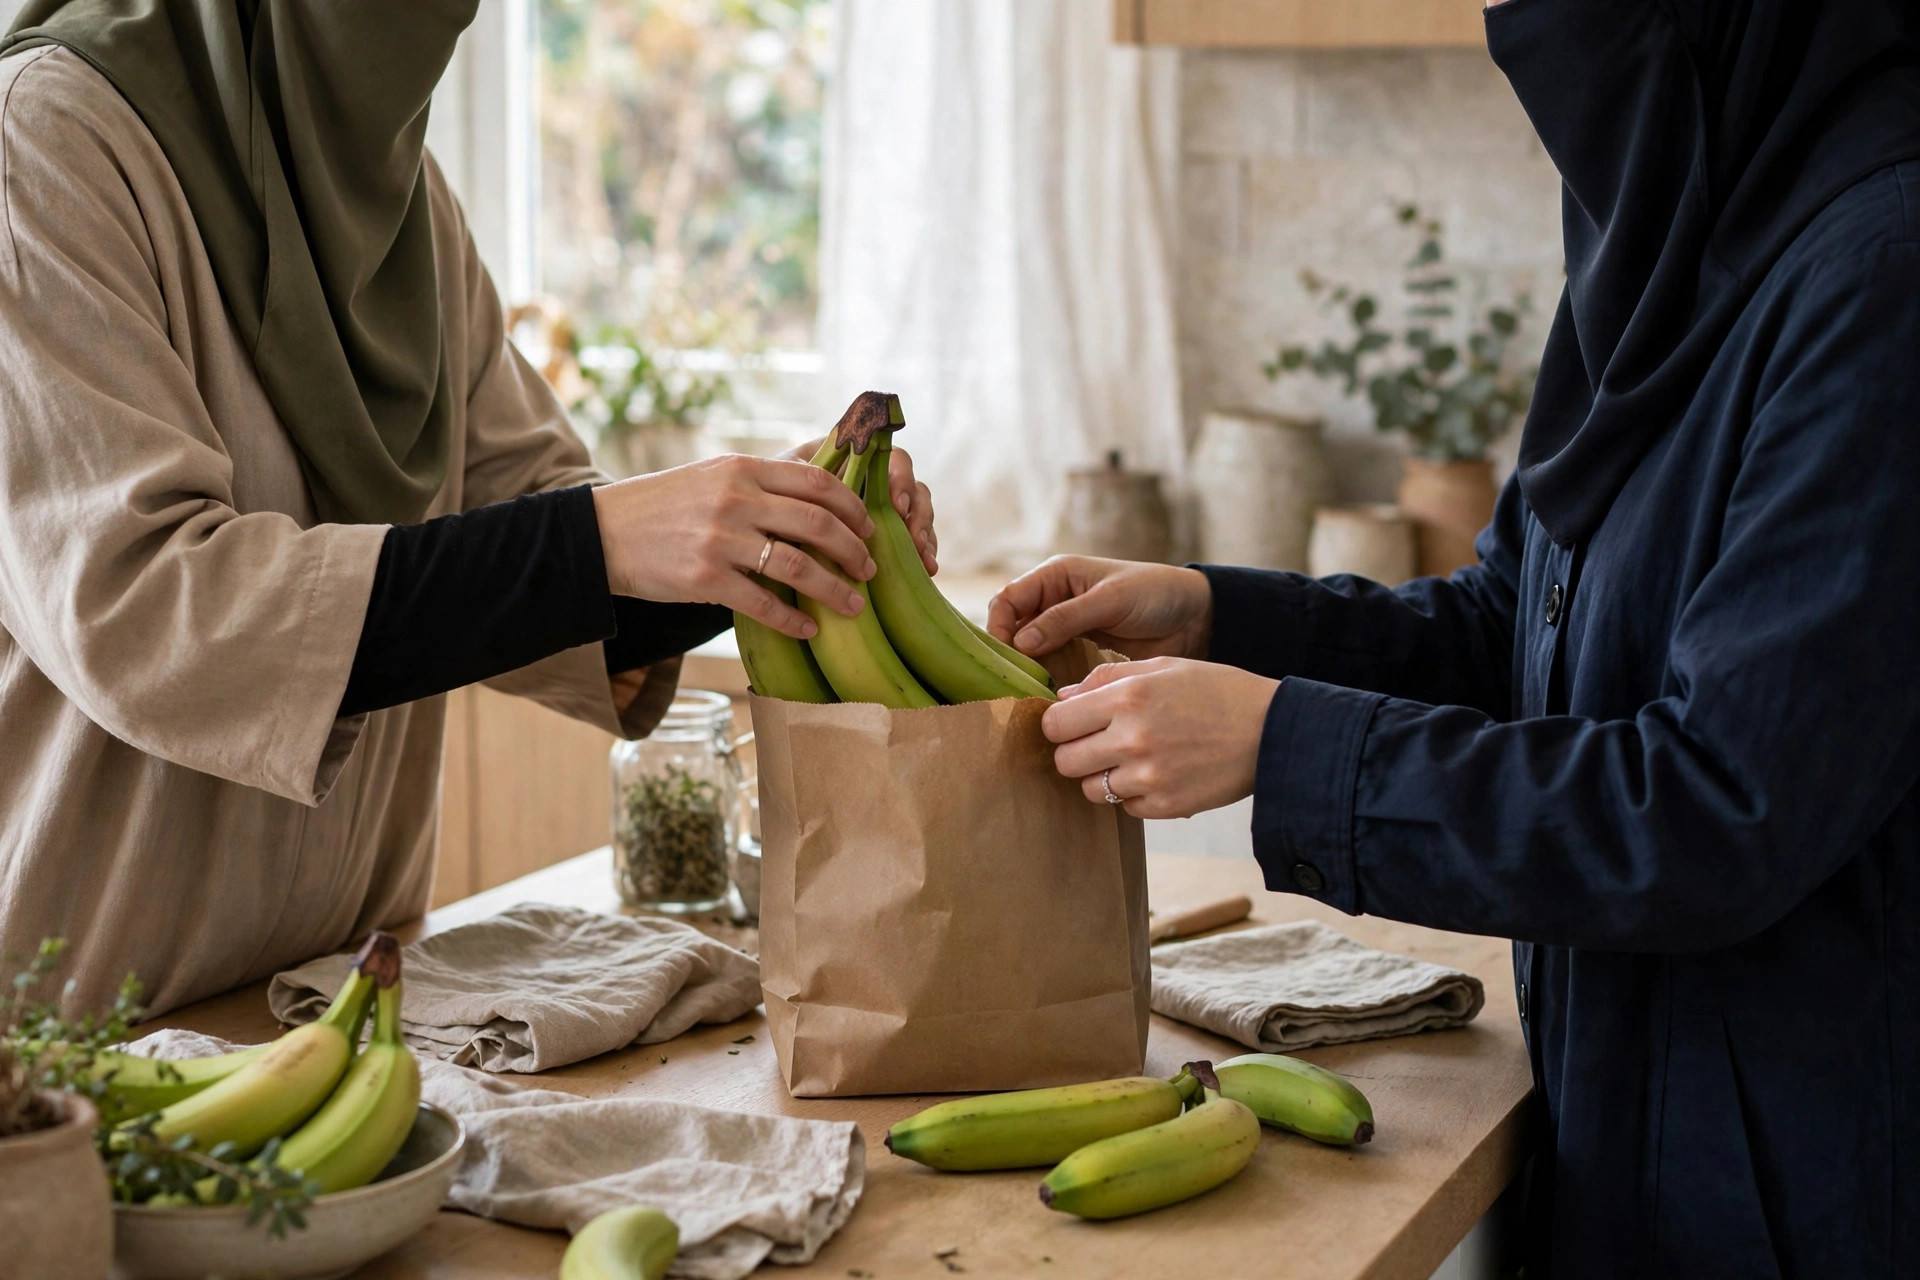
Put the bananas in a brown paper bag, fold the top closed, and leave it at room temperature. The bag traps the ethylene the bananas naturally emit, concentrating it around the fruit and roughly halving the ripening time versus sitting on the counter. This is my default recommendation: it is the fastest natural method, it costs nothing, and the bananas taste like bananas.
The accelerator: add an apple, pear or avocado to the bag. These fruits are heavy ethylene producers, and one apple can cut the time further — often to under 24 hours. This is the trick I use when banana bread is planned for tomorrow and the bananas are still stubbornly green tonight.
4. The warm spot method — 2 to 3 days
Bananas ripen faster in warmth. A spot on top of the fridge, near (not on) a sunny window, or any warm corner of the kitchen speeds things up versus a cool countertop. Do not put them in direct hot sun or on a radiator — excessive heat cooks rather than ripens. Gentle ambient warmth is the goal. Combined with the paper bag, this is nearly as fast as the bag alone in a cool kitchen.
5. The rice method — 1 to 2 days
Bury bananas in a container of uncooked rice. Like the paper bag, this traps ethylene — rice is just a very effective enclosure. It works about as fast as the bag method. The downside: rice dust on the peels (harmless, wipes off) and tying up a container of rice. I mention it because it is popular in some cuisines and genuinely effective, but the paper bag is simpler.
6. Just wait — 3 to 5 days
Bananas left on the counter at room temperature ripen on their own schedule. Separating the bunch (breaking the bananas apart) actually slows ripening slightly, since clustered bananas share ethylene — so keep the bunch intact if you want speed, separate them if you want to stretch the timeline.
The Speed-Ranked Cheat Sheet
For the skimmers, here is the whole article in one table:
Need it in under an hour (for baking): oven method, 300°F for 15–30 min. Texture changes; flavor great for baking.
Need it in under a minute (for mashing): microwave 30 seconds. Emergency texture; bland flavor.
Need it tomorrow (for eating fresh): paper bag + an apple, at room temperature. Natural ripening, full flavor.
Need it in a few days: paper bag alone, or a warm spot in the kitchen.
Want to slow it down: separate the bunch, keep cool, refrigerate once ripe (more below).
Slowing It Down: The Other Direction
Ripening control goes both ways, and knowing how to hit pause is just as useful. Once bananas reach your ideal ripeness, refrigerate them. The cold halts further ripening — the peel will darken (sometimes dramatically), which alarms first-timers, but the flesh inside stays exactly as ripe as when it went in. Black peel, perfect banana: trust the flesh, not the skin.
For longer storage, freeze them: peel, slice into chunks, freeze on a tray, then bag. Frozen banana chunks are smoothie gold and keep for months. And if you buy green deliberately — smart shopping, by the way — keep them separated and cool, and only bag them when you want the countdown to start. You are the ethylene manager now.
Choosing Bananas at the Store (Ripeness Strategy)
Buy in stages if you eat bananas daily: some ready-to-eat yellow, some green for later in the week. Look for firm green bananas with no bruising if you are buying ahead — bruises ripen first and become mushy spots while the rest catches up. Avoid bananas with split peels or fermented smells; those are past saving. And size the purchase to your actual consumption — the fastest ripening method is buying only what you will eat.
Banana Ripeness Stages: What Each Stage Is For
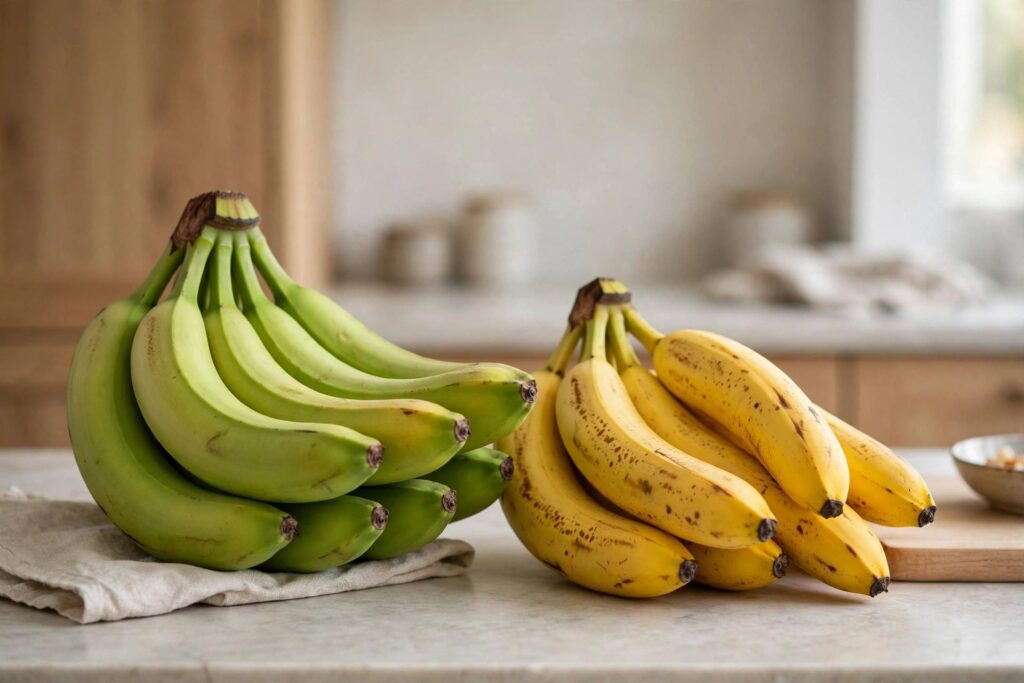
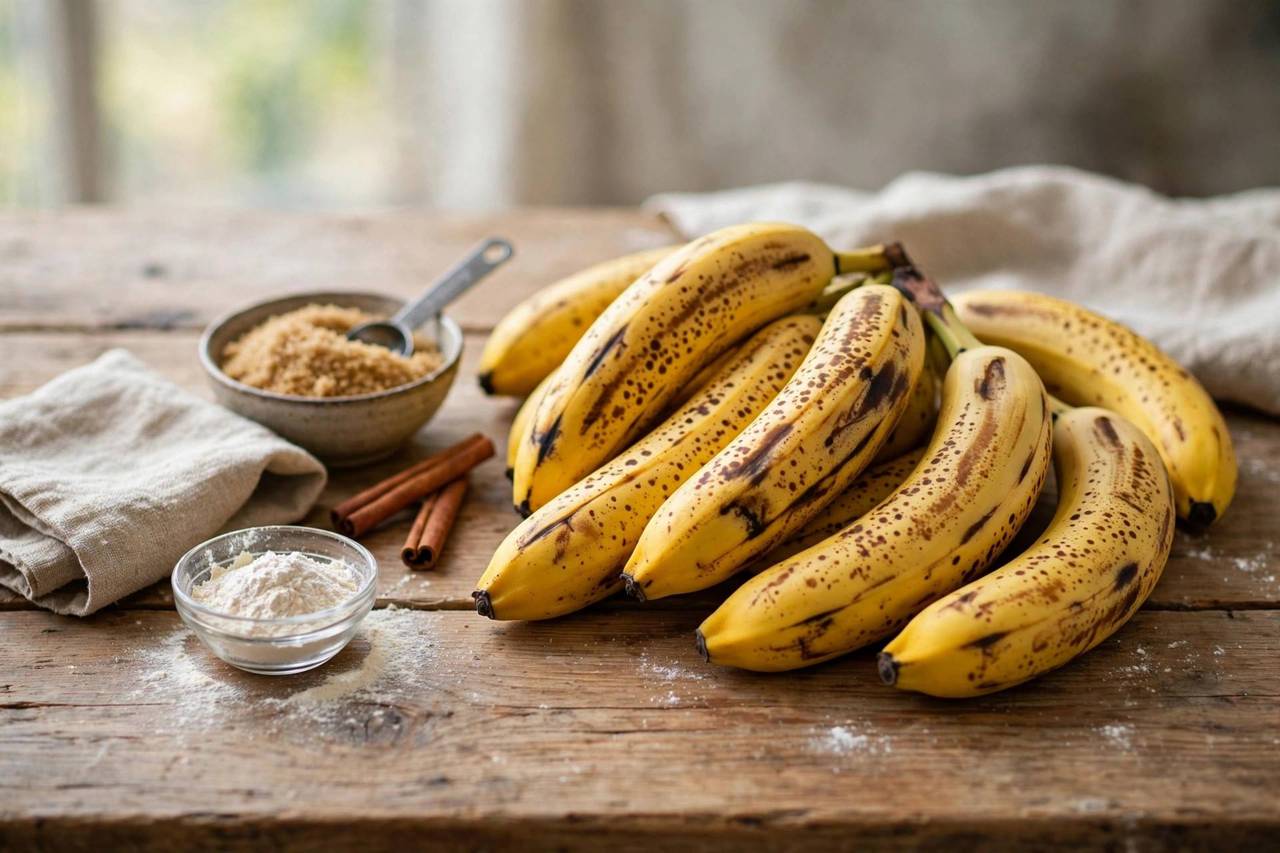
Bananas move through distinct stages, and each has a best use — ripeness is not a single target, it is a spectrum. Stage 1–2 (all green): starchy, firm, mildly astringent. Best for cooking applications in cuisines that use green bananas as a vegetable — not for eating fresh. Stage 3–4 (green-yellow): firmer, less sweet, with a slight tang. Good for fruit salads where slices must hold their shape, and for lunchboxes where the banana needs to survive a bag. Stage 5 (full yellow): the classic eating banana — sweet, firm, aromatic. Peak fresh-eating stage. Stage 6 (yellow with brown spots): sweeter, softer, more fragrant. The spots are sugar, not rot — this is the stage many banana lovers consider peak flavor, and it is ideal for smoothies. Stage 7 (mostly brown): very soft, intensely sweet. Do not eat fresh — but this is banana bread perfection. The starches have fully converted to sugar, which means deeper flavor and more moisture in baking.
The practical takeaway: stop treating brown spots as a defect. Buy bananas across stages 3 through 5, eat the yellow ones fresh, and let the rest march toward stage 7 for baking — or freeze them at stage 6 for smoothies. The only truly “bad” banana is one that is slimy, leaking, or smells of alcohol — that is fermentation, and it has crossed from ripe to spoiled. Everything before that is just a different ingredient waiting for its recipe.
Buying strategy for a week of bananas: if your household eats a banana a day, buy seven spanning the stages — two at stage 5 for today and tomorrow, three at stage 3–4 for midweek, two green for the weekend. Keep the green ones separated and cool to slow them, and move them into the paper bag as their turn approaches. It sounds fussy; in practice it takes ten seconds at the store and means you never again face the twin tragedies of five ripe bananas on Tuesday and nothing edible on Saturday. A little planning at the produce stand beats every emergency ripening trick in this guide.
Frequently Asked Questions
How can I ripen bananas in one day?
Put them in a brown paper bag with an apple or avocado, folded shut, at room temperature. The trapped ethylene plus the apple’s extra ethylene typically ripens green bananas within 24 hours with full natural flavor.
Does the oven method really work for banana bread?
Yes — 300°F (150°C) for 15–30 minutes until the skins blacken. The flesh becomes soft, sweet and perfect for mashing into batter. Do not use oven-ripened bananas for fresh eating; the heat changes the texture.
Why do bananas ripen faster in a paper bag?
Bananas naturally emit ethylene gas, which triggers ripening. The bag traps that gas around the fruit instead of letting it disperse, concentrating the ripening signal. Adding an ethylene-heavy fruit like an apple amplifies the effect.
Can you ripen bananas in the microwave?
You can soften them in about 30 seconds, but it cooks rather than ripens — the flavor stays starchy. It works for mashing into oatmeal or smoothies in an emergency, not for producing a good eating banana.
How do I stop bananas from ripening too fast?
Separate the bunch, keep them cool, and refrigerate once ripe — the peel darkens but the flesh holds. For long-term, peel, slice and freeze; frozen chunks keep for months and are perfect for smoothies.
The Bottom Line
How to ripen bananas quickly: for baking, the oven (15–30 min, texture changes); for eating fresh, the paper bag with an apple (about a day, perfect flavor). Everything else is a variation on trapping ethylene or adding heat. And once they are ripe, the fridge is your pause button — black peel, perfect banana, no panic.