
Let me start with the truth, because the internet is full of lies about this: dunking is mostly math. Your standing reach plus your vertical jump needs to clear about 10 feet 6 inches (the rim is 10 feet to stuff the ball through). That’s it. That’s the whole equation. Everything else is training.
I never dunked in a game. I’ll say that up front — 6’1″, decent hops, could grab the rim but never finished one live. But I trained with guys who did, I studied the program like it was a final exam, and I got my vertical from 24 inches to 31 inches in one offseason. I know exactly what works, what doesn’t, and where the honest line is between “possible” and “probably not.”
If you’re a regular athlete with a real training plan, dunking is achievable. Here’s the complete guide.
Table of Contents
- The Dunk Equation: Do the Math First
- Can You Actually Learn to Dunk? (Honest Answer)
- Phase 1: Build the Base (Weeks 1-4)
- Phase 2: Get Explosive (Weeks 5-10)
- Phase 3: Peak and Test (Weeks 11-12)
- Dunk Technique: The Part Nobody Trains
- One-Foot vs. Two-Foot Jumpers
- The Palm Problem: Gripping the Ball
- Nutrition and Recovery: The Boring Multipliers
- What the Numbers Say: Realistic Timelines
- Frequently Asked Questions

The Dunk Equation: Do the Math First
Grab a tape measure and a wall. Stand flat-footed, reach as high as you can with one hand, mark it. That’s your standing reach. Now the math:
Standing reach + vertical jump ≥ 126 inches (10’6″) = dunk territory.
Example: you’re 6’0″ with a 7’8″ (92″) standing reach. You need a 34-inch vertical to dunk. That’s elite — top 5 percent of athletes. Now take a 6’4″ player with a 96″ reach: they need 30 inches. Still serious, but very trainable.
Measure your current vertical: stand next to a wall, mark your reach, then jump and mark the highest point. The difference is your vertical. Most untrained athletic guys are at 20-26 inches. Most untrained athletic women are at 14-20 inches.
This math tells you your gap. A 6-inch gap is a great project. A 12-inch gap is a serious commitment. A 16-inch gap means you should still train — you’ll become a dramatically better athlete — but manage expectations. I respect the math too much to lie about it.
Can You Actually Learn to Dunk? (Honest Answer)
Yes, if the math is close. I’ve watched it happen: a teammate came into college with a 26-inch vertical at 6’3″, couldn’t dunk. One dedicated offseason later: 32 inches, dunking in warm-ups by December. No magic — just progressive overload, plyometrics, and consistency.
What doesn’t work: random jumping, endless pickup games (conditioning, not jump training), and every “add 10 inches in 30 days” program online. Vertical jump responds to structured stress and recovery over months, not weeks. Genetics set your ceiling, but almost nobody trains long enough to find theirs.
Phase 1: Build the Base (Weeks 1-4)
You can’t fire a cannon from a canoe. Before plyometrics, you need strength — specifically, squat strength. The research is clear: vertical jump correlates strongly with relative squat strength (how much you squat compared to your bodyweight).
The goal: work toward squatting 1.5x your bodyweight. You don’t need to reach it in four weeks — you need to be on the road.
Weekly template (3 days):
- Day 1 — Lower strength: Back squat 4×6, Romanian deadlift 3×8, Bulgarian split squat 3×8 each leg, calf raises 3×15.
- Day 2 — Upper + core: Push-ups, rows, planks, done in 30 minutes. Balanced athletes stay healthy.
- Day 3 — Lower strength (variation): Front squat 4×5, trap-bar deadlift 3×6, walking lunges 3×10 each leg, calf raises 3×15.
Add weight when you can complete all reps with good form. This phase is boring but essential — it’s the foundation everything else stands on. I added 40 pounds to my squat here, and my vertical went up 2 inches without a single plyometric.
For the upper-body and core days, bodyweight exercises that build explosive legs and how to do push-ups for upper-body power are solid resources.
Phase 2: Get Explosive (Weeks 5-10)
Now we convert strength into power. Strength is how much force you produce; power is how fast you produce it. Dunking is pure power.
Plyometric rules: quality over quantity, full recovery between sets (2-3 minutes), stop when jump height drops. Tired plyometrics train slowness. Two sessions per week maximum.
The core exercises:
Depth Jumps
Step off a 12-18 inch box, land, and immediately jump as high as possible. The ground contact should be under 0.25 seconds — think “hot coals.” 3 sets of 5 reps. This is the single best vertical jump exercise in existence, and it’s not close. The rapid stretch-shortening cycle trains exactly what dunking demands.
Box Jumps
Jump onto a box (start at 24 inches, work up), land soft, step down. 4 sets of 5. These build explosive hip extension safely — the landing is the dangerous part of jumping, and box jumps remove it.
Single-Leg Bounds
Bound forward like an exaggerated running stride, covering maximum distance per bound. 3 sets of 20 meters per leg. These build the single-leg power that one-foot jumpers need.
Approach Jumps
Practice your actual dunk approach: dribble in, plant, jump, and touch as high as you can on the backboard. 10 reps. This bridges gym power and court skill — and it’s the most fun part of training.
Weekly template: 2 strength days (heavier: squat 5×3, deadlift 4×4) + 2 plyo days + 1 approach-jump day. Keep jumping volume moderate — tendons need time to adapt.
Phase 3: Peak and Test (Weeks 11-12)
Cut volume in half, keep intensity high — a taper sheds fatigue while keeping the nervous system sharp. Test your vertical at the end of week 12, fresh, after a good warm-up.
Then go dunk. Lower the rim to 9’6″ first if you need to — there’s no shame in it, and feeling the motion of actually dunking teaches your body the coordination. Work up to 10 feet. Film it. I don’t care if it’s ugly — your first dunk is your first dunk.
Dunk Technique: The Part Nobody Trains
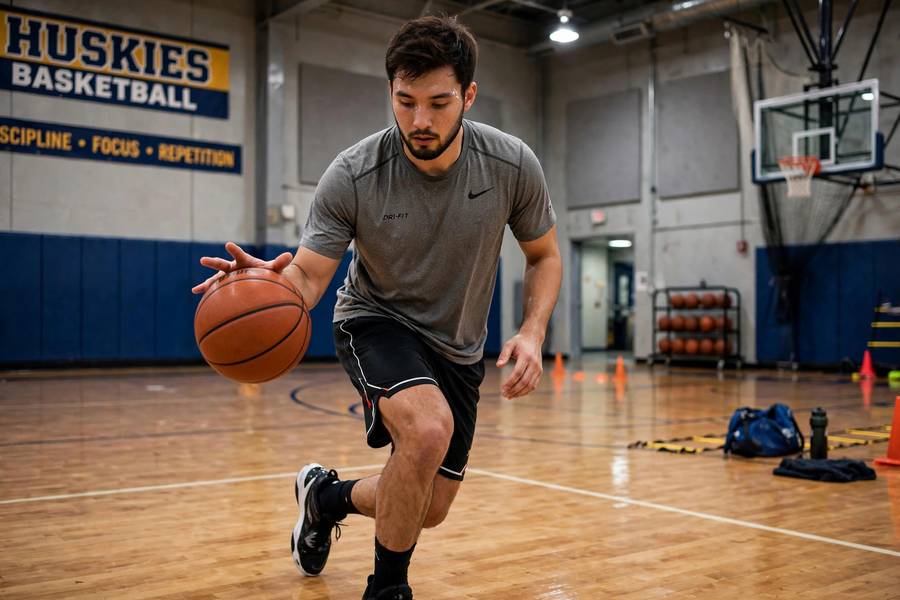
Everyone trains the jump; nobody trains the dunk. But dunking is a skill with technique, and technique is free inches.
The approach: For two-foot jumpers, it’s a controlled 3-4 step approach — the last two steps are the key. Penultimate step (second-to-last) is long and low; final step is short and quick, planting both feet slightly ahead of your hips. That plant converts horizontal speed into vertical lift.
The gather: bring the ball from your dribble to your dunking hand (or two hands) as you plant. Fumbling the gather kills more dunk attempts than lack of height. Practice the gather separately — dribble, plant, gather, jump, 50 reps.
The finish: extend fully at the top, wrist above the rim, and push the ball down through the cylinder. Your first hundred dunks should be simple one-handers — style comes after consistency.
Jumping off the right spot: take off about 2-3 feet from the basket — close enough to reach, far enough to extend. Too close and you’re cramped; too far and you’re reaching. Mark your spot with tape during practice.
One-Foot vs. Two-Foot Jumpers
You’ll naturally prefer one. One-foot jumpers (like most guards) use speed and a long penultimate step — they tend to jump higher off the run but need more space. Two-foot jumpers (like most bigs) use power and a quick plant — better in traffic, better off a standstill.
Train your natural style, but develop both — I was a two-foot jumper who added one-foot bounding work, and my overall athleticism jumped.
Quick test: run and jump naturally five times. Whichever foot pattern you default to is your style. Don’t fight it; refine it.
The Palm Problem: Gripping the Ball
Can you palm a basketball? If yes, dunking gets much easier — one hand controls the ball all the way up. If no (like me, and like most people under 6’4″), you need two hands or a cuff technique.
Two-hand dunk: gather with both hands, jump, stuff it with both. Requires slightly more height (both hands need to clear) but much more control. This is how most first dunks happen.
The cuff: pin the ball against your forearm with your hand — it locks in surprisingly well. Practice cuffing during approach jumps until it’s automatic.
Ball size matters for practice: train with a slightly smaller ball (a women’s size 6) to learn the motion, then graduate to regulation. And if your hands are small, accept it and master the two-hander — there’s no prize for palming, only for dunking.
Nutrition and Recovery: The Boring Multipliers
You don’t need a perfect diet. You need enough protein (~0.7-1g per pound of bodyweight daily), enough sleep (8 hours — this is when your tendons actually adapt), and enough food (you can’t build power in a big calorie deficit).
The recovery point is critical: plyometrics beat up your joints. One rest day between hard sessions minimum. If your knees ache going down stairs, you’re overdoing it — back off for a week. I lost a month to patellar tendonitis from overeager depth jumps, and it taught me that patience is a training variable.
What the Numbers Say: Realistic Timelines
Honest data from my training logs and teammates:
- Starting vertical 24-28″, need 4-6 more inches: 3-4 months of structured training. Very achievable.
- Starting vertical 20-24″, need 8-10 inches: 6-9 months. Achievable with serious commitment.
- Starting vertical under 20″, need 12+ inches: 12+ months, and genetics start mattering. Train anyway — you’ll add real inches and become a better athlete regardless.
The first 4 inches came fast (neurological gains — your body learning to use what it has). The last 3 inches were a grind (actual tissue adaptation). That curve is normal: fast early, slow late.
One more number that matters: bodyweight. Every 5 pounds of unnecessary weight is roughly an inch of vertical you’re carrying around. Getting leaner is the cheapest vertical gain available — no training required.
Schedule sessions when you’re freshest — I plan around the best time of day to train because jump training on tired legs is how injuries happen.

Frequently Asked Questions
Your standing reach plus your vertical jump needs to total about 10 feet 6 inches — the rim is 10 feet and your wrist must clear it. For a 6’0″ player with average reach, that means roughly a 34-inch vertical; taller players need less. Measure your standing reach and current vertical to find your exact gap.
It’s possible but difficult — a 5’10” player typically needs a 36-40 inch vertical, which is elite territory. Shorter dunkers exist (Spud Webb was 5’7″ with a 42-inch vertical), but they are genetic outliers who trained for years. If you’re under 6 feet, train for the vertical anyway — the athleticism transfers everywhere.
For an athletic beginner who needs 4-6 inches of vertical, expect 3-4 months of structured training. Needing 8-10 inches takes 6-9 months. Gains come fast early (your nervous system learning to fire) and slow later (actual muscle and tendon adaptation). Consistency beats intensity.
Depth jumps are the most effective single exercise — stepping off a box and immediately jumping trains the exact explosive stretch-shortening cycle dunking requires. Heavy squats build the strength base that plyometrics convert into power. The combination of both, programmed properly, beats any single exercise.
No. Most first dunks are two-handed — gather with both hands and stuff it through. The cuff technique (pinning the ball against your forearm) also works for smaller hands. Palming helps but is absolutely not required; plenty of dunkers never palm a regulation ball.
Jump training stresses the knees and patellar tendons, but done progressively it’s safe for healthy athletes. The danger is too much volume too soon — ramp plyometrics gradually, take full rest days, and back off immediately if you feel tendon pain. Strength training actually protects knees by building the muscles that stabilize them.