Basketball Jump Shot Technique: The Complete Breakdown

I spent an entire summer at age sixteen rebuilding my jump shot, and I can tell you exactly when it clicked: the day my coach made me shoot 200 shots without jumping at all. Just the upper-body motion, feet planted. It felt ridiculous. It also exposed that my legs and arms had never once worked together — my jump shot was really two separate movements stapled together. Most inconsistent shooters have the same problem.
The jump shot looks like one fluid motion, but it’s actually four phases that have to sync perfectly: footwork, the dip, the lift and release, and the landing. This guide breaks down proper basketball jump shot technique phase by phase, with the drills that stitch them together. If your fundamentals need a reset first, our guide to proper basketball shooting form covers the base.
In this guide:
- The Jump Shot in Four Phases
- Phase 1: Footwork and the Catch
- Phase 2: The Dip and Loading
- Phase 3: The Lift and Release
- Phase 4: The Landing
- Rhythm: The Invisible Ingredient
- Drills That Build a Real Jump Shot
- Film Yourself: The Fastest Fix
The Jump Shot in Four Phases
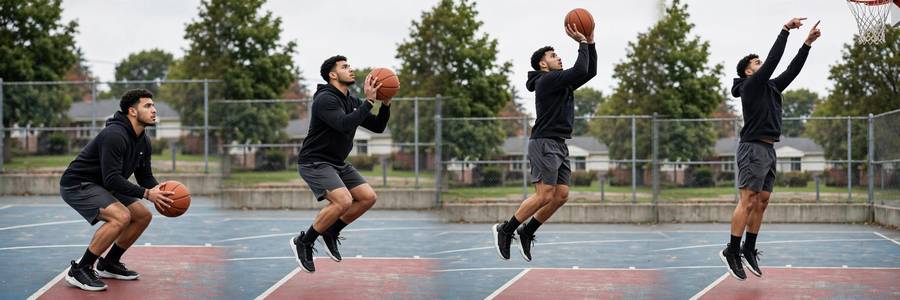
Elite shooters make it look effortless because every phase flows into the next with no wasted motion and no hesitation. The phases: 1) footwork — getting your feet set and aligned as you catch; 2) the dip — a slight knee bend and ball drop that loads the shot; 3) the lift — rising into the shot with the release at or near the peak; 4) the landing — balanced, forward, ready for the next play. Problems in any phase leak into the others, which is why diagnosing jump shot issues means checking all four.
Phase 1: Footwork and the Catch
Everything starts before the ball arrives. As the pass comes, hop or step into a 1-2 step (inside foot, then shooting foot) or a small jump stop (both feet landing together). Your feet should land roughly shoulder-width apart, toes pointed at the rim or very slightly turned, knees already soft. The great shooters are “down and ready” before the catch — their lower body is loaded while the ball is still in the air.
Two details that separate good from great: square early — your hips and shoulders should face the basket as your feet land, not rotate into it during the shot — and catch with your eyes up. If you’re looking down at the ball as you catch, you’ve lost a quarter-second and your rhythm. Hands ready, eyes on the rim, feet landing loaded. The shot is half-made before you ever leave the ground.
Phase 2: The Dip and Loading
The dip is the small downward motion — knees bend, ball drops slightly to your shooting pocket — that loads the shot like a spring. It should be quick and shallow, not a deep squat. Watch Steph Curry: his dip is barely perceptible, just enough to engage his legs. Beginners either skip the dip entirely (all arms, no legs — the classic short-armed miss) or dip too deep and slow (which kills rhythm and lets defenders recover).
The ball path matters here too. The ball should come up the shot line — a straight vertical path from your shooting pocket to your release point, slightly to your shooting side. If the ball swings out wide or loops around your body during the dip, your release point moves every shot, and consistency dies. Keep it tight, keep it straight, keep it quick.
Phase 3: The Lift and Release
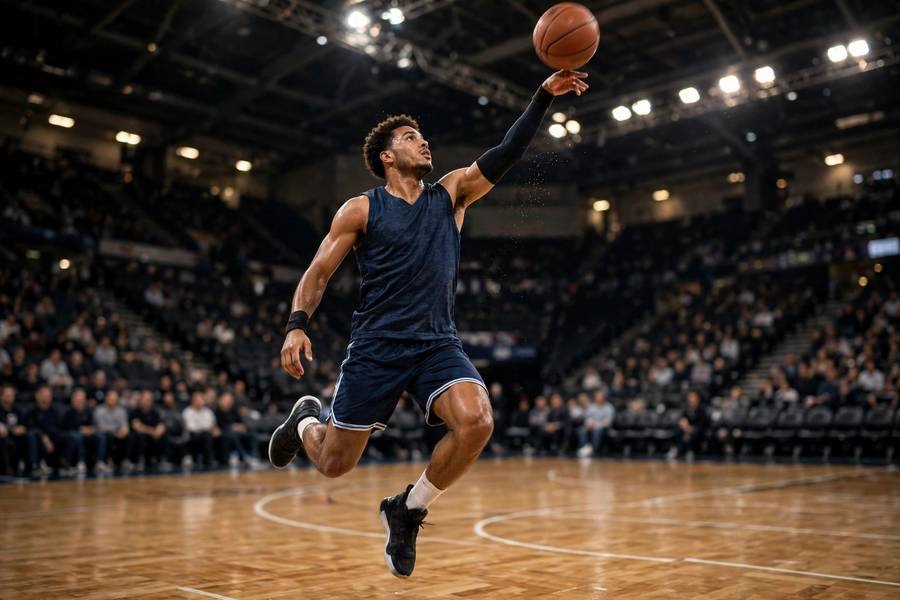
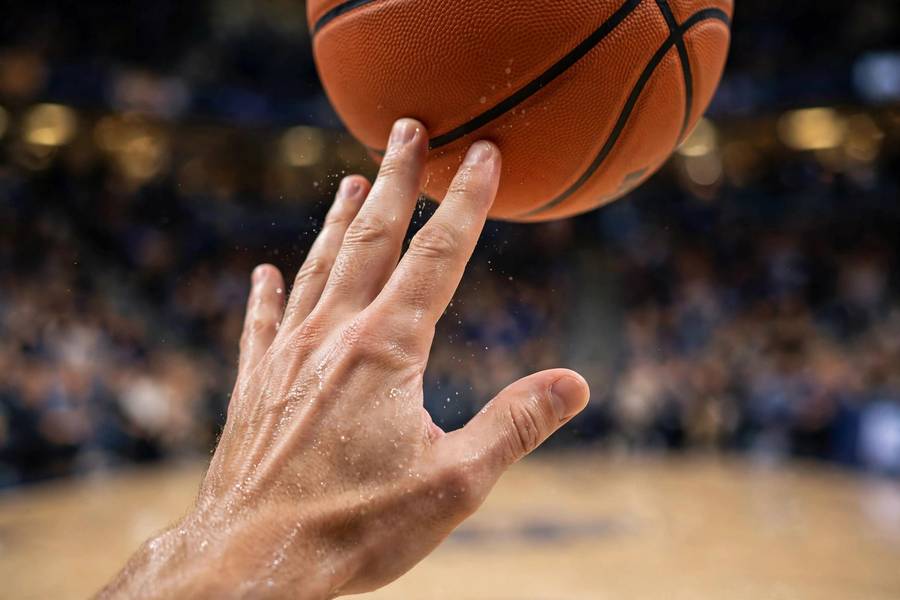
Now the legs drive: extend ankles, knees, and hips in one explosive upward motion, and the ball rides up the shot line. The release happens at or just before the peak of your jump — releasing on the way up (too early) or on the way down (too late) both wreck timing. Your shooting elbow finishes high, wrist snaps through, and fingers point down at the rim in the classic follow-through.
Power distribution is the key insight most players miss: on a jump shot, your legs provide the distance, your arms provide the direction. If you’re straining with your arms to reach the rim, your legs aren’t doing their job — and arm-powered shots are flat, inconsistent, and exhausting. When the legs do the work, the upper body stays relaxed and repeatable. Short shots mean more legs, not more arms. If your legs are the limiter, the strength training for runners programs build exactly the explosive lower-body power a jump shot needs.Say that to yourself for a month.
Phase 4: The Landing
Land balanced, on both feet, slightly forward of where you took off — a natural drift toward the basket of a few inches is normal and fine. What you must not do: fall backward (you leaned back during the shot), land on one foot (your base was uneven), or stumble sideways (you faded unnecessarily). Your landing is a diagnostic readout of everything that happened above it.
Hold your follow-through until you land. The players who drop their hand the instant the ball leaves never develop touch, because they’ve disconnected from the shot’s finish. Land, hold, watch. Then move — great shooters are already crashing for the rebound or sprinting back on defense while the ball is still in the air.
Rhythm: The Invisible Ingredient
Technique without rhythm is a robot’s jump shot — mechanically correct and somehow always slightly off. Rhythm is the tempo of the four phases: quick enough to beat closeouts, smooth enough to stay balanced. Every great shooter has a personal tempo, and it’s remarkably consistent shot to shot.
You build rhythm through repetition at game speed, not through slow-motion perfection. The classic mistake is practicing jump shots at half speed and wondering why they fall apart in games. Practice the whole motion — catch, dip, lift, release — at the speed you’ll actually shoot, and let your body find its tempo. It usually takes a few hundred reps for a new rhythm to feel natural. That’s normal; that’s the job.
Drills That Build a Real Jump Shot
- No-jump form shooting: 50 shots from 4 feet, feet planted, perfect upper-body mechanics only. This is where my rebuild started — it isolates the arms so you can feel the release.
- One-dribble pull-ups: dribble once from the wing, 1-2 step into the shot. Teaches footwork-to-release connection at low intensity.
- 3-2-1 drill: shoot from three spots (baseline, wing, top), two shots each, sprinting between spots. Builds rhythm under mild fatigue.
- Fatigue shooting: 10 free throws, sprint a suicide, 10 more jump shots. Your technique has to survive tired legs — that’s when games are decided.
- Closeout shooting: have a partner close out on you as you catch. Teaches quickening the dip without rushing the release.
For a complete daily structure around these drills, our basketball shooting practice routine lays out a 30-minute plan. And if you’re serious about the game’s biggest stage, our guide to how the World Cup works is a fun detour into tournament basketball’s global cousin — different sport, same obsession with the big stage.
Film Yourself: The Fastest Fix
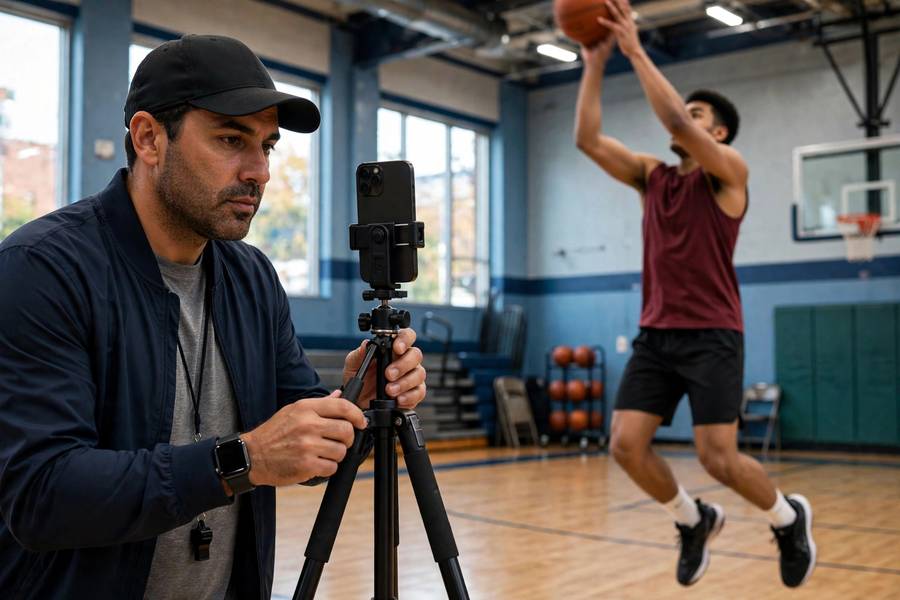
Here’s the uncomfortable truth: what your jump shot feels like and what it looks like are different things. Every player I’ve coached has been shocked by their own film — the dip they thought was shallow is a full squat, the “straight” shot line loops like a roller coaster. Prop your phone up, film ten jump shots from the side and ten from the front, and watch in slow motion. You’ll diagnose in ten minutes what months of guessing couldn’t find.
Checklist when reviewing: feet set before the catch? Dip quick and shallow? Ball up the shot line? Release at the peak? Balanced landing? Fix the earliest broken phase first — problems cascade forward, so a footwork fix often cures a release problem downstream.
Four phases: (1) footwork — land in a 1-2 step or jump stop, squared to the basket, before the catch; (2) the dip — a quick, shallow knee bend loading the legs; (3) the lift — legs drive up, ball rises on a straight shot line, release at the jump’s peak; (4) the landing — balanced, slightly forward, follow-through held.
At or just before the peak of your jump. Releasing on the way up rushes the shot; releasing on the way down means your legs have stopped contributing and your arms take over — the classic cause of short, flat misses.
Mostly straight up with a slight natural drift forward (a few inches) toward the basket. Falling backward or fading sideways on every shot destroys balance and consistency — only fade when a defender forces you to.
Almost always underpowered legs, not weak arms. The fix is a better dip and more explosive leg drive — not pushing harder with your arms, which flattens the shot. If your legs are tired, you’re short; that’s physics, not a slump.
Standardize the four phases through high-rep practice at game speed, film yourself to find the actual (not felt) flaw, and fix the earliest broken phase first. Consistency comes from repeatable mechanics, and repeatable mechanics come from reps — thousands of them.