Handstand Progression for Beginners: The 6-Level Roadmap


The Turkish get-up took one of my clients forty minutes to learn for three reps per side, and he deadlifted double bodyweight. Strength was never his problem; sequencing was. Handstands are the same. Beginners do not fail because they are weak. They fail because they practice level 5 skills with level 2 preparation, then conclude they “just cannot balance.” This six-level roadmap fixes that. Each level has a pass test, an estimated timeline, and the exact drills. You can also cross-reference the full technique in my how-to-do-a-handstand guide as you climb.
How the Levels Work
You live on one level at a time. Four to five sessions per week, 10 to 15 minutes each, always fresh. You graduate by passing the level test, which I have written to be strict on purpose: a level you truly own makes the next level dramatically easier, while a level you faked makes the next level impossible. If you stall on a level for more than a month, drop back one level and re-pass it. This is not punishment; it is the fastest fix I know, and it works about nine times out of ten.
Level 1: The Base (Weeks 1-3)
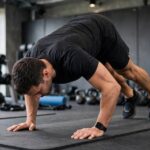
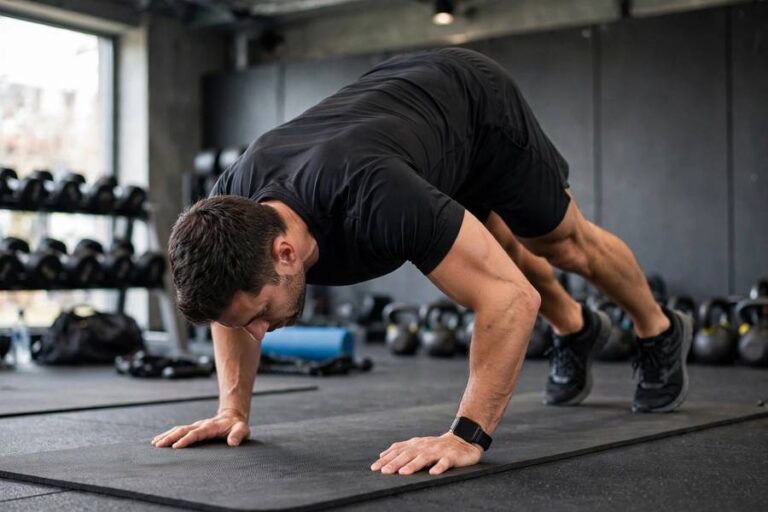
No handstands yet. Three movements: wall plank (feet on wall, 3x45s), pike push-ups (3×10), hollow holds (3x45s). This level builds wrist conditioning, pressing strength, and the straight-body position. Pass test: all three targets in a single session. Support work: two days a week of best shoulder exercises basics. Most people want to skip this level. The people who skip it are the people who email me six months later asking why their shoulders hurt.
Level 2: Upside Down on the Wall (Weeks 4-7)
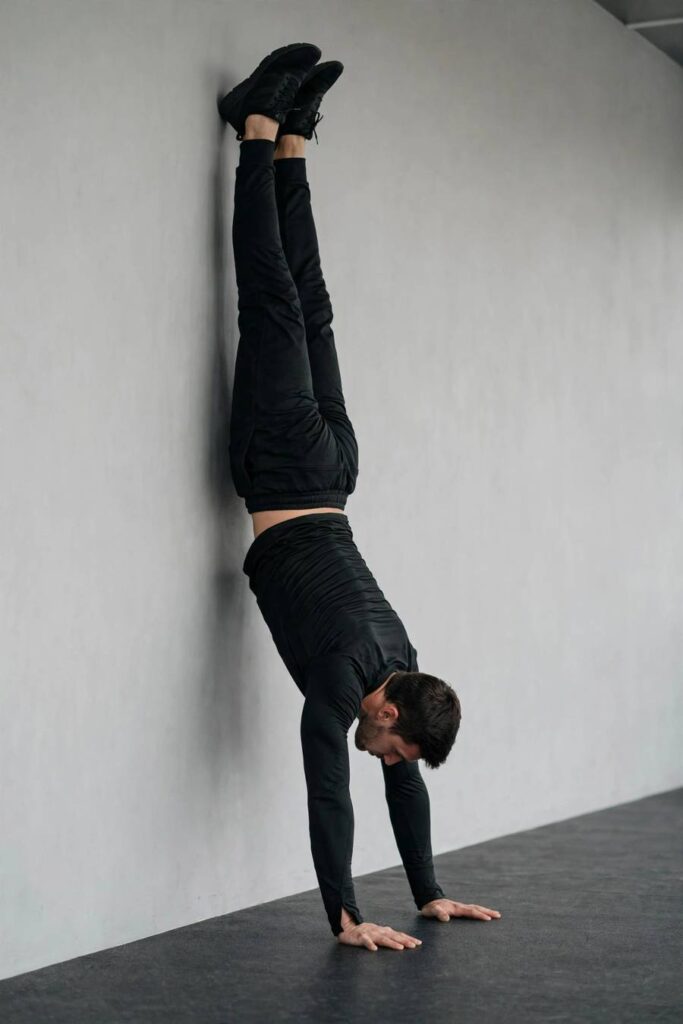
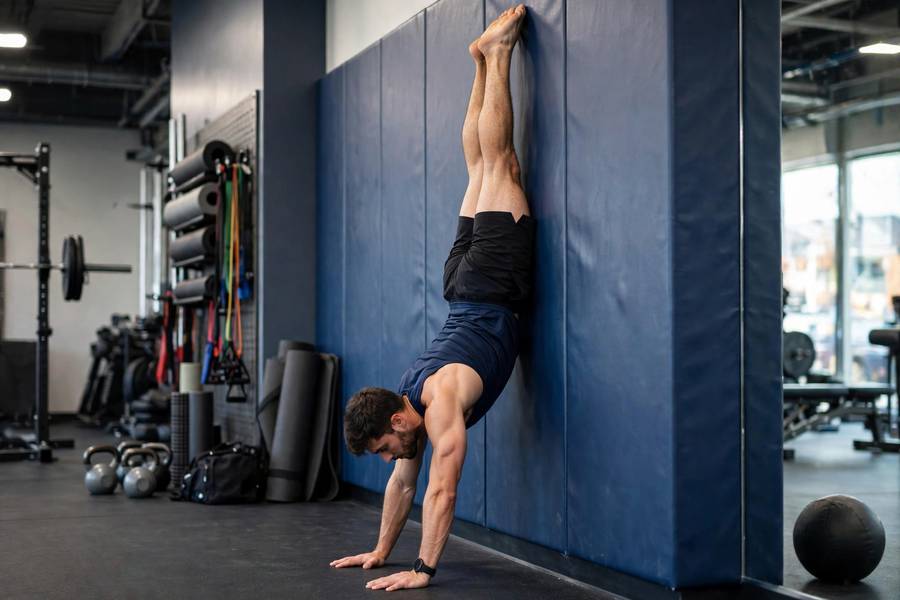
Now you go inverted. Back-to-wall handstand: 5 sets of 20 seconds, heels tapping the wall lightly. Your jobs are straight elbows, pushed-tall shoulders, and calm breathing. Add donkey kicks (3×10) for the hip drive pattern. Pass test: five 20-second holds with a flat back on video, plus 3×10 clean donkey kicks. This level usually feels like the first real progress, because it is: you are upside down and surviving.
Level 3: Owning the Wall (Weeks 8-11)
Chest-to-wall holds: walk up facing the wall until your chest nearly touches it, 3 sets building from 20 to 40 seconds. Add shoulder taps in the chest-to-wall position (3×6 per side) to learn single-arm loading. This level builds the position and the shoulder endurance that everything later depends on. Pass test: 3×40-second chest-to-wall holds with a flat back, plus 3×8 shoulder taps per side without losing the line. Runners and endurance athletes often cruise through this level because of their work capacity; my strength training for runners article explains why that base transfers.
Level 4: First Balance (Weeks 12-15)
Heel pulls: kick up facing away from the wall and float the heels off for one to three seconds, 5×8. Then extend the floats: aim for five seconds, then eight. This is where balance practice truly begins, with the wall as a backstop. Pass test: ten consecutive floats of at least three seconds. You will also drill the cartwheel-out bail from the wall (20 clean reps) this level, because level 5 without a bail-out is how people get hurt or scared off the skill entirely.
Level 5: Freestanding (Weeks 16-22)
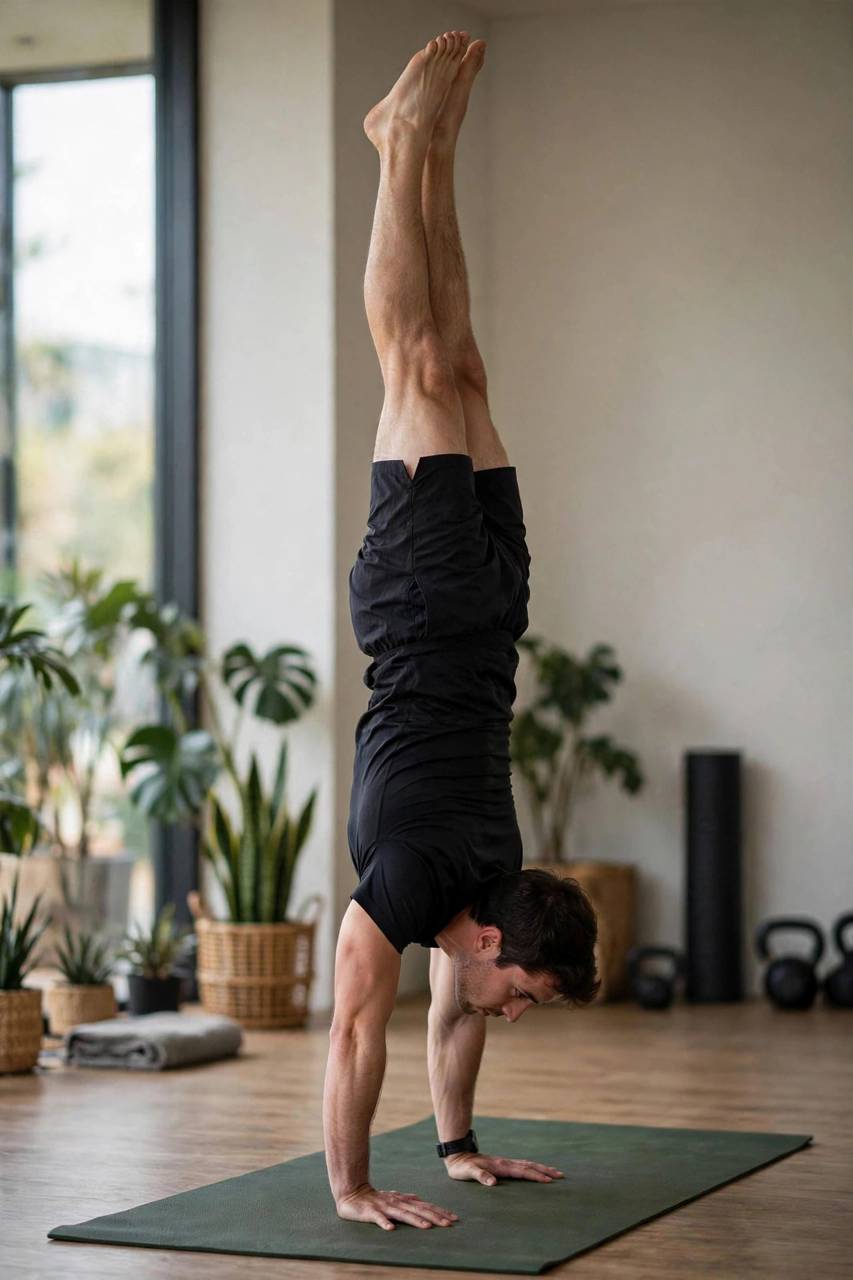
Open floor, grass or mats. Kick up, float, bail out cleanly. Sessions are 10 minutes, five days a week. Your holds will drop back to two or three seconds at first; this is normal and not a regression. The wall was balancing for you more than you knew. Pass test: five 5-second freestanding holds in one session, each ending in a controlled cartwheel-out. Balance this pushing with pulling work: how to do pull-ups twice a week keeps the shoulders healthy through all the overhead volume.
Level 6: The Solid Hold (Weeks 23+)
Consolidation. The target is three 10-second freestanding holds in one session, quiet legs, straight line, calm breathing. Once you own this, you have a real handstand, and every advanced skill (press, straddle, one-arm progressions) builds on it. Pass test: the 10-second triple, filmed, no faults. Total journey: roughly six months for a consistent adult. Some do it in four, some in nine. The roadmap does not care about your timeline; it cares about your pass tests.
The Level Tests, All in One Place
Tape this to your wall. Level 1: wall plank 3x45s, pike push-ups 3×10, hollow hold 3x45s. Level 2: back-to-wall 5x20s flat back on video, donkey kicks 3×10. Level 3: chest-to-wall 3x40s, shoulder taps 3×8 per side. Level 4: ten consecutive 3-second heel-pull floats, 20 clean cartwheel-outs. Level 5: five 5-second freestanding holds in one session, clean bail-outs. Level 6: three 10-second freestanding holds, filmed, no faults. When you can read a test and honestly say “I own that,” you move. When you hesitate, you stay. The cheatsheet removes the most common beginner error, which is not laziness but vagueness: not knowing what “good enough” looks like. Now you know, to the rep and the second.
Breaking Through Stalls
Stuck at level 3 for six weeks? Your level 1 base was faked; go re-pass the hollow hold strictly and watch level 3 unlock. Stuck at level 5 with endless two-second floats? Your heel pulls at level 4 were wall-rests, not floats; go back and do them honestly. The pattern is always the same: the stall lives one level below where you feel it. Other stall-breakers: film every session for a week, cut session length in half and double frequency, or take four full rest days; sometimes the nervous system just needs to consolidate. What never works is grinding the same failing drill harder.
Accessory Work for Each Level
The levels are the skill work; this is the strength work that supports them, two short sessions per week. Levels 1-2: pike push-ups 4×8, band pull-aparts 3×15, dead hangs 3×30 seconds. You are building the pressing base and shoulder health. Levels 3-4: add wall handstand shoulder shrugs 3×12 (in a chest-to-wall hold, shrug up and down an inch) and hollow rocks 3×20. The shrugs build the exact trap strength that keeps you tall; the rocks build the midline stiffness. Levels 5-6: add overhead pressing with dumbbells 3×8 and single-arm farmer carries 3×40 meters per side. Heavy carries build the grip and trunk rigidity that long holds demand. None of this should take more than 20 minutes or leave you sore for the next skill session. If accessory work interferes with your handstand practice, cut the accessory volume in half; the skill is the priority, the lifting is the scaffolding.
Your Tracking Sheet
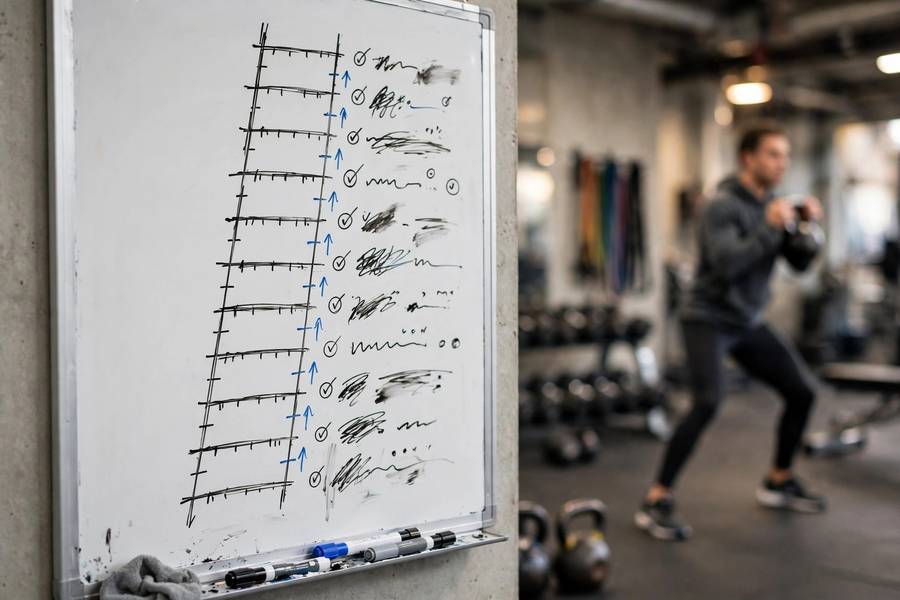
Every client gets the same simple log, and it takes thirty seconds after each session. Date, level, drill, sets and reps or seconds, and one line: “what felt different.” That last line is the whole point. Over weeks it reveals patterns you cannot see day to day: holds getting quieter, kick-ups getting softer, one shoulder tiring first. Review it every Sunday for two minutes and decide the coming week’s focus. I have a client who broke a two-month stall at level 4 by reading three weeks of logs and noticing every bad session followed a late night; he fixed his sleep and passed the level in ten days. The sheet does not need to be fancy. A notes app works. What matters is that it exists, because memory lies about progress and the log does not.
Frequently Asked Questions
Roughly: level 1, 2-3 weeks; level 2, 3-4 weeks; level 3, 3-4 weeks; level 4, 3-4 weeks; level 5, 6-8 weeks; level 6, ongoing consolidation. That totals five to seven months for most adults training four to five days a week. Faster is possible; skipping levels is not.
You can review the previous level as a warm-up, but your main work should be one level. Splitting focus across levels slows both. The exception is accessory strength work, which runs alongside every level.
Fail the same test three sessions in a row and you drop back one level for a week. This feels like going backward, but it is the fastest way forward: the lower level rebuilds the exact capacity the test is exposing as missing.
Only with clearance from a physiotherapist. Handstands load the shoulder heavily in an extreme range. If you get clearance, spend double the usual time on levels 1 and 3, and stop any drill that produces sharp pain. Dull muscular fatigue is fine; joint pain is a full stop.