How to Do a Proper Plank: Form, Mistakes & Variations

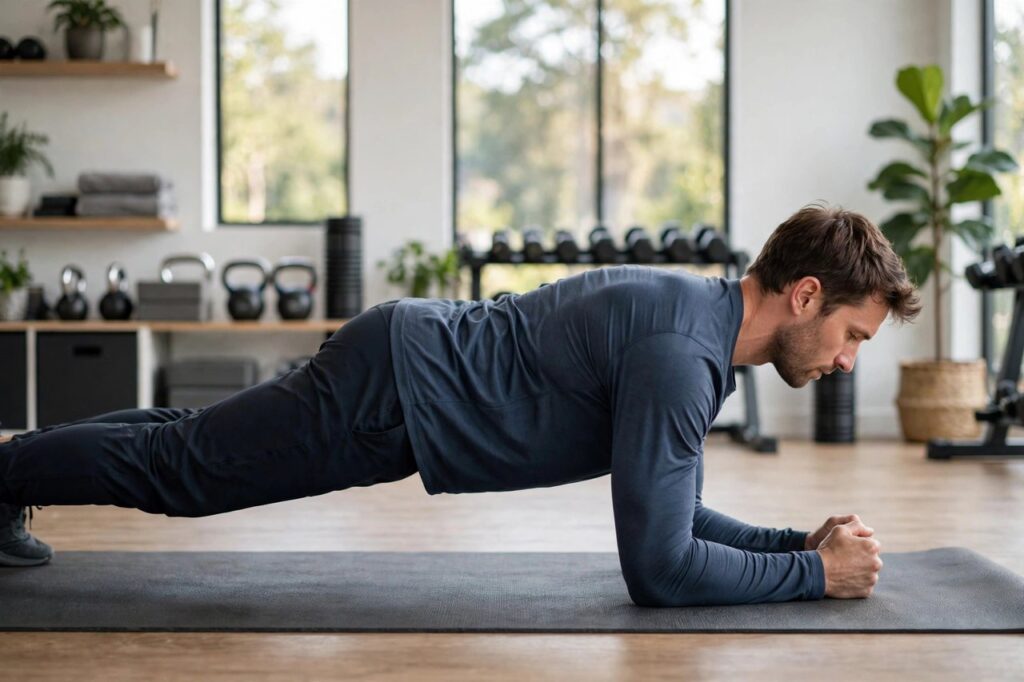
You’ve seen the plank. You’ve probably done it wrong. Most people have — hips sagging, breath held, neck craned up at the TV — and then they wonder why their back hurts and their abs don’t change.
This isn’t another beginner how-to. This is technique mastery: the five-step setup that makes a plank actually work, the four mistakes that ruin it (with fixes), honest numbers on how long to hold, a ranked variation ladder, and how to program planks into a real week. Do it right and 90 seconds will humble you. Do it wrong and you’ll waste months.
What a Plank Actually Trains (Isometric, 9 Muscles)
A plank is an isometric hold: your muscles work hard without moving. No reps, no range of motion — just tension against gravity. That’s what makes it so efficient and so easy to fake.
One proper hold recruits 9 muscle groups at once: the rectus abdominis (the “six-pack” muscle), the transverse abdominis (your deep core stabilizer), the obliques, the lower back extensors, the glutes, the quads, the chest, the shoulders, and the lats. It’s a full-body brace disguised as an ab exercise. That’s also why form matters so much — when your setup is sloppy, the load leaks into the wrong places, usually your lower back, and the muscles you’re trying to train check out. A plank done right is one of the highest-value minutes in fitness. A plank done wrong is just lying on the floor with extra steps.
The 5-Step Setup: Elbows, Hands, Pelvis, Glutes, Full-Body Tension
Forget “just hold yourself up.” Run this checklist every single time, in order. It takes ten seconds and it’s the difference between training and hanging.
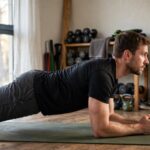
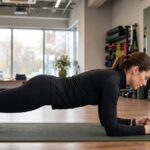
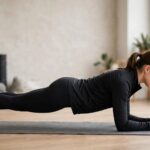
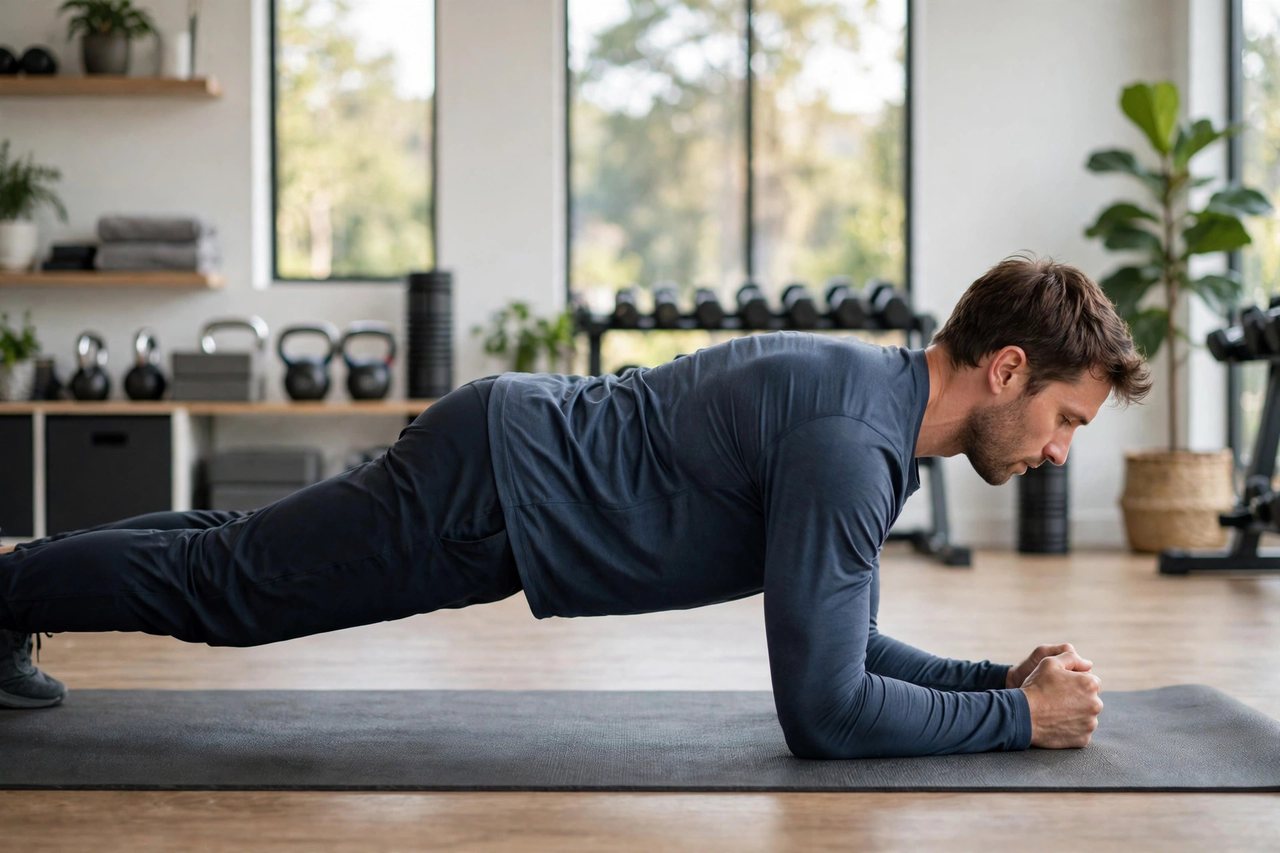
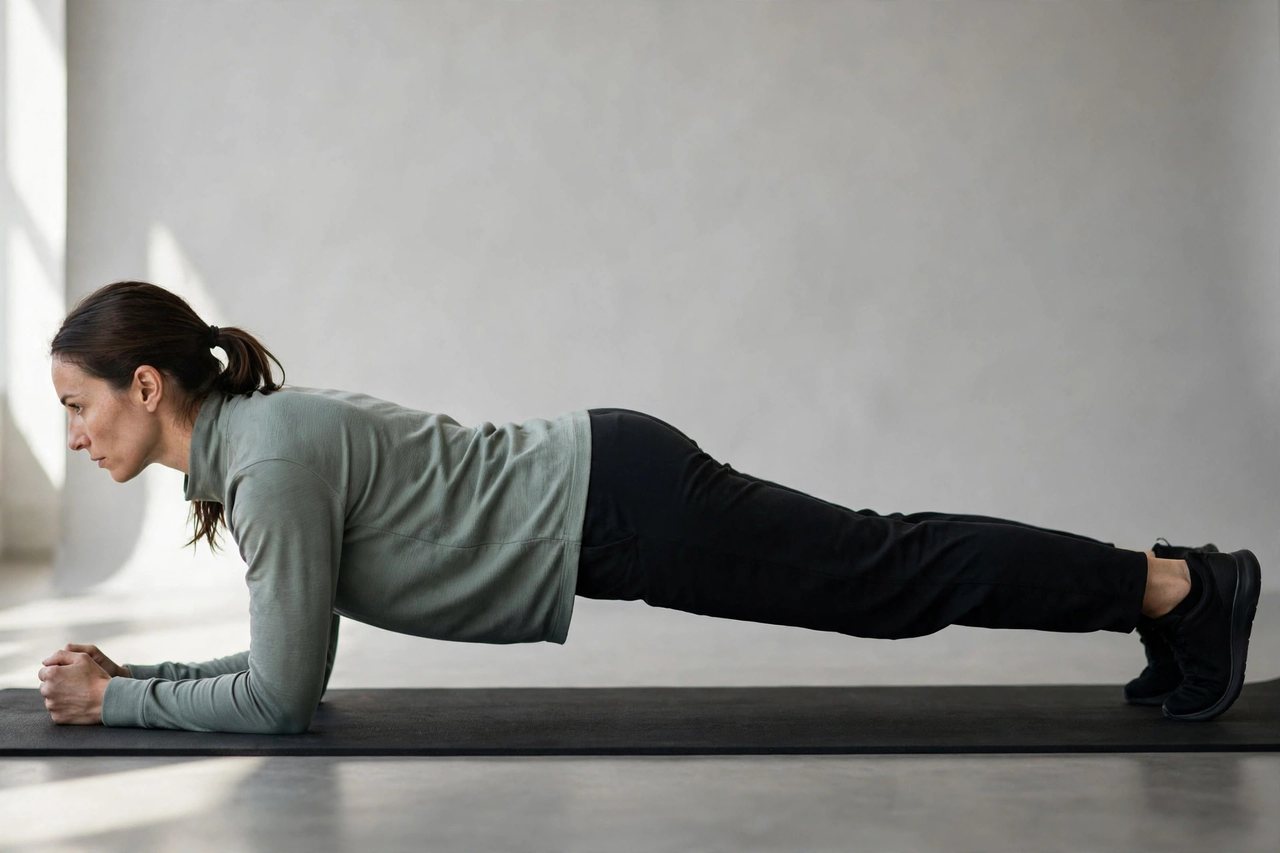
Step 1 — Elbows: Place your elbows directly under your shoulders, forearms flat on the floor. The angle from your upper arm to the floor should be about 90 degrees. Too far forward and your shoulders take over; too far back and you collapse.
Step 2 — Hands: Keep forearms parallel, hands flat or loosely clasped — don’t interlace your fingers and yank, which rounds your shoulders. Think about screwing your elbows gently into the floor without actually moving them. That cue fires up your lats.
Step 3 — Pelvis: This is the money step. Tilt your pelvis slightly posterior — tuck your tailbone as if you’re zipping up tight pants. This flattens the lower-back arch and locks your deep core in. If you skip this, everything below falls apart.
Step 4 — Glutes: Squeeze your glutes hard, like you’re holding a coin. Glute tension is what keeps your hips from sagging, and most people leave it completely out. Squeeze, then squeeze ten percent more.
Step 5 — Full-body tension: Quads tight, body in one straight line from head to heels. Don’t look up — keep your neck neutral, eyes on the floor between your hands. Now breathe.
Ten seconds, every rep, no exceptions. For the bigger picture of where planks fit, see our core strength program.
Breathing During the Hold
Here’s where most people blow it: they hold their breath. You cannot brace properly without breathing, and you cannot hold a plank long while turning purple.
Breathe continuously through the hold — in through the nose, out through the mouth — keeping your ribs down and your midsection braced. Think of breathing behind the brace: the tension stays, the air moves. ACE’s exercise guidance uses a baseline of holding while breathing steadily for at least 5 seconds per cycle pattern, which tells you the standard: if you can’t breathe normally in the position, the position is wrong for you right now. Drop to a regression (below) until you can.
A practical test: you should be able to talk in short sentences during a plank. Not comfortably — but possible. If you’re gasping or grunting, reset. The breath is the governor on the whole exercise.
The 4 Form Mistakes + Fixes
Mistake #1: Sagging lower back. The classic. Your hips drop, your belly hangs, and your lumbar spine takes the load your abs should carry. This is the number-one plank fault and the reason planks get blamed for back pain. Fix: tuck the pelvis (Step 3) and squeeze the glutes (Step 4). If your back still sags after thirty seconds, you’re done for this set — end it, rest, and go again. A short perfect plank beats a long saggy one every time.
Mistake #2: Hips piked too high. The opposite error — butt in the air like a downward dog. It unloads the core completely, so you’re just resting in a tent shape. Fix: lower the hips until your body is one straight line, then re-tuck the pelvis. Film yourself from the side once; most people are shocked at what they actually look like.
Mistake #3: Craning the neck. Looking up at the TV or mirror jams your cervical spine and breaks the straight line. Fix: eyes on the floor, chin slightly tucked, neck long. Your head should continue the line of your spine, not bend it.
Mistake #4: Holding your breath. Breath-holding spikes pressure, kills endurance, and usually means you’re bracing with panic instead of control. Fix: reset, breathe first, then brace around the breath.
Run through this list honestly. Most people are committing at least two. Fix them and your plank gets twice as hard overnight — which means it’s finally working.
How Long Should You Hold? (30–90s; 2-Minute Ceiling)
Here’s the honest answer the internet won’t give you: the productive range for a perfect-form plank is 30 to 90 seconds. That’s it. Within that window, with real tension and real breathing, you’re getting everything the exercise has to offer.
Past 2 minutes, you’re into diminishing returns. A marathon hold mostly proves you can endure discomfort — it doesn’t build meaningfully more strength, because the limiting factor becomes willpower and shoulder endurance, not core development. The better move is always to make the plank harder (see the ladder below), not longer. Ten perfect variations beat one five-minute suffer-fest.
So: beginners work toward 30 seconds of clean form. Intermediate: 60 seconds. Advanced: 90 seconds. Once you can hold 60 seconds of any variation with perfect form and steady breathing, advance to the next rung on the ladder instead of adding time. The 60-second rule is your promotion standard — earn the next variation, don’t just endure the current one.
Beginner Regressions: Kneeling Plank, Incline Plank
Can’t hold the full version with a straight back and steady breath? Good — that honesty is the whole game. Regress until you can, then build up. Target 30 to 60 seconds on any regression before moving up.
Kneeling plank: Drop your knees to the floor, keeping everything from knees to head in one straight line. Same five-step setup — elbows under shoulders, pelvis tucked, glutes squeezed. This cuts the leverage roughly in half while teaching the exact brace pattern you need.
Incline plank: Hands on a bench, sturdy table, or wall — the higher the surface, the easier it is. Full body straight from head to heels, same checklist. Start wall-high if you need to; there’s no shame in it. The pattern matters more than the difficulty.
Work a regression until you own 60 clean seconds, then step down the incline or lift the knees. Most people graduate in two to four weeks of consistent practice. Rushing past a regression you haven’t mastered just rebuilds the same bad habits at a harder level.
Variation Ladder with Target Holds
Once the standard forearm plank is solid, climb. Each rung is harder than the last; earn each one with a 60-second clean hold before moving up.
Rung 1 — High plank: Straight arms, hands under shoulders, same body line. Target: 30 to 60 seconds. Harder on the shoulders and wrists, great for push-up carryover — see our proper push-up form guide for where this leads.
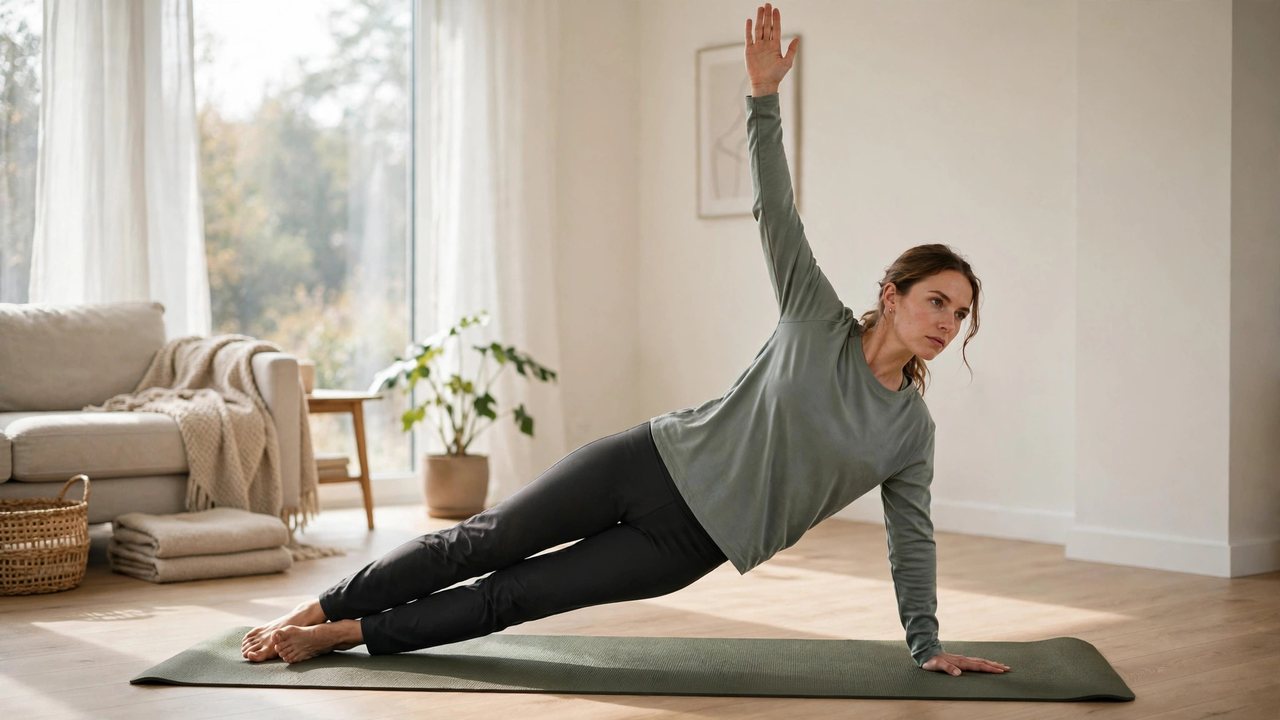
Rung 2 — Side plank: One forearm down, body stacked sideways, top foot on the bottom foot (or staggered for balance). Target: 20 to 45 seconds per side. This is the obliques’ turn — don’t skip sides, and don’t let the hips sag.
Rung 3 — Plank with shoulder taps: High plank position, alternate tapping opposite shoulders while keeping hips dead still. Target: 30 seconds. The anti-rotation challenge exposes every wobble.
Rung 4 — Single-arm, single-leg plank: Opposite arm and leg lifted, everything else locked. Target: 10 to 20 seconds per side. Brutal, short, and the best core stability test on this list.
Don’t collect variations like trophies. Pick the rung where your form just starts to break at the target time, and live there for a few weeks. If you’re chasing visible abs specifically, pair this with our six-pack abs guide — planks build the muscle, but that’s only half the equation.
Programming: 3–4×/Week, End of Workout, 2–3 Min Cumulative
Planks are a finisher, not a workout. Program them 3 to 4 times per week, at the END of your session — never before heavy lifts, where a fatigued core compromises your big movements. Total volume per session: 2 to 3 minutes of cumulative plank time, which might be three 45-second holds or four 30-second holds with full rest between.
A sample week: Monday — 3×45s forearm plank. Wednesday — side planks, 3×30s per side. Friday — 3×40s high plank with shoulder taps. That’s under ten minutes a week total, and it’s enough. More isn’t better; better is better. If you want a full home routine to put these at the end of, our bodyweight exercises at home guide has you covered.
Rest 60–90 seconds between sets — full recovery, because every set should be perfect form. And track it: write down your variation and times. The ladder only works if you know which rung you’re on.
Plank vs Crunches
Short version: the plank wins, and it’s not close. Crunches train one muscle (rectus abdominis) through spinal flexion — repeated bending that does nothing for stability. The plank trains 9 muscle groups isometrically, teaching your core to do its actual job: resist movement and protect your spine.
Crunches aren’t evil, but they’re a specialist tool for a job most people don’t have. If your goal is a stronger, more useful midsection — the kind that helps you lift, run, and sit without pain — the plank is the foundation exercise. If your goal is visible abs, neither exercise matters as much as the kitchen does. Do planks for strength and stability; skip the crunch marathon.
When to Stop: Low-Back Pain Rule
This is the safety line, and it’s simple: if your lower back hurts during a plank, stop. Not “push through,” not “it’ll loosen up” — stop. Some muscle fatigue in the abs is normal; sharp, aching, or pinching pain in the lower back is your body telling you the load has gone to the wrong place.
Usually it means mistake #1 — sagging hips, lost pelvic tuck. Rest, reset, and try a regression. If back pain shows up even in a kneeling plank with good form, skip planks for now and get checked out. No exercise is worth a back injury, and there is always another way to train. The plank will still be there when you’re ready. Respect the signal.
Frequently Asked Questions
How long should I hold a plank for best results?
30 to 90 seconds with perfect form is the productive range. Past 2 minutes you hit diminishing returns — instead of holding longer, move up the variation ladder. Earn each harder variation with a 60-second clean hold of the current one.
What is the correct form for a plank?
Run the 5-step setup: elbows under shoulders at about 90 degrees, forearms parallel, pelvis tucked slightly posterior, glutes squeezed hard, and full-body tension in one straight line from head to heels — breathing steadily throughout, never holding your breath.
Why does my lower back hurt during planks?
Almost always sagging hips — the number-one form mistake. Your pelvis untucks, your belly drops, and your lumbar spine takes the load. Fix it by re-tucking the pelvis and squeezing the glutes; if pain persists even in a kneeling regression, stop and get checked.
Is a plank better than crunches for abs?
Yes. A plank trains 9 muscle groups isometrically and teaches your core to stabilize your spine — its actual job. Crunches isolate one muscle through spinal flexion. For strength and stability, the plank wins; for visible abs, diet matters more than either exercise.
Can I do planks every day?
You can, but 3 to 4 times per week is the smarter program — at the end of your workout, 2 to 3 minutes of cumulative hold time. Your core needs recovery like any other muscle, and fatigued planks before heavy lifts compromise your big movements.
What is the easiest plank variation for beginners?
The incline plank — hands on a wall, table, or bench, body in a straight line. The higher the surface, the easier it is. Work up to 30 to 60 seconds of clean, breathing form, then lower the incline; the kneeling plank is the next step down toward the full version.