How to Choose Wedding Invitations: A Step-by-Step Guide

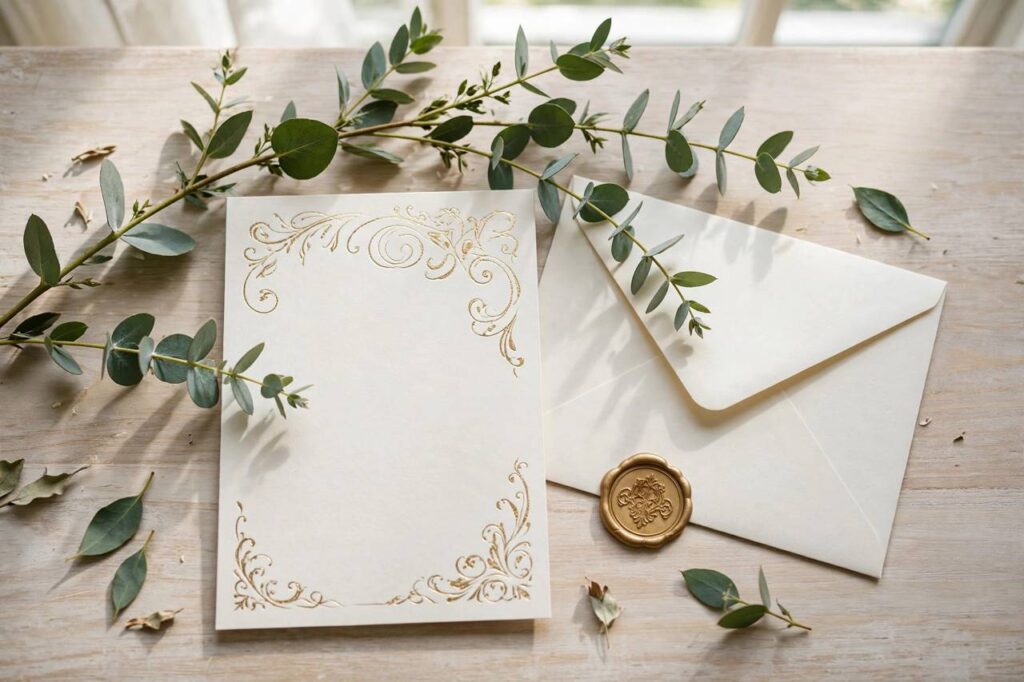
Learning how to choose wedding invitations sounds like it should be the fun part — and honestly, it can be, right up until you are staring at your forty-seventh sample and everything starts to look like the same piece of paper with different fonts. I have planned alongside enough couples to know exactly where the wheels come off: the invitations get picked late, under pressure, by two exhausted people who just want to click “order” on something that will not embarrass them in front of their mothers-in-law. Do not let that be you. An invitation is the first real thing your guests touch from your wedding, and it sets the expectation for everything after it.
Here is the good news: this is a decision you can make beautifully and calmly if you follow an order of operations instead of scrolling yourself into oblivion. In this guide, we will work through it step by step — vision first, then budget, then style and paper, then wording, then timeline. By the end you will know exactly what to order, when to order it, and what most couples wish someone had told them before they hit print.
How to Choose Wedding Invitations: Start With the Vision
Before you look at a single sample, answer three questions with your partner. First: what is the mood of the wedding? A black-tie ballroom night, a breezy garden ceremony, a laid-back backyard barbecue with string lights — each one has an invitation style that matches it, and mismatches are the number one reason invitations look “off.” A heavy gold-foil card for a beach wedding confuses people; a casual postcard-style invite for a formal evening does the same thing in the other direction.
Second: who are you two, visually? Do you love modern minimalism, classic romance, vintage charm, bold color? Your invitation should feel like the two of you on paper. If you cannot agree — one of you wants modern, the other wants traditional — that is actually useful information. Look for designs that blend: a clean layout with one classic flourish, or a traditional suite in an unexpected color.
Third: how formal do you want the event to feel? Formality lives in the details — full names spelled out, titles used, evening time written as “half past six o’clock.” You do not have to be formal to be elegant, but you do have to be consistent. Decide the formality level now, because it shapes the wording, the paper, and the printing method you choose later.
A quick tip that saves a surprising number of couples: make a private mood board of three to five invitation images you both genuinely love before you start shopping. If they cluster around one style, your vision is clear.
Set Your Invitation Budget (the 4–6% Rule)
The general rule of thumb that wedding planners use is to spend roughly 4 to 6 percent of your total wedding budget on stationery — and that includes not just the invitations themselves but the envelopes, RSVP cards, details cards, postage, and any day-of paper like programs and place cards. Work backward from your total budget so the number is real before you fall in love with anything.
Here is the math nobody shows you up front: a “$6 invitation” is rarely a $6 invitation. Multiply it by two for the RSVP set and postage, then add day-of stationery, and suddenly the line item has doubled. Build your budget as the full suite, not the per-piece headline price.
Where can you save without it showing? Printing method is the biggest lever. Digital printing is affordable and looks excellent for most designs. Letterpress and foil stamping are gorgeous but can double or triple the cost — beautiful for the main card, often unnecessary for enclosures. Paper is the second lever: a 120 lb cotton card for the invitation with standard paper for inserts looks just as luxurious as an all-cotton suite.
And the one place I never advise cutting: the guest list count plus a buffer. Order 15 to 20 extra invitations beyond your final count. You will make addressing mistakes, you will forget a great-aunt, and one will arrive smudged. Reordering later costs far more per piece than ordering extras the first time.
Pick a Style That Matches the Wedding
Formal wording and centered text belong to traditional suites; modern designs favor clean layouts and white space; romantic styles bring florals and script fonts. The trick is not to pick the prettiest style in isolation — it is to pick the one that matches the vision you set in step one.
Choose Your Paper and Printing Method
You cannot feel paper through a screen, and paper is where invitations earn their money. This is why ordering a sample pack is the single smartest thing you can do in this process. Most stationers sell sample kits cheaply, and feeling the difference between a standard card stock and a thick cotton paper will instantly recalibrate what you want.
Cotton paper is the premium choice: soft, textured, substantial, and it takes letterpress beautifully. Standard card stock is perfectly fine for most suites, especially with digital printing, and it keeps costs sane. Vellum overlays, translucent wraps, and envelope liners are the little luxuries that make a suite feel custom without rebuilding the whole thing.
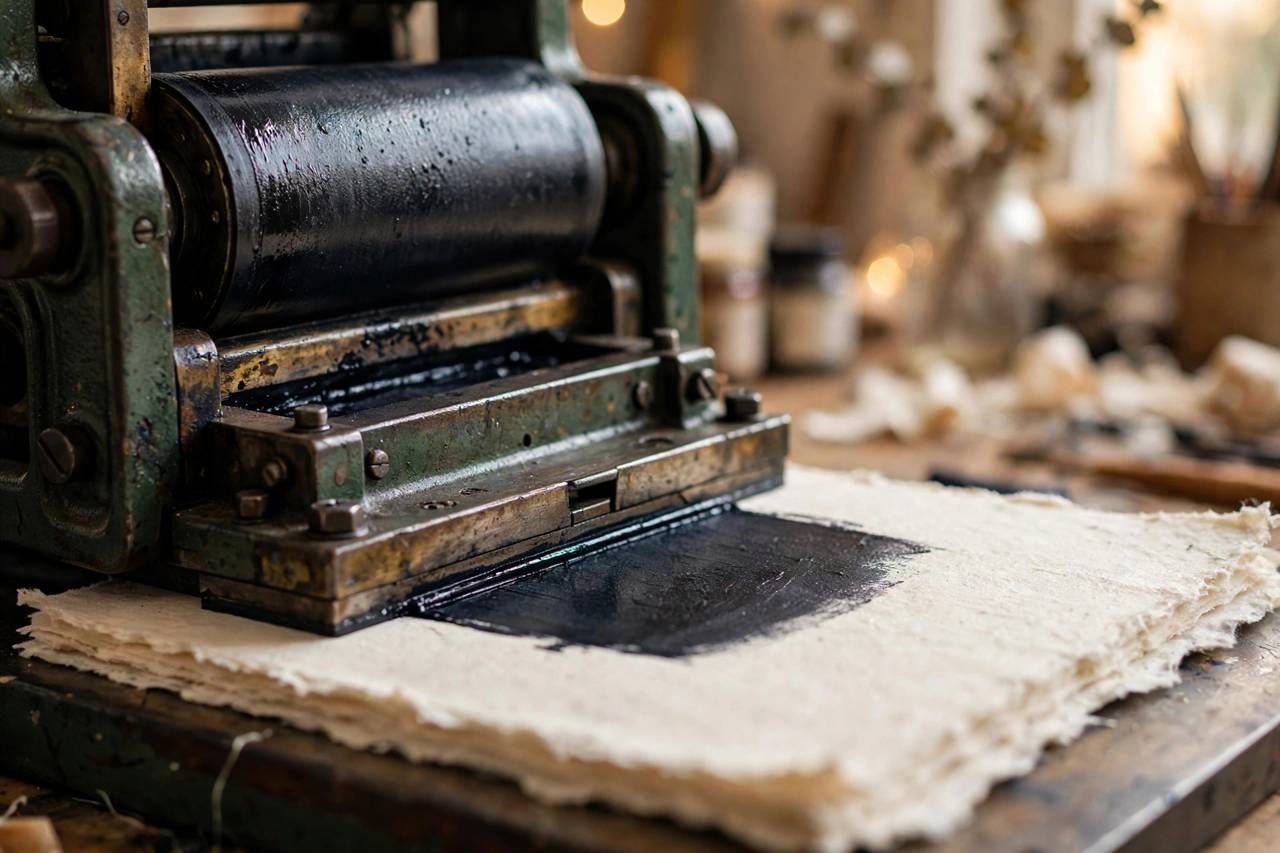
Printing methods, in plain terms: digital printing (flat, affordable, unlimited color) works for nearly every design. Letterpress (ink pressed into the paper, creating a tactile impression) is the most luxurious feel but adds cost and lead time. Foil stamping (metallic foil pressed onto paper) adds drama for names and borders. Thermography (raised ink, the budget-friendly letterpress look) sits in the middle. Match the method to the design — heavy textured paper deserves letterpress; a watercolor illustration shines with digital.
Ask your stationer for a printed sample of the actual method you plan to use, not just a digital proof. Colors shift between screen and press, and metallics look entirely different in person. The sample fee is the cheapest insurance in this entire process.
Get the Wording Right
Wording is where couples freeze up, but the structure is simple. A standard invitation includes: the hosts’ names (who is inviting), the request line (“request the honour of your presence” for religious ceremonies, “request the pleasure of your company” otherwise), the couple’s names, the date and time, the venue name and location, and reception details. If you want to see wording examples for different formality levels, they will show you how the same event reads formal, semi-formal, and casual.
The decisions that actually trip people up: how to name divorced or remarried parents hosting, how to word “adults only” without sounding rude (the trick is naming exactly who is invited on the envelope and adding “we have reserved __ seats in your honor”), and whether to include registry information (never on the invitation itself — put it on your wedding website).
Spell every name twice. Check every date against a calendar — the day of the week must match the date, and this is the most common invitation error in existence. Have one person read the proof backward, word by word, which forces the brain to see what is actually printed instead of what it expects. Then have a second person check it fresh.
For the addressing side of the project — inner and outer envelopes, family names, titles — the rules are fiddlier than the invitation wording, and worth a dedicated look. A quick guide to how to address wedding invitations will save you from the classic mistakes like misusing “and Guest” or mangling hyphenated surnames.
Nail the Ordering Timeline
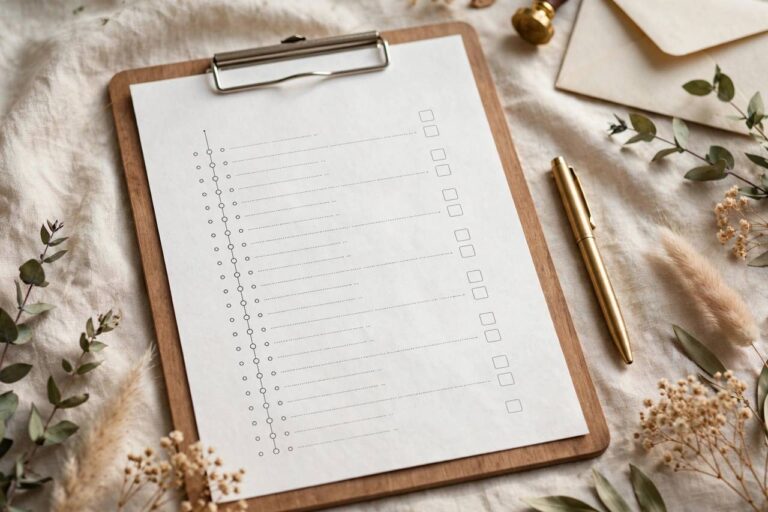
Here is the timeline that keeps you calm instead of panicked. Six to nine months before the wedding: order your invitations. Yes, really — especially if you are using letterpress, foil, or a custom design, which can take six to eight weeks in production plus proofing rounds. Eight to ten weeks before: assemble and stuff. Six to eight weeks before: mail them. That last number surprises people — six to eight weeks is the standard, not the early-bird option. It gives out-of-town guests time to arrange travel and gives you RSVPs back with a comfortable margin.
Work backward from your mail date and put every milestone on the calendar, including proof approval. Proofs are where timelines die: limit yourself to two proof rounds by getting the wording right before the first proof, not during it.
If you are running late, you have options. Digital printing has the fastest turnaround. Many stationers offer rush production for a fee. And in a genuine time crunch, a digital save-the-date buys you breathing room while the paper invitations catch up.
Plan the RSVP Mechanics
The RSVP card looks like a formality, but it is a logistics tool, and designing it well saves you weeks of chasing people. Give guests a clear deadline — three to four weeks before the wedding, which gives you time to finalize the headcount with your caterer. Number the back of each RSVP card in pencil, keyed to your guest list, so when Aunt Carol returns hers without a name (someone always does), you know whose it is.
Meal choices belong on the RSVP if your caterer needs a count: list each option with a line for initials next to the choice. And include a space for dietary restrictions — not as an afterthought, but as a normal part of the card. Your caterer will thank you, and your guests with allergies will feel cared for instead of awkward.
Digital RSVPs through your wedding website are increasingly common and perfectly acceptable, even for formal weddings. They are cheaper, faster, and they eliminate the lost-card problem. If you go digital, put the website and RSVP instructions on a details card.
Avoid the Mistakes Couples Regret Most
After years of watching this process, the regret list is short and consistent. Ordering too late, which forces rush fees or a compromised design. Skipping the sample, then discovering the paper feels flimsy. Forgetting the buffer — those 15 to 20 extras I mentioned — and paying a fortune for a small reorder. Mailing without weighing one fully assembled invitation at the post office, then having half of them come back for extra postage (a square envelope or a wax seal changes the postage, every time).
Another classic: ordering the invitations before the guest list is final. Every late addition costs you disproportionately. And the quiet one nobody warns you about: forgetting to include the wedding website on the details card, then fielding forty “what time does it start?” texts.
Budget-wise, if the numbers are getting tight, remember that the stationery budget has natural places to flex. Many couples find smart affordable wedding ideas for paper goods — digital RSVPs, single-card invitations, or a simpler printing method — that cut the bill substantially without anyone noticing.
How far in advance should you order wedding invitations?
Order six to nine months before the wedding, and mail them six to eight weeks before the date. Custom designs, letterpress, and foil printing need the longer end of that window because production plus proofing can take six to eight weeks. If your wedding is a destination event, mail invitations ten to twelve weeks out so guests can arrange travel.
How much should wedding invitations cost?
A common planning guideline is 4 to 6 percent of your total wedding budget for all stationery — invitations, RSVP cards, envelopes, postage, and day-of paper. Per-piece costs vary enormously: digital-printed suites can run a few dollars per set, while letterpress or foil-stamped custom suites can be several times that. Always budget the full assembled suite, not the headline per-card price.
Should wedding invitations match the wedding theme?
Yes — the invitation should preview the wedding’s mood, formality, and style. A formal black-tie wedding calls for a formal suite; a casual outdoor celebration calls for something relaxed. Mismatched stationery confuses guests about what to expect, especially around dress code. Use the same color palette and a complementary font family across all your paper goods for a cohesive look.
What is the difference between letterpress and digital printing?
Digital printing applies ink flat onto the paper — it is affordable, fast, and reproduces unlimited colors and fine detail. Letterpress presses ink into thick paper, creating a tactile debossed impression that feels luxurious. Letterpress costs more, takes longer, and works best on thick cotton paper with simpler designs. Thermography offers a raised-ink look at a middle price point.
Do you still need RSVP cards with a wedding website?
Not necessarily. Digital RSVPs through your wedding website are widely accepted now, even for formal weddings, and they are cheaper and faster than mailed cards. If you go digital, include clear instructions on a details card and keep an alternate contact for less tech-comfortable guests. Traditional mailed RSVP cards still work beautifully if you prefer them — just number the backs in pencil so unidentified returns can be matched to your list.
The Bottom Line
Choosing wedding invitations is a five-step sequence: set the vision, set the budget, pick a matching style, feel the paper before you commit, and order early enough to stay calm. Do those five things in that order and the whole project feels like the fun part it is supposed to be. Your guests will hold that envelope, feel the paper, and get their first real taste of your wedding day — make it a good one.