How to Plan a Wedding Day Timeline: Samples & Buffer Rules

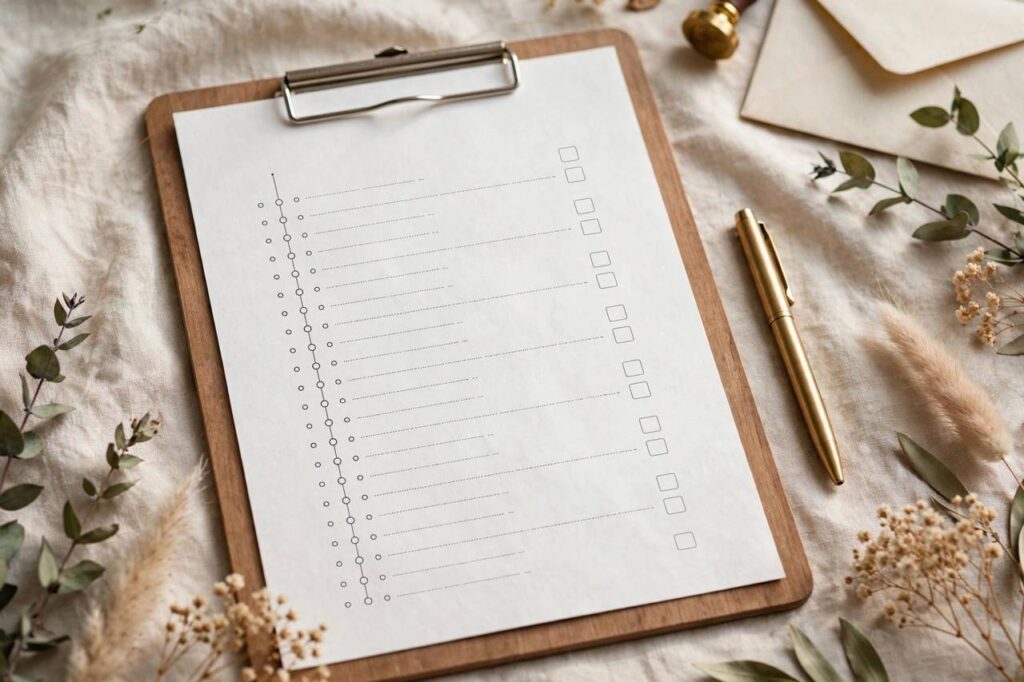
The wedding day timeline is the invisible architecture of your entire celebration. When it works, the day feels effortless: hair and makeup finish with time to spare, photos happen in golden light, dinner flows into dancing without awkward gaps. When it does not work, the whole day feels rushed and behind. After coordinating hundreds of wedding days, I can tell you that knowing how to plan a wedding day timeline is not about scheduling every minute. It is about building in buffer time, working backward from the moments that cannot move, and making sure every vendor shares the same plan.
This guide gives you the buffer-time-first method, sample timelines for the two most common ceremony times, and the vendor-share checklist that keeps everyone in sync. Let us start with the principle that fixes most timeline problems before they start.
Buffer-Time-First: The Principle Behind Every Good Timeline
Here is the rule: every segment of your wedding day takes longer than you think, so build buffer into every transition. Hair and makeup runs long. Family photos take twice as long as expected. The shuttle is late. The best man’s speech runs over. None of this is a disaster if your timeline has air in it. All of it is a disaster if your timeline is packed edge to edge.
Practically, this means adding fifteen to thirty minutes of buffer between every major segment, and a full hour of unassigned time somewhere in the middle of the day. It also means working backward from your fixed moments: the ceremony time, sunset for photos, and the venue’s end time. These three anchors determine everything else. A timeline built forward from “we wake up at nine” drifts. A timeline built backward from “ceremony at four, sunset at seven, venue closes at eleven” holds.
The other half of the principle is the vendor-share checklist, which we will cover below. A timeline that lives only in your head is not a timeline. It is a wish.
How to Plan a Wedding Day Timeline: Sample for a 4:00 PM Ceremony
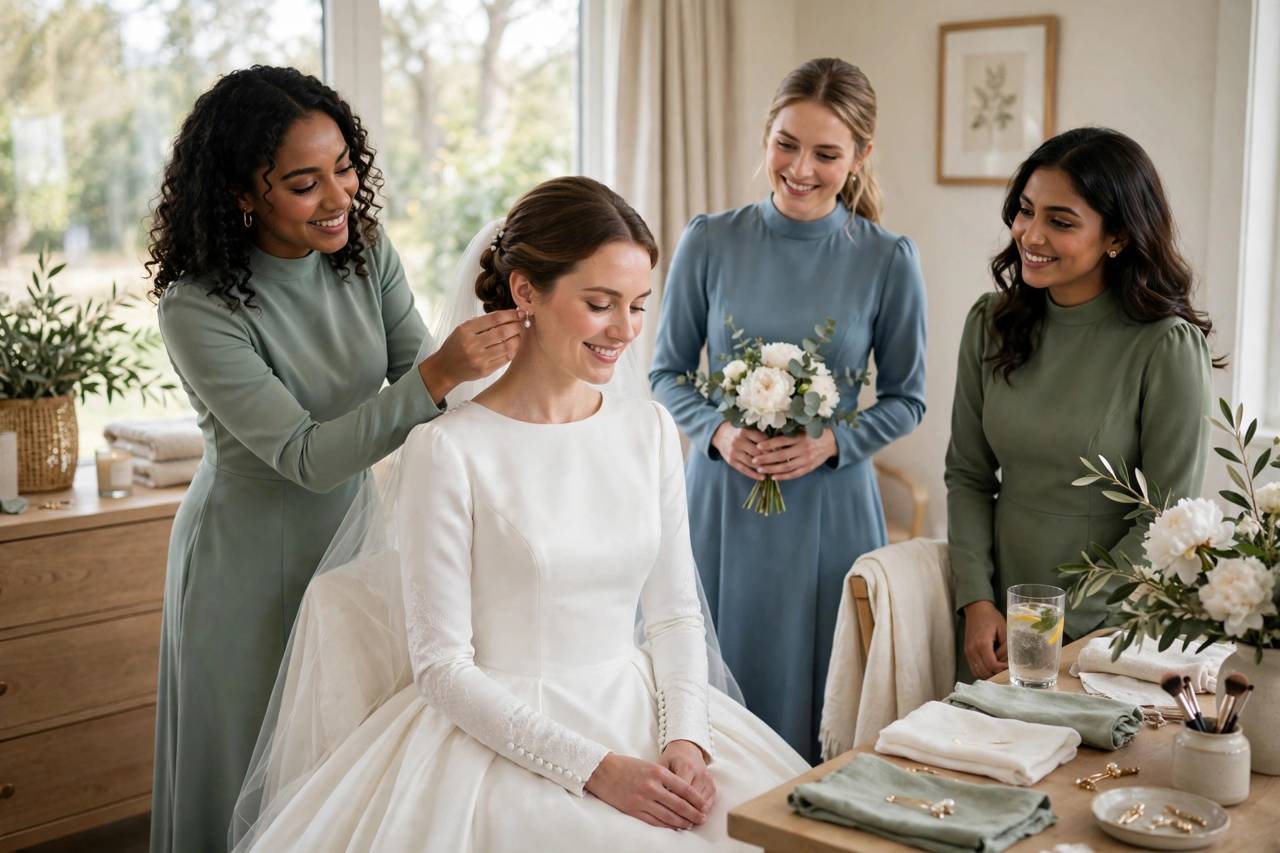
A four o’clock ceremony is the classic timeline, and here is how it typically flows. Morning prep starts around nine or ten, with hair and makeup for the wedding party. Build in more time than the stylist quotes you; wedding-morning hair and makeup always runs long, and this is the buffer that protects everything downstream. Getting-ready photos happen during the final hour of prep.
Around one o’clock, the wedding party is dressed and ready. This is when pre-ceremony photos happen if you are doing a first look, which I recommend for a four o’clock ceremony because it frees up the cocktail hour. First look and wedding party photos from one-thirty to two-thirty, family photos from two-thirty to three, then everyone hides away while guests arrive.
Ceremony at four, ending around four-thirty. Cocktail hour from four-thirty to five-thirty while you finish any remaining photos. Reception entrance at five-thirty, first dance, welcome, and dinner service. Toasts during or after dinner, then cake cutting, then dancing. With a ten or eleven o’clock venue end time, you get a full evening of celebration without rushing. The buffer lives between prep and photos, between photos and ceremony, and in a relaxed cocktail hour that absorbs any earlier delays.
Sample Timeline for a 3:30 PM Ceremony
A three-thirty ceremony shifts everything thirty minutes earlier and changes the light. Prep starts around eight-thirty or nine. First look and photos run from one to two-thirty. Ceremony at three-thirty, done by four. Cocktail hour four to five, reception entrance at five, dinner and toasts through the evening.
The key difference with an earlier ceremony is sunset timing. If sunset is at seven, a three-thirty ceremony gives you golden-hour portraits during cocktail hour, which is magical but means stealing yourselves away from your own party for twenty minutes. Plan for it explicitly: schedule a sunset photo break into the timeline and tell your coordinator, so nobody wonders where you went. With a four o’clock ceremony in the same season, golden hour may fall during dinner, which means either interrupting dinner or skipping golden-hour portraits. Neither is wrong, but the choice should be deliberate, not accidental.
For either ceremony time, the getting-ready phase deserves respect in the timeline. Rushing the morning sets a frantic tone for the whole day. A calm, well-fed, on-schedule morning is the foundation everything else stands on. Your wedding planning checklist should treat the morning timeline with the same seriousness as the ceremony itself.
The Vendor-Share Checklist: Keeping Everyone in Sync
A timeline only works if every vendor has the same one. Two weeks before the wedding, send the final timeline to every vendor: coordinator, photographer, videographer, caterer, DJ or band, florist, hair and makeup team, transportation, and the venue manager. Then confirm receipt. A timeline sent but not read is the same as no timeline.
The vendor-share checklist covers the handoffs that cause most day-of problems. Confirm with the photographer when and where getting-ready photos start, and make sure hair and makeup knows that time. Confirm with the caterer the exact timing of cocktail hour, dinner service, and cake cutting, because the kitchen plans around those times. Confirm with the DJ the entrance, first dance, parent dances, and the timeline for toasts. Confirm with transportation the pickup times and addresses, with buffer built in.
Designate one point person for timeline questions on the day, ideally your coordinator or a trusted wedding party member, and put their number on the timeline itself. Vendors should call that person, not you. If you do not have a coordinator, understanding the planner versus coordinator difference and how a coordinator differs from a venue coordinator will help you decide what level of help you need.
Common Timeline Mistakes (and How to Avoid Them)
Mistake one: no buffer anywhere. If your timeline has every minute accounted for, the first delay cascades through the whole day. Fix it with fifteen to thirty minutes between segments and one unassigned hour.
Mistake two: underestimating family photos. Family formals take far longer than couples expect because gathering people is slow. Give them forty-five minutes, make a shot list in advance, and assign a family member who knows everyone to wrangle.
Mistake three: forgetting to eat. Build real meals into the timeline for the wedding party, not just snacks. A hungry wedding party is a cranky wedding party, and low blood sugar has ruined more getting-ready mornings than any vendor issue.
Mistake four: the timeline lives in one person’s head. Fix it with the vendor-share checklist above. Mistake five: no plan for the end of the night. Confirm the venue’s hard end time, plan the exit, arrange transportation, and know who handles vendor tips and leftover collection. The six-month wedding planning checklist helps you build toward all of this gradually instead of scrambling.
Adapting the Timeline for a Morning Ceremony
Morning ceremonies are increasingly popular, and they need a different timeline shape than afternoon weddings. The day is compressed at the front and gloriously open at the back.
For an eleven o’clock ceremony, prep starts early, around six-thirty or seven. This is the hardest part of a morning wedding, so make it as pleasant as possible: a good breakfast spread, coffee ready when the stylists arrive, music playing, and no rushing. Hair and makeup for the wedding party needs to be done by nine-thirty, which means booking enough stylists to work in parallel. This is not the wedding to economize on the glam team.
Getting-ready photos happen from nine to ten, first look around ten if you are doing one, ceremony at eleven, done by eleven-thirty. Then the day opens up beautifully. A brunch or lunch reception from twelve to three replaces the traditional dinner, and it is often more relaxed and less expensive. Guests love brunch weddings: the food is celebratory, the light is gorgeous for photos, and everyone is home at a reasonable hour.
The afternoon is yours. Some couples host an after-party or evening celebration for those who want to keep going. Others let the day end naturally and enjoy a quiet evening together. Either way, the timeline pressure is gone by mid-afternoon, which is a feeling afternoon weddings rarely achieve.
The buffer principle matters even more for morning ceremonies because there is no slack at the front of the day. Everything before eleven must run on time, so build the buffer into the prep phase: extra stylists, a realistic start time, and a point person keeping the morning moving. Once the ceremony is done, relax. The hardest part of a morning wedding is over before most afternoon weddings have even started hair and makeup.
Frequently Asked Questions (FAQ)
How far in advance should I finalize my wedding day timeline?
Build a draft timeline two to three months out, refine it as vendor details confirm, and send the final version to all vendors two weeks before the wedding. Confirm receipt from each one.
How much buffer time should a wedding timeline have?
Fifteen to thirty minutes between every major segment, plus one unassigned hour somewhere in the day. Buffer is what absorbs the delays that happen at every wedding.
Should we do a first look?
For timeline purposes, yes if you can. A first look moves couple portraits before the ceremony, which frees up cocktail hour and reduces the post-ceremony photo rush. It is a personal decision, but it simplifies the timeline enormously.
What time should the ceremony be?
It depends on your season, your venue, and your priorities. Mid-afternoon ceremonies give relaxed mornings and good photo light. Consider sunset timing for golden-hour portraits when choosing.
Who keeps the wedding day on schedule?
Your coordinator if you have one, or a designated point person from the wedding party. Vendors should direct timeline questions to that person, not to you, so you can stay present.
The Bottom Line
Learning how to plan a wedding day timeline is the buffer-time-first method: work backward from your fixed moments, add air between every segment, and share the final timeline with every vendor. Do that, and the day feels effortless, which is exactly how it should feel. Build your timeline in a simple shared document that your point person and key vendors can all access, and print a few paper copies for the wedding morning. Technology fails at the worst moments, and a paper timeline in the coordinator’s pocket has saved more wedding days than any app. Walk through the full day mentally once the timeline is drafted, imagining each transition: what could run long, where people need to be, and who is responsible for each handoff. That mental rehearsal catches the gaps that look fine on paper but break in practice.