How to Winterize Outdoor Faucets Before the First Freeze

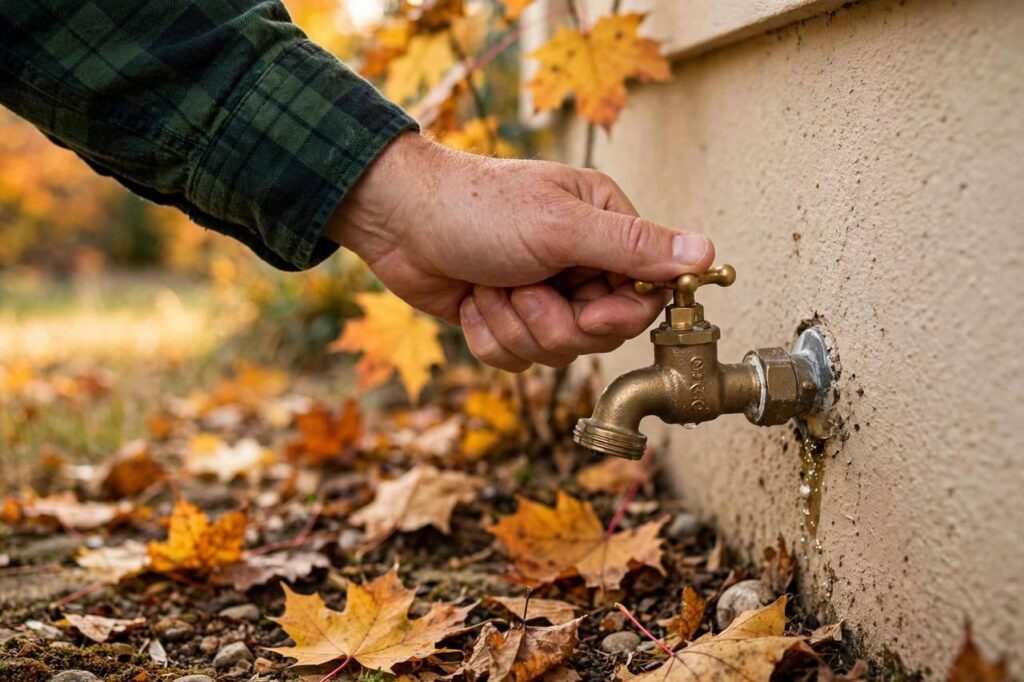
Every fall I get the same panicked calls: a burst pipe, water in the basement, a plumber’s emergency bill that could’ve been avoided with twenty minutes of work in October. Knowing how to winterize outdoor faucets is one of the highest-value home maintenance jobs there is — cheap, fast, and it prevents one of the most common (and expensive) cold-weather disasters.
Here’s the deal: water expands when it freezes. Water trapped in your outdoor faucet or the pipe feeding it can split the pipe, and you won’t know until spring when you turn the water back on and it floods your wall cavity. This guide covers timing, the difference between spigot types, and the full 20-minute routine.
When to Winterize: Timing by Region
The rule is simple: winterize before your area’s first hard freeze — that’s temperatures dropping to 28°F (-2°C) or below for several hours. A light frost won’t burst pipes, but a hard freeze will. Here are rough guidelines:
- Northern states / Canada: Late September to mid-October. Don’t wait for the leaves to finish falling.
- Mid-Atlantic / Midwest: Mid to late October. Watch the 10-day forecast once nights dip near freezing.
- Upper South: November, but an early cold snap can surprise you — many burst-pipe calls I get are from people caught by the first freeze of November.
- Deep South / Southwest deserts: December or when a freeze warning is issued. Pipes here are often less protected, so even one hard freeze night matters.
The practical approach: when overnight lows start flirting with the mid-30s, do it that weekend. It’s a 20-minute job — there’s no reason to gamble on the forecast.
Know Your Spigot: Frost-Free vs. Standard
Before you start, figure out which type of outdoor faucet you have, because the procedure differs.
Standard spigots (hose bibbs) are the old-school kind: the valve sits right at the exterior wall, so water stays in the pipe all the way out to the cold air. These MUST be shut off from inside and drained every winter. If your house was built before the 1990s and never updated, you probably have these.
Frost-free (freeze-proof) sillcocks are the modern kind, recognizable by a longer stem — the actual shutoff valve sits 8–14 inches inside the warm wall, so water drains out of the exposed section when you close it. These are much safer but NOT maintenance-free: you still need to disconnect hoses (a connected hose traps water and defeats the design) and many plumbers still recommend covers in harsh climates.
How to tell: look at where the handle is relative to the wall. If the faucet body extends several inches into the house with the valve deep inside, it’s frost-free. If the whole mechanism is right at the surface, it’s standard. When in doubt, treat it as standard — the full routine protects both types.
The Full 20-Minute Routine: Standard Spigots
Step 1 — Disconnect everything. Remove all hoses, splitters, timers, and attachments from every outdoor faucet. This is the single most-skipped step and the single most common cause of burst frost-free faucets. Store hoses indoors or in the garage, drained and coiled.
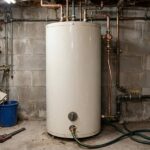
Step 2 — Shut off the interior valve. Find the shutoff valve for each outdoor faucet inside the house — usually in the basement, crawl space, or utility room, on the pipe leading to the exterior wall. Turn it clockwise to close. If you can’t find individual shutoffs, you may need to shut off the main and consider having a plumber add them (worth it).
Step 3 — Open the outdoor faucet. Go outside and open each faucet fully. This lets water drain out of the pipe between the interior shutoff and the spigot.
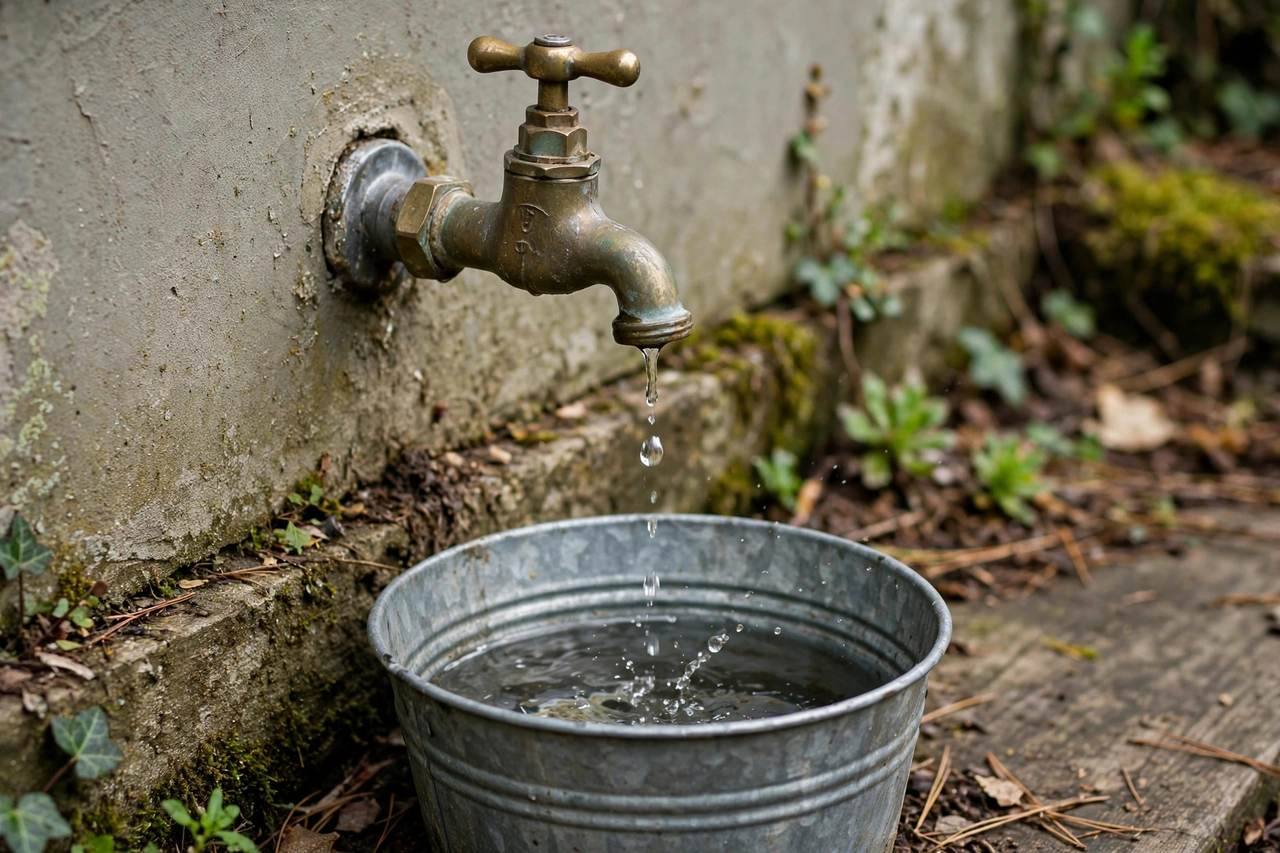
Step 4 — Drain the line. Go back inside and open the small drain cap (bleeder) on the shutoff valve, holding a bucket or towel underneath. Let the water drain completely, then close the bleeder cap.
Step 5 — Leave the outdoor faucet open. Leave the outside faucet in the open position all winter. If any residual water freezes, it has room to expand instead of splitting the pipe. Some folks also leave the bleeder cap slightly loose with a bucket — I just close it and leave the outside tap open.
The Routine for Frost-Free Spigots
Frost-free faucets are simpler, but don’t skip them:
- Disconnect all hoses and attachments. I repeat this because it’s the #1 failure mode. A hose left connected traps water in the stem, which freezes, expands, and splits the pipe inside your wall — the exact disaster the frost-free design prevents.
- Close the faucet firmly (don’t overtighten).
- Check the angle. Frost-free sillcocks must slope slightly downward toward the outside so water drains out. If yours was installed level or sloping inward, water pools inside — get it reinstalled correctly or treat it as a standard spigot.
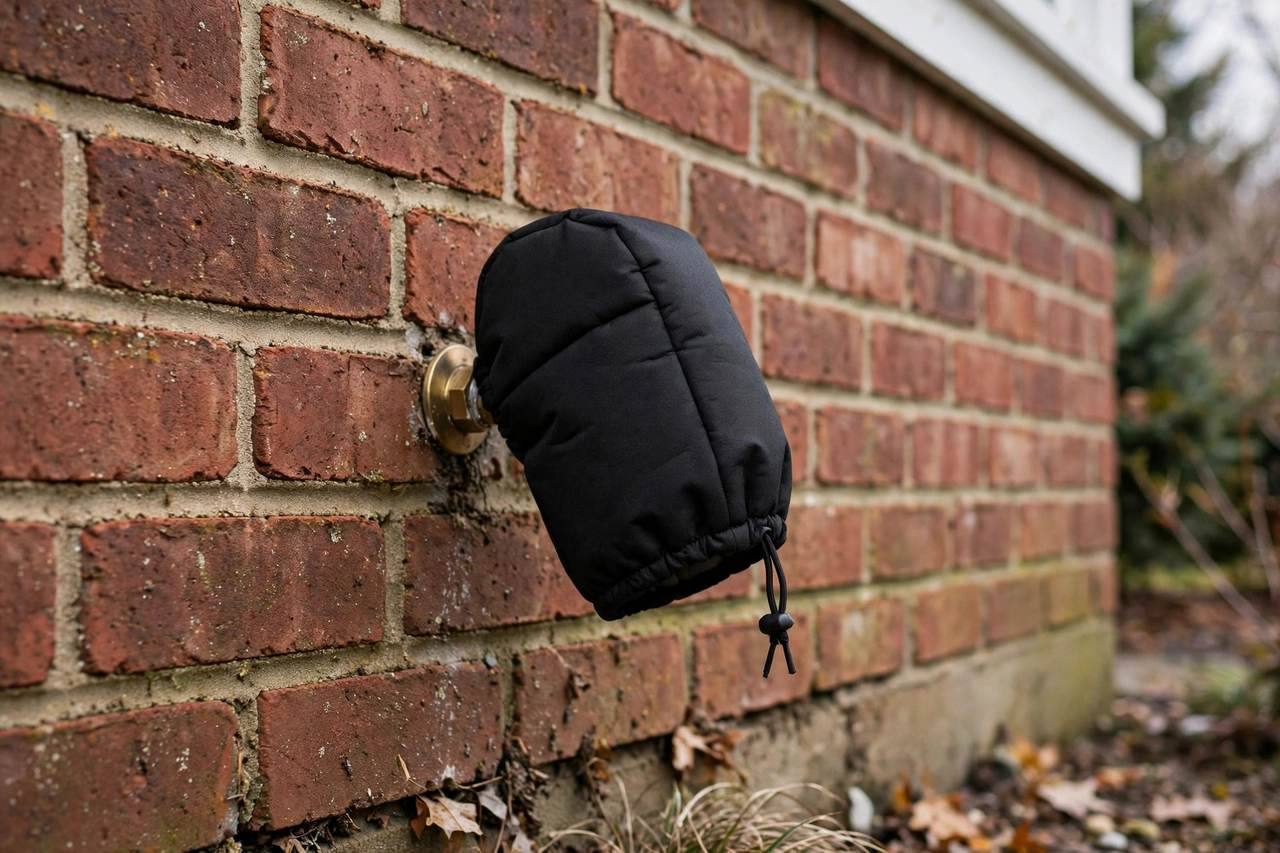
- Add an insulated cover in cold climates. They’re a few dollars, take ten seconds to install, and provide cheap insurance.
One more check: make sure the vacuum breaker (the little cap on top, required by code in most places) isn’t cracked or leaking. A failed vacuum breaker can siphon water back into your supply — a different problem, but fall is a good time to notice it.
Insulated Covers: Worth It?
Foam faucet covers cost $3–$8 each and slip over the spigot with a simple loop or strap. For standard spigots, they’re a sensible extra layer. For frost-free spigots in zones with real winters, I recommend them as cheap insurance.
What they do: trap a pocket of relatively warm air around the faucet, slowing heat loss. What they don’t do: replace disconnecting hoses or shutting off interior valves. A cover on a hose-connected frost-free faucet is like a seatbelt in a car with no brakes — better than nothing, not a solution.
Buy the hard-shell foam type rather than the flimsy fabric bags; they seal better and last for years. Put them on when you winterize, take them off in spring.
Spring Reversal: Bringing Faucets Back Online
When freeze risk has passed (soil temperatures consistently above freezing, night lows reliably in the 40s):
- Remove the insulated covers.
- Close the outdoor faucets.
- Go inside, close the bleeder caps if you loosened them, and slowly reopen the interior shutoff valves.
- Go outside and check each faucet: turn it on, look for leaks at the spigot and — critically — have someone watch inside the house near the pipe for drips indicating a split pipe.
- Reconnect hoses only after you’ve confirmed everything is dry inside.
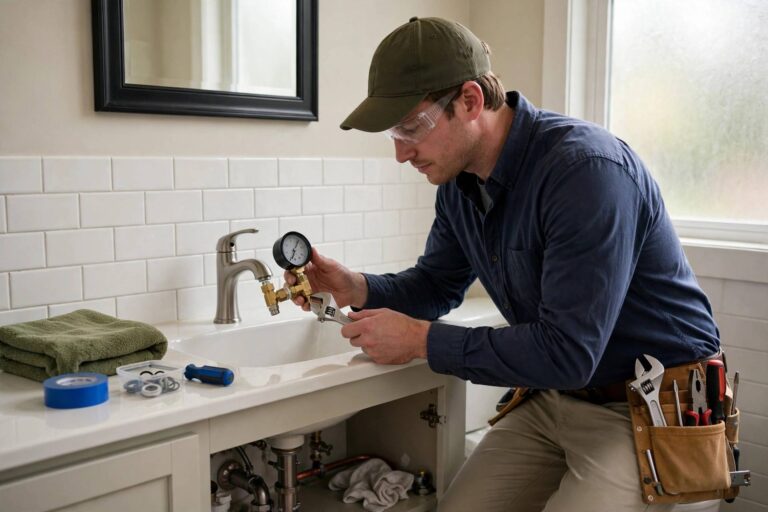
If you find a leak, shut the interior valve back off and call a plumber. A split pipe inside a wall is not a DIY discovery project — water damage compounds fast.
How to Winterize Outdoor Faucets: Quick-Reference Checklist
Tape this inside your utility room door. Learning how to winterize outdoor faucets is a once-a-year job, and this checklist makes it foolproof. 1. Disconnect every hose, splitter, timer, and attachment from all outdoor faucets — no exceptions, this is the step everyone skips. 2. Coil and store hoses indoors, drained. 3. Inside the house, close the shutoff valve for each outdoor faucet (clockwise). 4. Outside, open each faucet fully. 5. Inside again, open the bleeder cap on each shutoff valve and drain into a bucket; close the cap. 6. Leave every outdoor faucet in the open position for the winter.
For frost-free spigots: disconnect hoses (yes, still — a connected hose defeats the design), close the faucet, verify it slopes slightly downward for drainage, and add an insulated cover in cold climates. Timing: do it when overnight lows start hitting the mid-30s — late September to October up north, October–November further south. In spring: remove covers, close outdoor faucets, reopen interior valves slowly, and check inside the house for leaks before reconnecting hoses.
Total cost: a few dollars for covers you reuse yearly. Total time: twenty minutes. Total savings: the burst-pipe repair bill you just avoided, which is the best kind of home maintenance math there is.
While you’re at it each fall, give your other exterior plumbing the same attention: drain and store garden hoses, shut off and drain irrigation systems or blow them out with compressed air, and check that outdoor shower fixtures (if you have them) are drained. Pipes don’t care which fixture bursts — the same freeze that splits a faucet line will happily split an irrigation line too. One autumn afternoon covers all of it — and it’s the kind of quiet, competent homeownership that pays for itself every single winter without you ever thinking about it again.
FAQs
When should I winterize my outdoor faucets? Before your area’s first hard freeze (28°F/-2°C or below). Roughly: late September–mid-October in northern regions, late October in the Midwest/Mid-Atlantic, November in the Upper South. When overnight lows approach the mid-30s, do it that weekend.
Do frost-free faucets need to be winterized? They need less work but aren’t maintenance-free. Always disconnect hoses (a connected hose defeats the frost-free design), close the faucet, verify it slopes downward for drainage, and add an insulated cover in cold climates.
What happens if I don’t winterize outdoor faucets? Trapped water freezes, expands, and can split the pipe — often inside the wall where you can’t see it. The damage typically appears in spring as flooding when you turn the water back on. Repairs commonly run into the hundreds or thousands.
Should I leave outdoor faucets open or closed in winter? For standard spigots (shut off from inside): leave the outdoor faucet OPEN all winter so any residual water has room to expand. For frost-free spigots: close them normally after disconnecting hoses.
Can I just put a cover on and skip shutting off the water? On standard spigots, no — a cover alone is not enough; you must shut off the interior valve and drain the line. On frost-free spigots in mild climates, disconnecting hoses plus a cover is generally sufficient.
How do I know if my pipe burst over winter? In spring, reopen the interior valve slowly and check the outdoor faucet and the interior wall/ceiling near the pipe for drips, water stains, or reduced pressure. Any sign of leaking means shut it off and call a plumber.