How to Find a Wall Stud Without a Stud Finder: 7 Methods Ranked

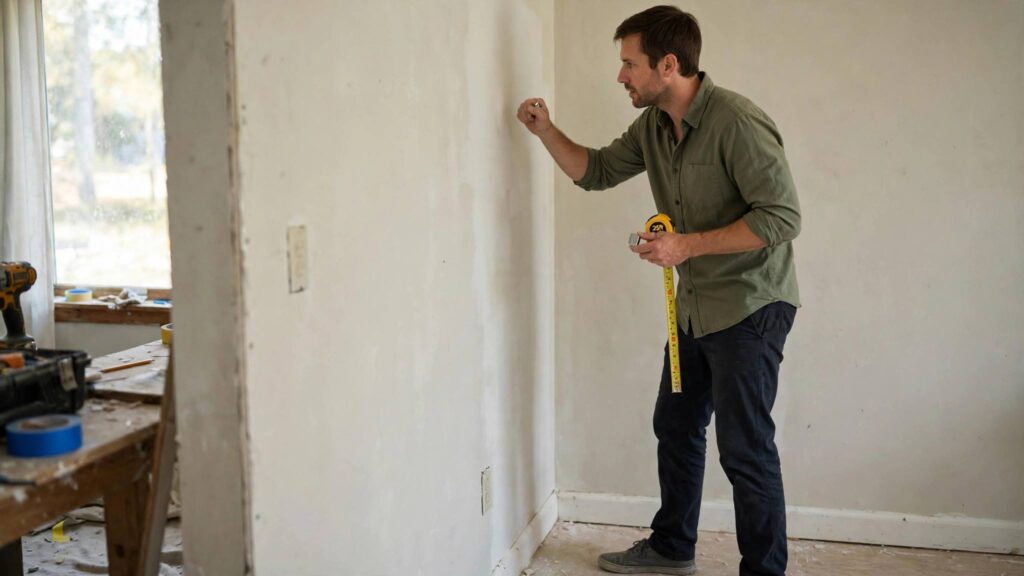
You need to hang a heavy mirror, mount a TV, or install a shelf, and the stud finder is nowhere to be found. Maybe you never owned one, maybe the battery died, or maybe yours beeps at everything including the cat. Whatever the reason, you can absolutely learn how to find a wall stud without a stud finder. I have hung everything from bookshelves to a 65-inch TV using nothing but the methods below, and I will rank them from easiest to most reliable so you can pick the right one for your wall.
Quick background if you are new to this: wall studs are the vertical wooden (or sometimes metal) beams behind your drywall, usually spaced 16 inches apart in most homes (24 inches in some newer construction and garages). Drywall alone cannot hold heavy items; studs can. Finding them is the difference between a shelf that lasts a decade and a shelf that lasts a week.
Method 1: The Knock Test (Easiest, Least Reliable)
Start here because it takes ten seconds. Make a fist and knock along the wall, moving horizontally. Over hollow drywall, you will hear a hollow, echoey sound. Over a stud, the sound becomes noticeably more solid and higher-pitched, with less resonance. Mark the spot where the sound changes.
When it fails: This method is unreliable on walls with insulation (the insulation deadens the hollow sound everywhere), on plaster walls, and on walls with thick texture. It is also hard if you have never heard the difference before. Use it as a first pass, not a final answer. Once you think you have found a stud, confirm with one of the methods below before you drill.
Method 2: Look at the Trim and Baseboards (Easy, Surprisingly Reliable)
Walk over to the baseboards or window and door trim. Trim is nailed into studs, and the nail holes are filled and painted over, but you can often spot them. Look along the baseboard for tiny filled dimples or slight bumps in the paint, usually in pairs. Those dimples mark studs. The same trick works on crown molding and chair rails.
When it fails: On walls with no trim, or where the trim was installed with adhesive instead of nails, or where the paint job is so thick the dimples are invisible. Also, some trim is nailed only at the ends. Still, this is one of my favorite methods because it leaves zero marks on the wall.
Method 3: Use Electrical Outlets and Switches (Easy, Very Reliable)
Electrical boxes are almost always attached to the side of a stud. Find an outlet or light switch, and you have found a stud edge. The box is nailed to one side of the stud, so the stud is immediately to one side of the box. To figure out which side, remove the cover plate (power off first if you are nervous, though you are not touching wires) and peek inside with a flashlight; you will see which side the box is nailed to.
Once you know where one stud is, measure 16 inches in either direction to find the next ones. Then confirm each with a knock or a tiny test hole.
When it fails: Some boxes are “old work” boxes held by drywall clips rather than nailed to studs, especially in remodels. Outlets on exterior walls can also be misleading. And this only tells you about the stud right next to the outlet; the 16-inch spacing rule is reliable in most homes but not all, so always verify before hanging something heavy.
Method 4: The Magnet Trick (Cheap, Very Reliable)
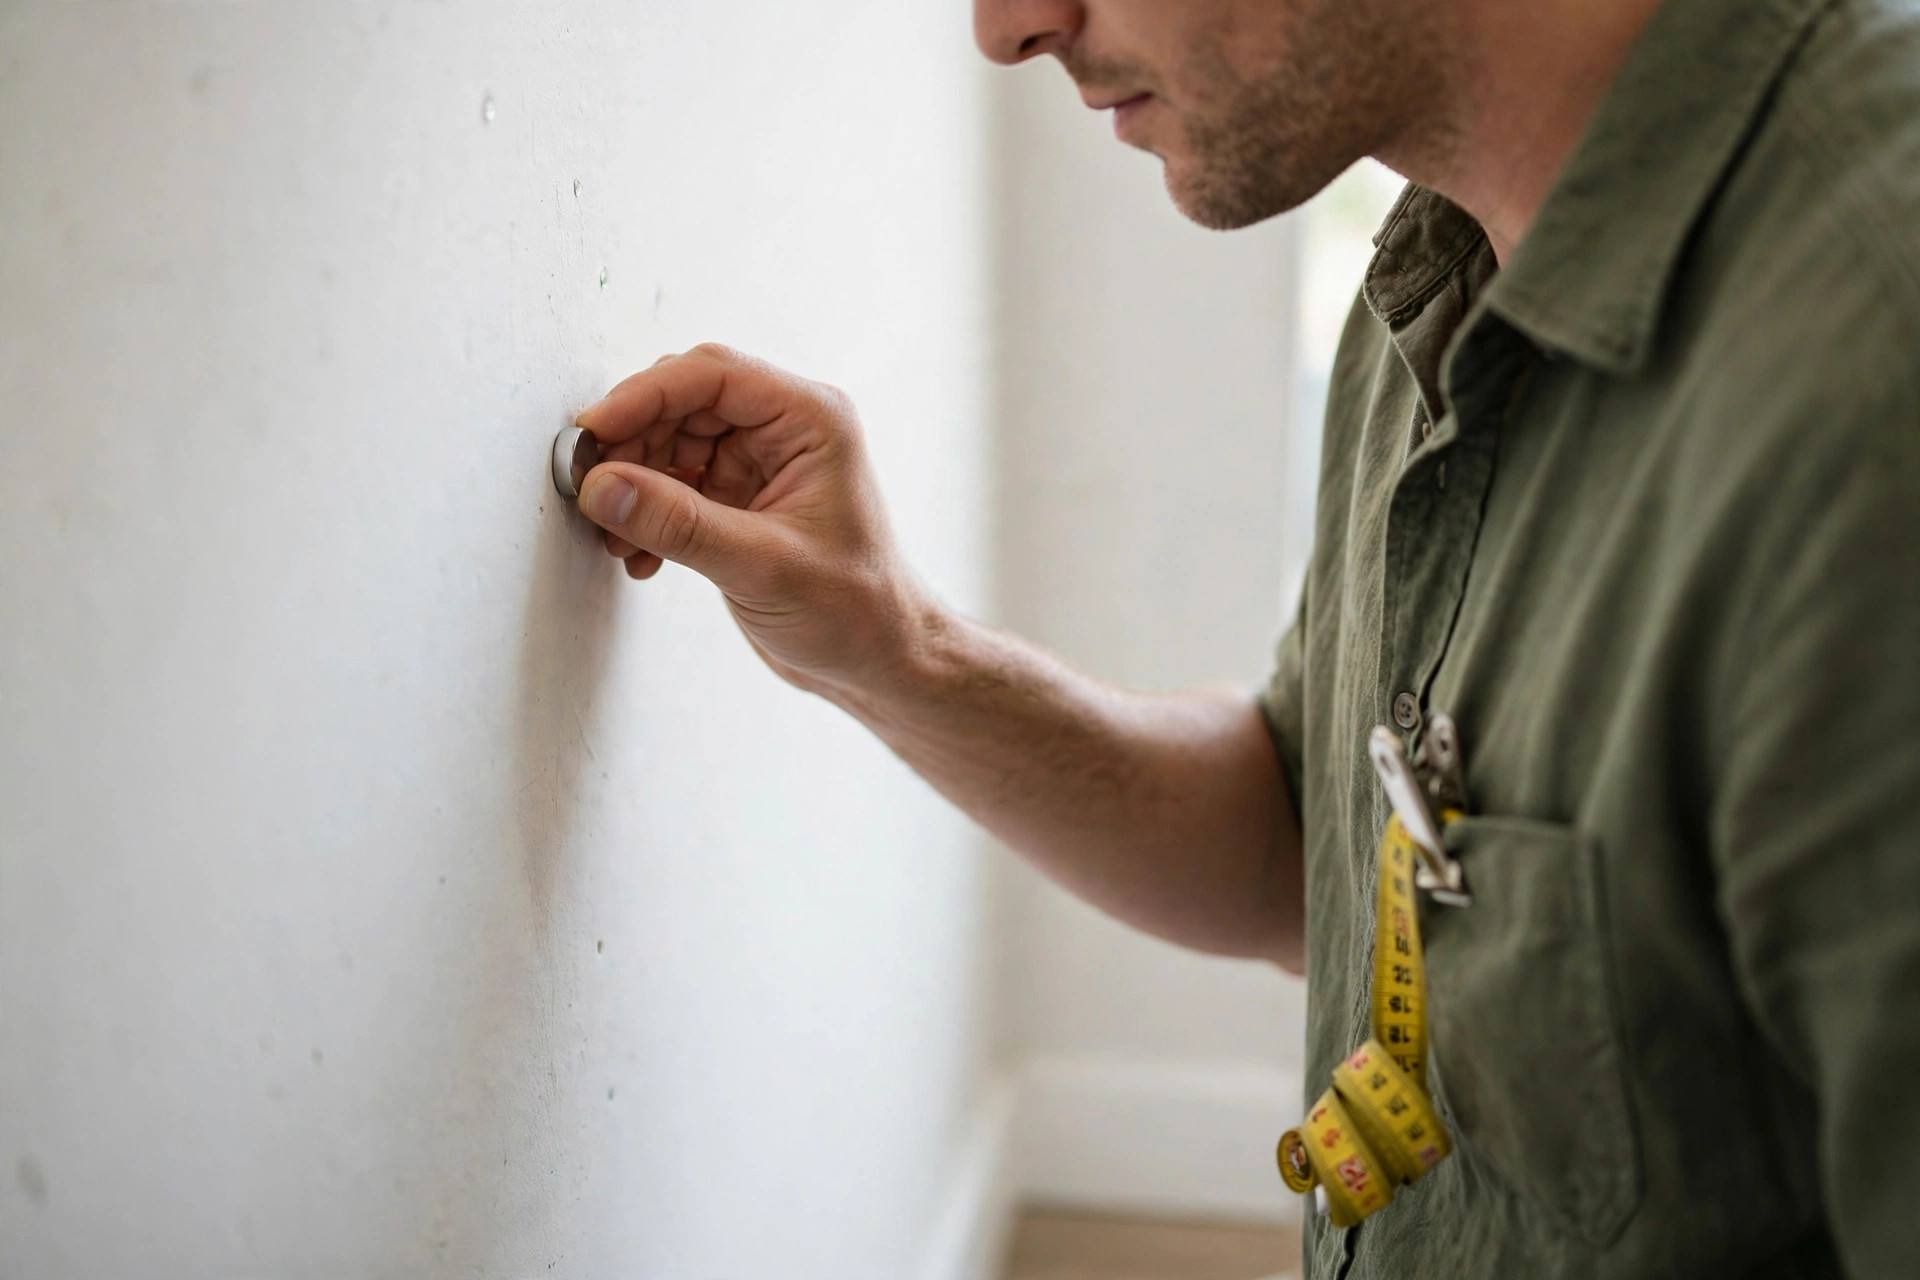
This is the method I recommend most. Take a strong magnet, a refrigerator magnet will work in a pinch, but a small neodymium magnet from a hardware store is better, and slide it slowly along the wall. Drywall is hung with screws, and those screws are driven into the studs. The magnet will stick, or at least tug, wherever it passes over a screw head. Find two screws in a vertical line about a foot apart, and you have found your stud.
Tie the magnet to a piece of dental floss or string and let it dangle against the wall as you move along; when it swings toward the wall and sticks, you have hit a screw. It feels like a magic trick the first time it works.
When it fails: On plaster walls with wooden lath (no screws to find), on walls where nails were used instead of screws (weaker magnetic pull, but a strong magnet still works), and on metal studs, where the magnet sticks everywhere along the stud, which is actually still useful information. It also will not work if the screws are buried under very thick plaster or multiple layers of drywall.
Method 5: Measure 16 Inches From a Corner (Reliable, If Your House Cooperates)
In standard construction, studs are spaced 16 inches apart, measured from one corner. Measure 16 inches from the corner, and you should land on a stud center. Mark 32, 48, 64 inches and so on to map the whole wall. Confirm each mark with the knock test or magnet trick.
When it fails: Not all walls start their 16-inch layout from the corner you picked; some start from the other end. Remodels, additions, and non-load-bearing walls often ignore the rule. Windows and doors interrupt the spacing. Treat this as a hypothesis to verify, not a fact.
Method 6: Look for Drywall Dimples in Good Light (Moderate Effort, Reliable)
Drywall screws are covered with joint compound and painted over, but they often leave the faintest dimple. Hold a flashlight nearly parallel to the wall so the light rakes across the surface at a shallow angle. Imperfections, including screw dimples, will cast tiny shadows. You are looking for vertical rows of dimples spaced about 12 inches apart vertically, which mark the screws driven into a single stud.
When it fails: On textured walls, heavily painted walls, or walls with a truly professional finishing job, the dimples may be invisible. This works best on flat, matte-painted drywall in a room with controllable lighting.
Method 7: The Tiny Test Hole (Most Reliable, Leaves a Mark)
When accuracy matters most, say, for a TV mount, drill or poke a tiny hole where you believe the stud is, using a thin nail or a small drill bit, angled slightly. If you hit wood after passing through about half an inch of drywall, you have found it. If the nail slides through into empty space, patch the tiny hole with spackle and try 3/4 of an inch to either side (you may have hit the edge of the stud or missed it).
To find the stud’s edges, poke a series of tiny holes an inch apart horizontally until you find where the wood stops on each side. The center between the edges is your target. A dab of spackle and a touch of paint makes the holes vanish.
When it fails: It does not fail at finding studs, but it does leave marks, so save it for spots that will be hidden behind whatever you are hanging. And go slowly near outlets and switches, where wires run vertically through the studs.
How to Find a Wall Stud Without a Stud Finder: My Recommended Workflow
For a quick picture frame, the knock test plus trim dimples is plenty. For anything heavy, a shelf, a TV, a cabinet, do this: use the outlet method or magnet trick to find one stud, measure 16 inches to predict the next, confirm with the knock test, and verify the exact center with a tiny test hole behind where the mount will sit. Three methods agreeing is as good as a stud finder, and in my experience, it is often better, because cheap stud finders lie with confidence while these methods make you verify.
Safety Notes Before You Drill
Studs are not the only thing inside your walls. Electrical wires run horizontally and vertically through drilled holes in studs, and plumbing pipes run through walls near bathrooms and kitchens. If you are drilling near an outlet, switch, or plumbing fixture, keep holes shallow, drill slowly, and stop if you feel unusual resistance. A wire detector is a worthwhile ten-dollar investment if you hang things often. And if your walls are plaster and lath rather than drywall, drill with a masonry-style patience: go slow, use sharp bits, and expect the plaster to want to crack.
Frequently Asked Questions
Are studs always 16 inches apart?
In most modern homes, interior wall studs are spaced 16 inches apart (measured center to center). However, some walls use 24-inch spacing, especially in garages, non-load-bearing walls, and some newer construction. Older homes may have irregular spacing. Always verify with a second method.
Can I hang a heavy shelf without hitting a stud?
For truly heavy items like TVs, large mirrors, and loaded bookshelves, you really want at least one stud. For medium-weight items, high-quality toggle bolts in drywall can hold 50+ pounds each. But a stud is always the safest anchor, so find one if you can.
Does the knock test actually work?
It works as a rough first pass on standard uninsulated drywall, but it is the least reliable method on this list. Insulation, double drywall, and plaster all defeat it. Always confirm with the magnet trick or a test hole before drilling.
How do I find a stud in a plaster wall without a stud finder?
Plaster walls are trickier because there are no drywall screws for a magnet to find. Use the outlet method, measure from corners, and look at trim nail dimples. As a last resort, drill small exploratory holes, going slowly to avoid cracking the plaster.
What is the magnet trick for finding studs?
Slide a strong magnet along the wall to find the steel drywall screws, which are driven into the studs. When the magnet sticks or tugs, mark the spot. Two marks in a vertical line confirm a stud. A neodymium magnet on a string works best.
Can I use my phone as a stud finder?
Some apps claim to use your phone’s magnetometer (compass sensor) to detect screws like the magnet trick does. They can work in a pinch, but they are finicky and drain battery. A two-dollar magnet is more reliable.
Final Thoughts
A stud finder is a convenience, not a necessity. The magnet trick plus the outlet method will find studs in nearly any drywall home, and the tiny test hole settles any remaining doubt. Hang with confidence, patch the evidence, and nobody will ever know you did it the old-fashioned way.