How to Regrout Bathroom Tile: 5 Steps (Don’t Skip the Sealer)

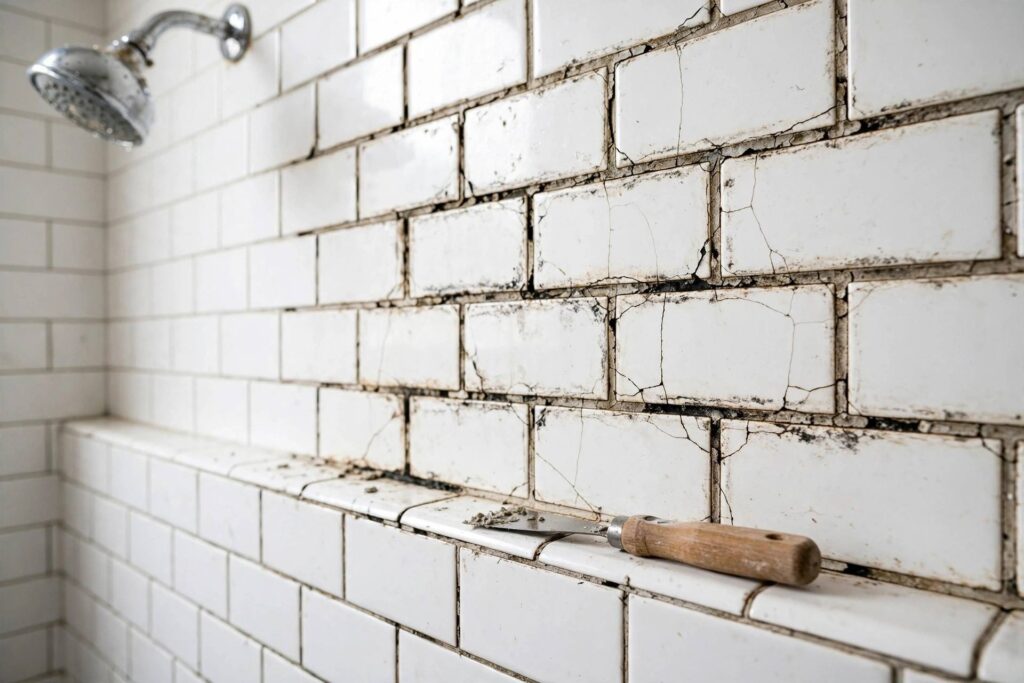
Cracked, stained, missing grout makes an entire bathroom look tired — and most people assume fixing it means retiling. It doesn’t. Learning how to regrout bathroom tile is one of the highest-impact DIY projects there is: a weekend of work, basic tools, and a bathroom that looks nearly new. I’ve regrouted showers, floors, and backsplashes for years, and I’ll tell you the two things most guides get wrong: first, half the “regrout” jobs people start only needed a deep clean; second, almost every guide glosses over the sealer step, which is what determines whether your work lasts two years or ten. Here’s the honest version.
First: Do You Actually Need to Regrout? (Or Just Deep-Clean?)
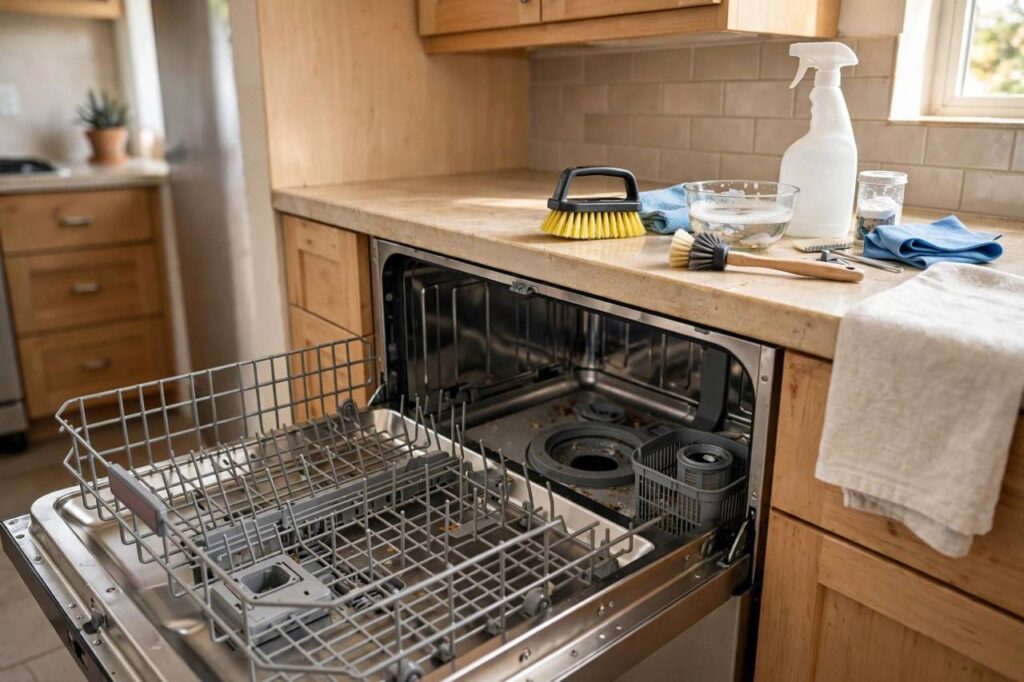
Before you buy a single tool, test whether the grout is failing or just filthy. Scrub a small test area with a grout brush and an oxygen-based cleaner or a baking soda paste. If the grout lightens up dramatically and feels solid under the brush, you needed cleaning, not regrouting — you just saved yourself a weekend.
You genuinely need to regrout when: grout is cracked, crumbling, or missing in sections; it stays dark and stained even after real scrubbing (deep-set mold or mineral staining); it’s soft or powdery when you poke it with a screwdriver; or water is getting behind tiles (loose tiles, musty smell, soft drywall). Surface discoloration alone is a cleaning problem. Structural failure is a regrouting problem. Know which one you have before you start tearing things out.
What You’ll Need
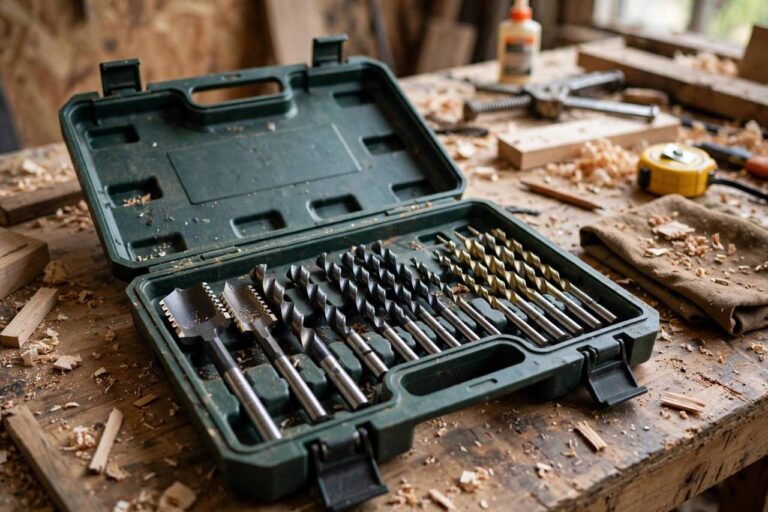
- Grout saw or oscillating multi-tool with grout removal blade (the multi-tool is roughly ten times faster for large areas)
- Rubber grout float, grout sponge, and two buckets
- Utility knife for edges and corners
- New grout: sanded for joints wider than 1/8 inch, unsanded for narrower joints and for polished stone (sanded grout scratches marble and glossy tile)
- Penetrating grout sealer (not a topical coating)
- Safety glasses, dust mask, knee pads — grout removal is dusty, miserable work without them
Step 1: Remove the Old Grout
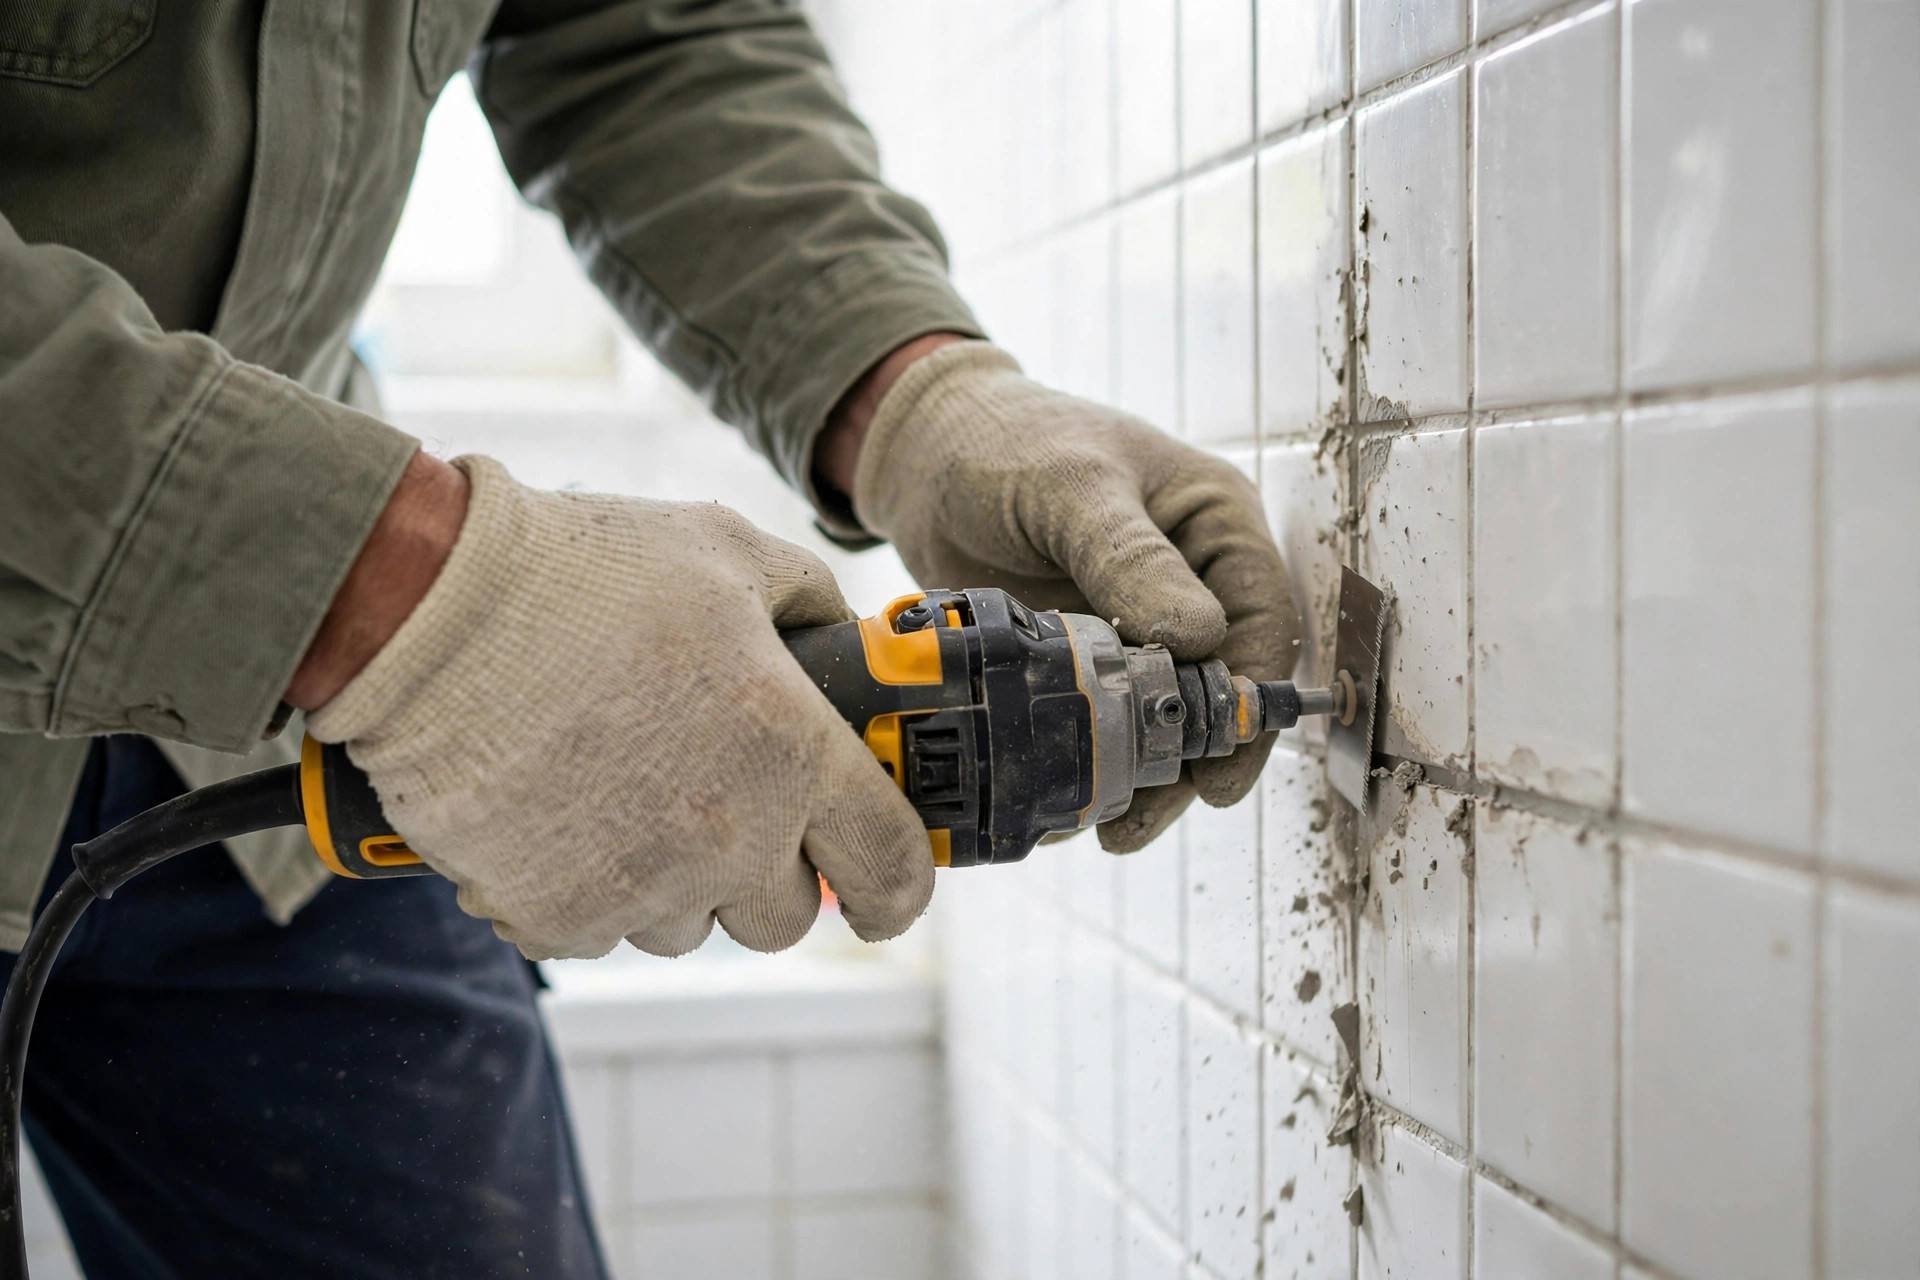
This is the grunt work — roughly sixty percent of the job. Using the grout saw or multi-tool, cut out the old grout to at least two-thirds the depth of the joint (about 1/8 inch deep minimum). New grout needs something to bite into; skimming it over the top of old grout is the number one reason regrout jobs fail within a year.
Work carefully around tile edges — chipping a tile during removal turns a regrout into a retile. The multi-tool is fast but aggressive; keep the blade in the joint, not against the tile. Vacuum out the dust as you go. When you’re done, the joints should be clean channels of uniform depth.
Step 2: Clean and Prep the Joints
Wipe down the tile faces and vacuum the joints one more time. If there’s mold in the joints, treat it with a mold-killing cleaner and let it dry completely — sealing new grout over live mold just buries the problem. Dampen the joints lightly with a sponge (damp, not wet): bone-dry joints suck the moisture out of fresh grout too fast, weakening it.
Step 3: Mix and Apply the New Grout
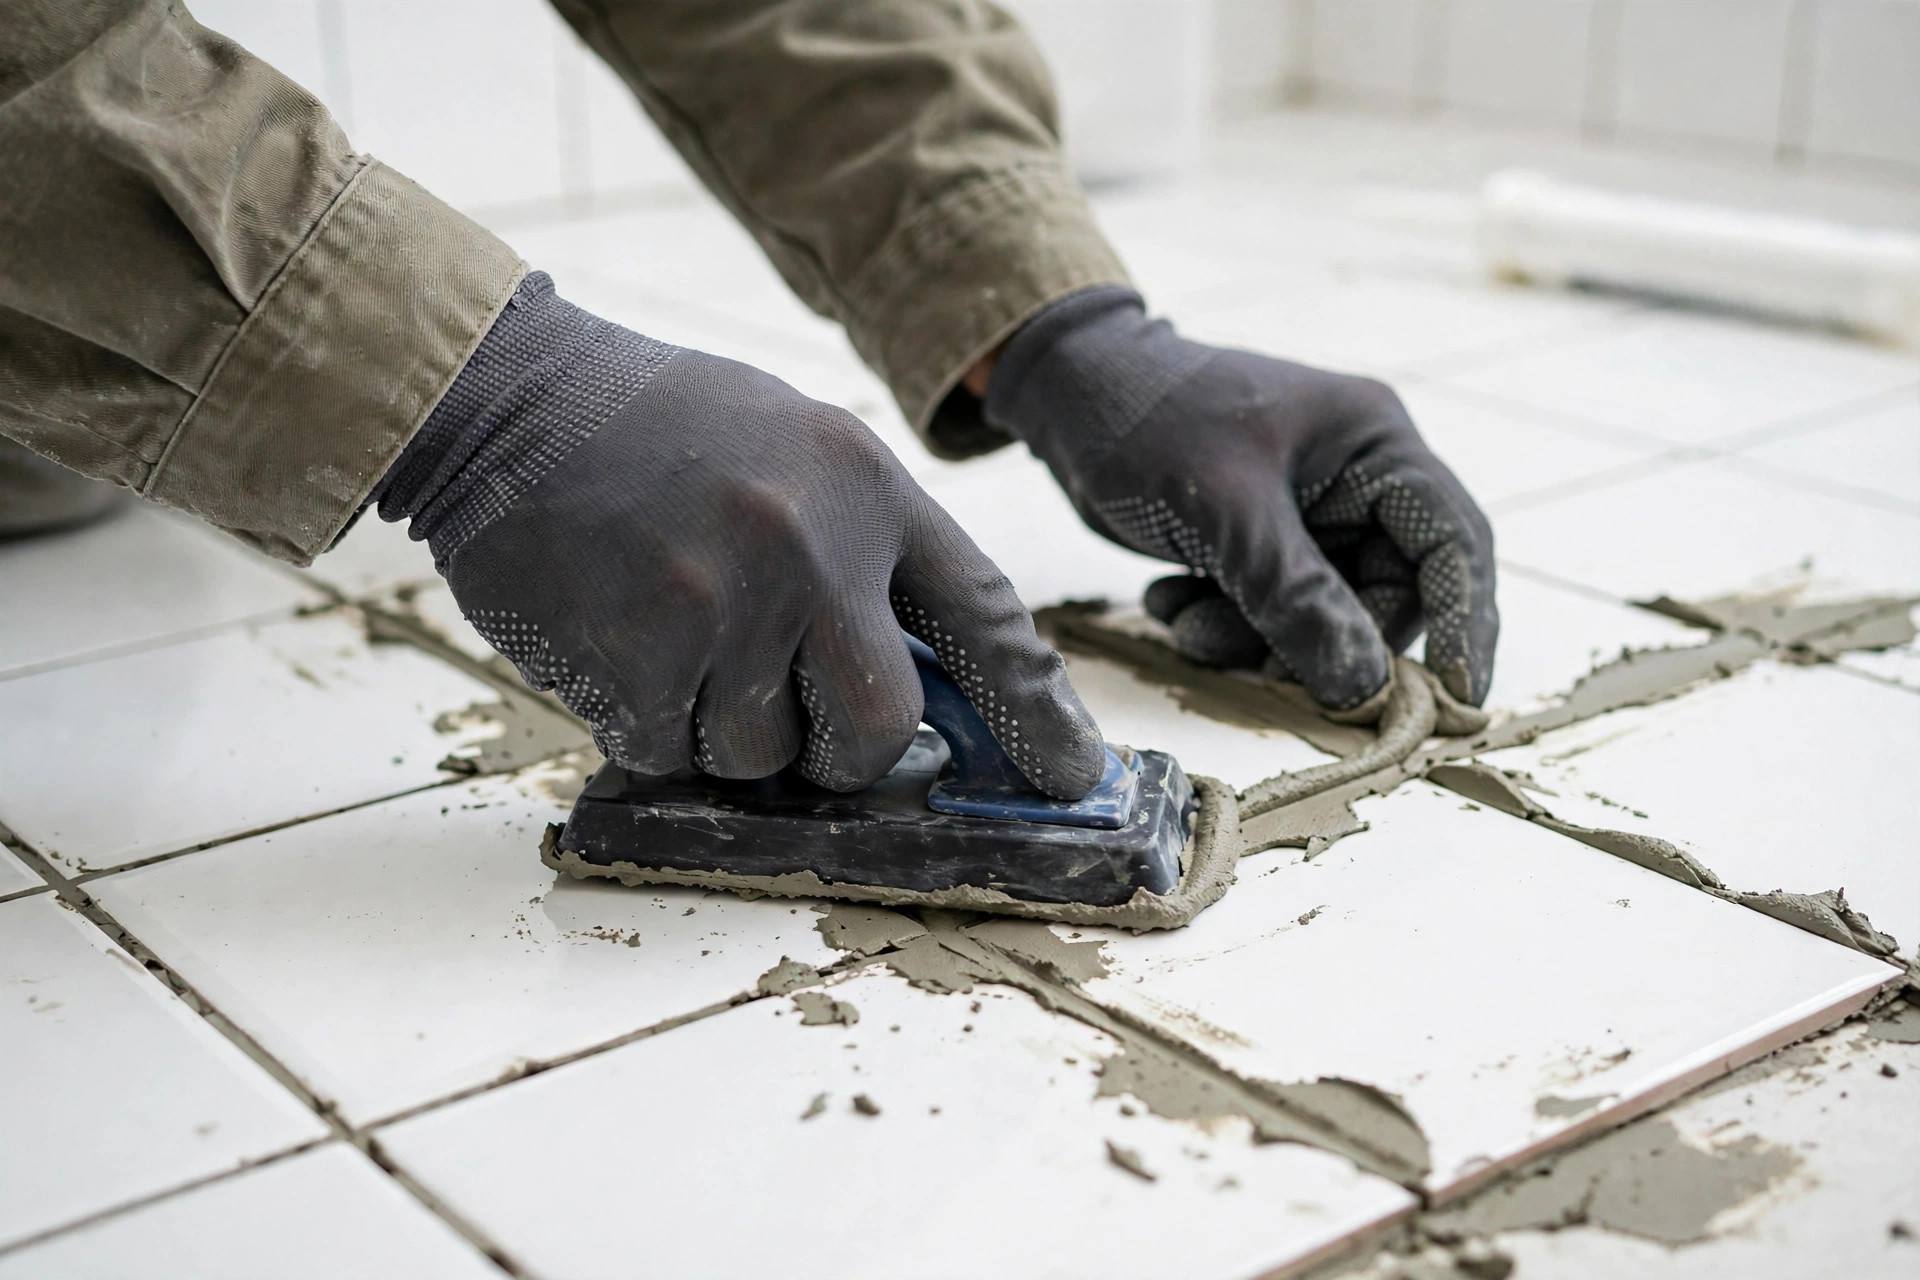
Mix small batches — grout starts setting in about thirty minutes, and a bucket of hardening grout is money in the trash. Mix to a peanut-butter consistency, let it slake (rest) for five to ten minutes per the bag’s instructions, then remix briefly. Skipping the slake is a classic beginner error; it matters for strength.
Working in three-by-three-foot sections, hold the grout float at forty-five degrees and push grout diagonally across the joints, packing them full. Then hold the float nearly flat and scrape diagonally to remove excess from the tile faces. Don’t work too large an area at once — grout waits for no one.
Step 4: Sponge, Haze, and Second Wipe
Wait fifteen to thirty minutes until the grout firms slightly, then wipe with a damp — wrung-out, not dripping — sponge in light diagonal strokes, rinsing frequently. This is finesse work: too much water weakens the grout surface; too little leaves a heavy haze. After the first wipe, let it haze over again, then buff the tile faces with a dry cloth to remove the remaining film. A final polish once fully dry gets the last of it.
Step 5: Seal It (The Step Everyone Skips)
Here’s the step that separates two-year grout from ten-year grout. Wait forty-eight to seventy-two hours for the grout to cure fully — sealing too early traps moisture. Then apply a penetrating sealer, not a film-forming topical product that peels: wipe or brush it onto the grout lines, let it penetrate per the product instructions, and wipe excess off the tile faces before it dries.
Why penetrating, not topical? Topical sealers sit on the surface and peel, yellow, and trap moisture. Penetrating sealers soak into the grout’s pores and repel water from within. In a shower, this is the difference between grout that stays clean and grout that molds within a year. Test the seal annually: flick water on the grout — if it beads, you’re good; if it soaks in dark, reseal.
What NOT to Do
- Don’t grout over old grout. It doesn’t bond and it fails. Remove first, always.
- Don’t use sanded grout on polished stone or narrow joints. It scratches. Match the grout to the joint width.
- Don’t mix more than you can apply in twenty minutes. Grout waits for no one.
- Don’t seal too early. Forty-eight to seventy-two hours of cure time, minimum.
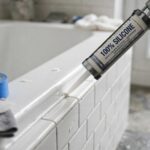
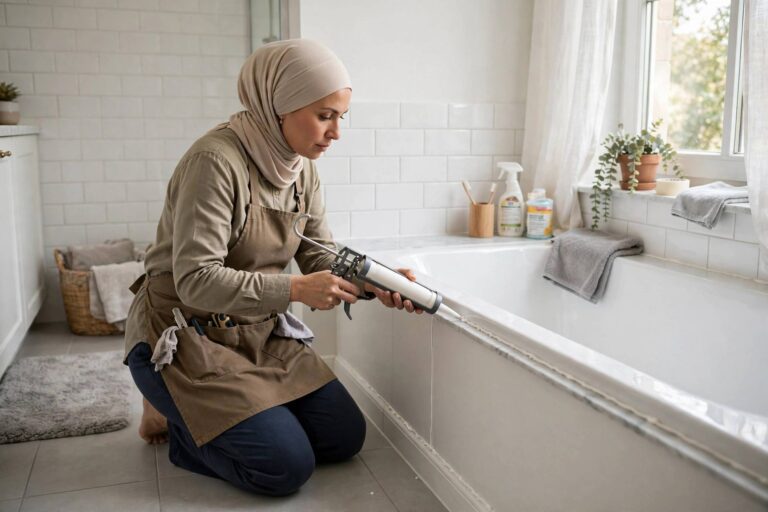
- Don’t grout where caulk belongs. Corners and changes of plane — where wall meets tub, where walls meet — get flexible caulk, not rigid grout. Grout in corners cracks with normal building movement.
How to Regrout Bathroom Tile: Floors vs. Shower Walls
The process is the same, but floors and showers stress grout differently, and the details matter. Shower walls face constant water, so the sealer step is critical — and consider upgrading to epoxy grout (more below). Joints are usually narrow (1/16 to 1/8 inch), so unsanded grout is typical. Work top-down so drips don’t mar finished sections, and mask the drain before you start — grout in the drain is a miserable problem.
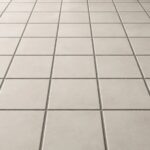
Bathroom floors face foot traffic and flex. Joints are usually wider (1/8 to 1/4 inch), calling for sanded grout, which resists the abrasion better. The subfloor matters enormously: grout over a flexing subfloor cracks no matter how well you apply it. If your floor grout keeps failing in the same spots, the problem isn’t the grout — it’s movement underneath, and that’s a structural fix, not a cosmetic one. Also note: floors get dirtier faster, so choose a grout color slightly darker than you think you want. Bright white floor grout looks amazing for a month.
Backsplashes and wainscoting (low-moisture walls) are the easiest regrout in the house — narrow joints, no standing water, minimal stress. If you’ve never regrouted before, start here. It’s the training ground before the shower.
Epoxy Grout: Should You Upgrade?
Standard cement grout is porous — that’s why it stains and needs sealing. Epoxy grout is a different material entirely: resin-based, effectively waterproof, stain-proof, and it never needs sealing. For showers, it’s the premium choice, and the price difference (roughly 3–5x the material cost of cement grout) buys you a decade of zero maintenance.
The catch: epoxy is significantly harder to work with. It sets faster (smaller batches, no coffee breaks), it’s stickier and harder to clean off tile faces (haze removal is a real chore — use the manufacturer’s haze remover, not hope), and mistakes are less forgiving. Most DIYers can handle it on a small backsplash; for a full shower, it’s the one regrout scenario where I’d suggest getting a quote from a pro and comparing honestly against your skill and patience.
My rule: cement grout + diligent sealing for floors and low-moisture areas; seriously consider epoxy for the shower, whether DIY (small areas) or pro (large ones). The shower is where grout goes to die — arm it accordingly.
How Long Does a Regrout Job Last?
Done right — full removal, proper application, penetrating sealer, annual resealing — a regrout should last 8–15 years in a shower and even longer on floors and walls. Done wrong — skimmed over old grout, never sealed — expect 1–3 years before it looks tired again. The spread is almost entirely in the steps people skip.
The maintenance that protects your work is minimal: squeegee shower walls after use (thirty seconds, enormous payoff), ventilate the bathroom (an exhaust fan run for 20 minutes post-shower prevents most mold), clean with pH-neutral cleaners (harsh acids and bleach degrade grout and sealer over time), and re-test the sealer annually with the water-bead test. An hour of maintenance a year protects a weekend of work for a decade. That’s the trade, and it’s a good one.
Frequently Asked Questions
How do you regrout bathroom tile?
Remove old grout to two-thirds joint depth, clean and prep the joints, mix and apply new grout in small sections with a float, sponge off excess, buff the haze, then seal with a penetrating sealer after forty-eight to seventy-two hours of curing.
Can you put new grout over old grout?
No — it doesn’t bond properly and fails within a year. Old grout must be removed to at least two-thirds of the joint depth so the new grout has something to grip.
How long does regrouting a bathroom take?
A typical shower takes a full weekend: one day for removal and prep, one day for grouting, plus forty-eight to seventy-two hours of cure time before sealing. Removal is about sixty percent of the total work.
Do you need to seal grout after regrouting?
Yes — sealing is what makes the job last. Use a penetrating sealer (not a topical coating) after forty-eight to seventy-two hours of curing, and re-test annually with the water-bead test.
Sanded vs unsanded grout: which for bathroom tile?
Sanded grout for joints wider than one-eighth inch — it’s stronger and resists shrinking. Unsanded for joints one-eighth inch or narrower, and always for polished stone or glossy tile that sanded grout would scratch.
How much does it cost to regrout a bathroom yourself?
Typically fifty to one hundred fifty dollars in materials (grout, sealer, float, sponge, removal blade) for a standard shower. A pro charges five hundred to fifteen hundred or more for the same job — which is why DIY regrouting is one of the best-value home projects.
That’s how to regrout bathroom tile: verify you actually need it, remove properly, grout carefully, and — the part that matters most — seal it right. Do all five steps and your bathroom looks new for a decade, not a season.