How to Build a Gaming PC on a Budget: $400, $600 and $800 Builds

Let me save you the mistake I made on my first build: I overspent on the CPU, cheaped out on the power supply, and ended up with a machine that was both slower and sketchier than it needed to be. Learning how to build a gaming PC on a budget is not about finding the cheapest possible parts — it is about spending money where it creates frames per second and saving it where it does not. I have built systems at every budget tier since, and the budget builds are honestly my favorite: constraints force smart decisions, and a well-planned $600 PC embarrasses a badly-planned $1,000 one every time.
Here is the framework before the parts lists. In gaming, the graphics card (GPU) does most of the work — roughly speaking, it determines your frame rate more than any other component. The CPU needs to be good enough not to bottleneck it, and everything else (RAM, storage, case) just needs to be adequate and reliable. Budget building is the art of feeding the GPU while refusing to overpay for everything else. Keep that principle in mind and every parts list below will make sense.
How to Build a Gaming PC on a Budget: The $400 Build
At $400 you are building a competent 1080p machine for esports titles and older AAA games — not a 4K monster, and anyone telling you otherwise is selling something. The strategy here is a modern budget CPU with decent integrated graphics or a used GPU (more on used parts below), 16GB of RAM, and a 500GB SSD. Yes, 16GB — RAM is the cheapest meaningful upgrade in the build, and 8GB is a false economy that you will feel every day.
Priorities at this tier: do not buy a hard drive as your main storage. A $35 SSD transforms the entire experience more than any other $35 in the build — boot times, load times, general responsiveness. And do not cheap out on the power supply: a no-name PSU is the one component that can take the rest of the build with it when it fails. A reputable 450–550W bronze-rated unit is the floor. Everything else — the case, the fans, the aesthetics — gets the leftovers. Your PC does not need RGB; it needs to turn on.
The $600 Build: The Sweet Spot
This is the tier I recommend to most people, because it is where budget building stops feeling like compromise. $600 buys a current-generation budget GPU capable of 1080p high settings at 60+ fps in most modern titles, a six-core CPU that will not bottleneck it, 16GB of RAM, and a 1TB NVMe SSD — which matters, because modern games are enormous and 500GB fills up in about four installs.
The allocation logic: roughly 40–45% of the budget goes to the GPU. That is the single most important budgeting rule in this entire article. If you find yourself spending more on the CPU than the graphics card in a gaming build, stop and rebalance. At $600, that means a $240–270 GPU paired with a $120–150 CPU — a combination that consistently outperforms the reverse in actual games, because games are GPU-bound far more often than CPU-bound.
This is also the tier where motherboard restraint pays off. You do not need the deluxe board with Wi-Fi 7 and fourteen USB ports. You need the cheapest board from a reputable brand that supports your CPU, has the slots you need, and does not have alarming reviews. The $70 you save versus the fancy board is a GPU tier upgrade waiting to happen.
The $800 Build: 1440p Territory
At $800 the build stops being “budget” in the apologetic sense and starts being genuinely capable: 1440p gaming at high settings, comfortable streaming, and headroom for the next few years of releases. The GPU budget stretches to the lower-midrange cards that handle 1440p well, the CPU moves up to something with real multi-threaded muscle, and you can afford 32GB of RAM if you multitask heavily (streaming, Discord, Chrome with forty tabs — the usual).
The trap at $800 is lifestyle creep: the nicer case, the RGB fans, the aftermarket cooler you do not need because the stock cooler is fine for a budget CPU. Every dollar of aesthetics is a dollar not spent on performance. I am not against pretty builds — I own one — but pretty is a luxury tax. Pay it only after the performance budget is satisfied. A good rule: if an aesthetic upgrade costs more than 5% of the total build, it waits for the next upgrade cycle.
Used Parts: Where the Real Deals (and Real Risks) Live
The used market is the budget builder’s secret weapon and biggest hazard, so here is the honest breakdown. Safe to buy used: GPUs (the best value in used parts — previous-generation cards often sell for half their launch price and still crush 1080p), cases, CPU coolers, and sometimes RAM. Buy new: power supplies (always — you do not inherit someone else’s electrical risk), storage drives (SSDs wear out; you cannot verify remaining lifespan easily), and motherboards (too many fragile pins and slots to trust blind).
Used GPU rules: buy from sellers with strong ratings and return policies, ask whether the card was used for mining (mining cards are not automatically bad — they often ran undervolted and cool — but the seller’s honesty about it tells you everything), and test immediately on arrival with a stress test and a temperature check. A used GPU that runs hot or artifacts in the first week goes back. No exceptions, no “maybe it will settle in.”
Timing matters too. New GPU launches push previous-generation cards onto the used market in waves — the months after a launch are buyer’s paradise. Patience is a budget-building superpower: the build you assemble over six weeks of deal-hunting will outperform the one you impulse-buy in a weekend.
The Assembly: Easier Than You Fear
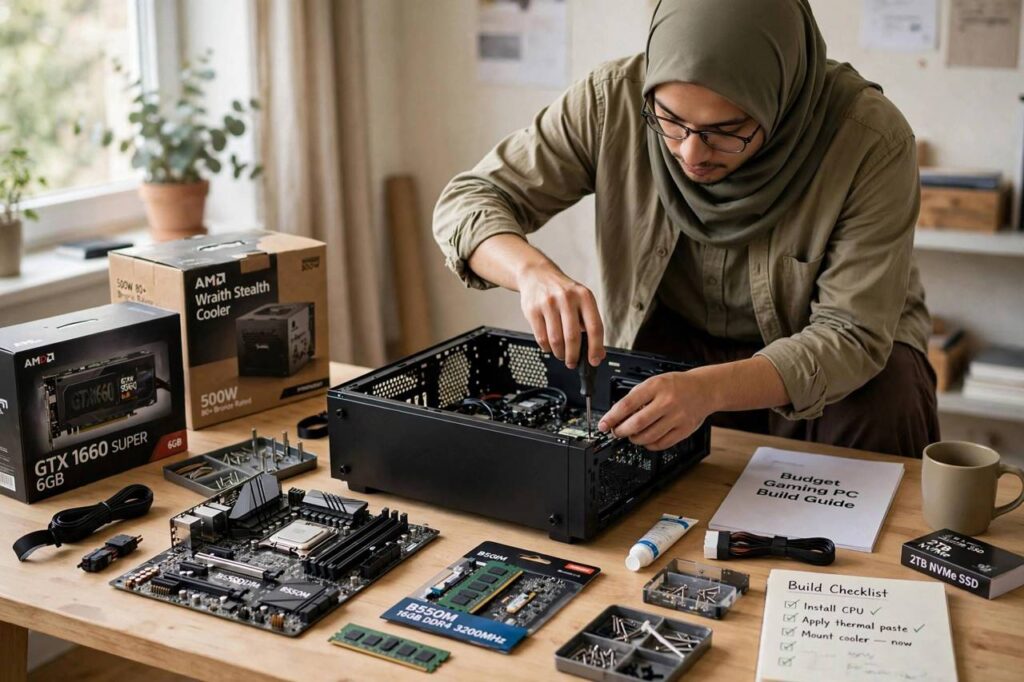
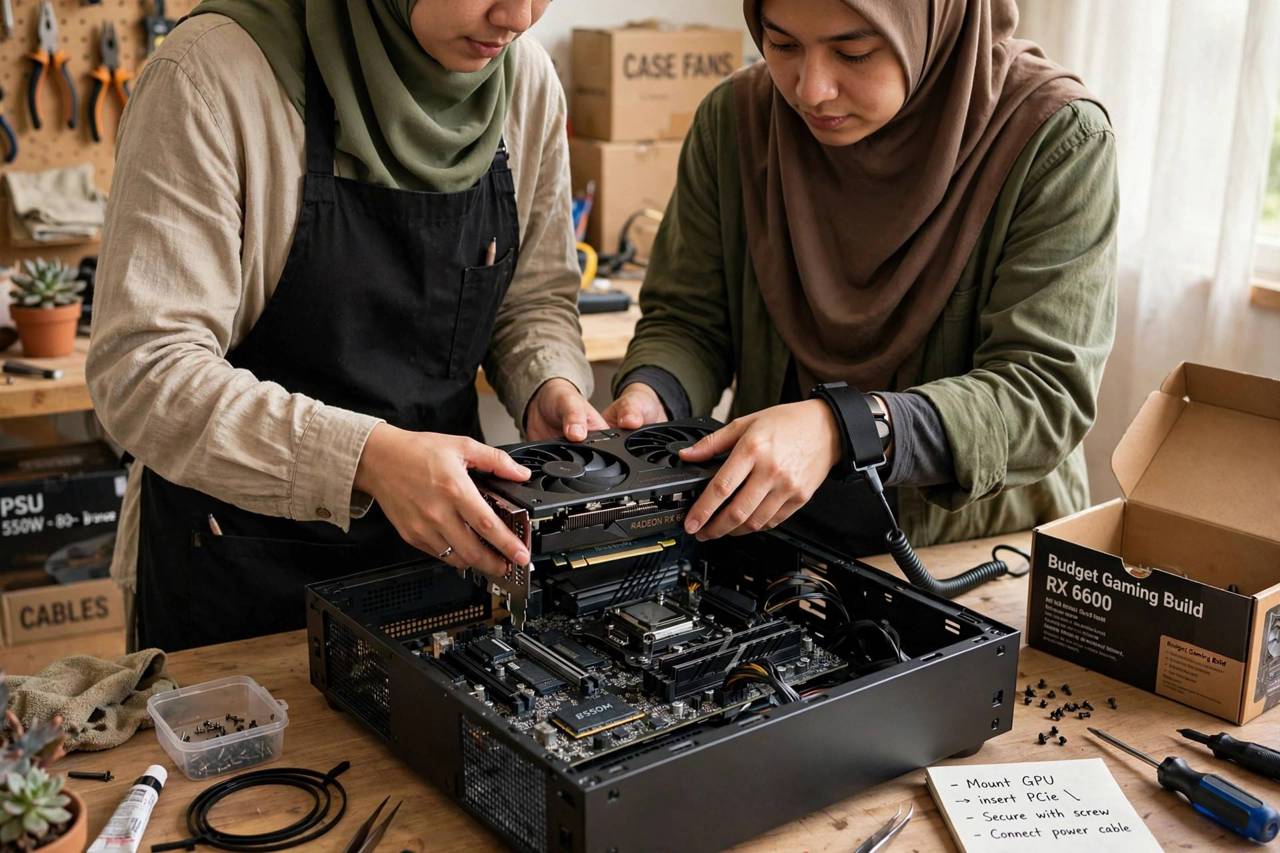
First-timers overestimate the difficulty enormously. Modern PC building is essentially expensive LEGO: components fit in exactly one place, in exactly one orientation. The full process — CPU and cooler onto the motherboard, RAM clicked in, M.2 SSD screwed down, motherboard into the case, PSU mounted and cabled, GPU slotted in — takes a careful beginner two to three hours. Watch one complete build video with your specific CPU socket type first, keep the motherboard manual open (it is genuinely useful), and ground yourself by touching the case periodically.
The three beginner mistakes I see most: forgetting the motherboard standoffs (the little brass spacers — without them the board shorts against the case), not pushing the RAM in until both clips click (it takes more force than feels safe; it is fine), and plugging the monitor into the motherboard instead of the GPU (the classic “why is my expensive card doing nothing” — the cable goes in the graphics card’s ports, down at the back of the case, not the motherboard’s).
The Upgrade Path: Build for Tomorrow, Not Just Today
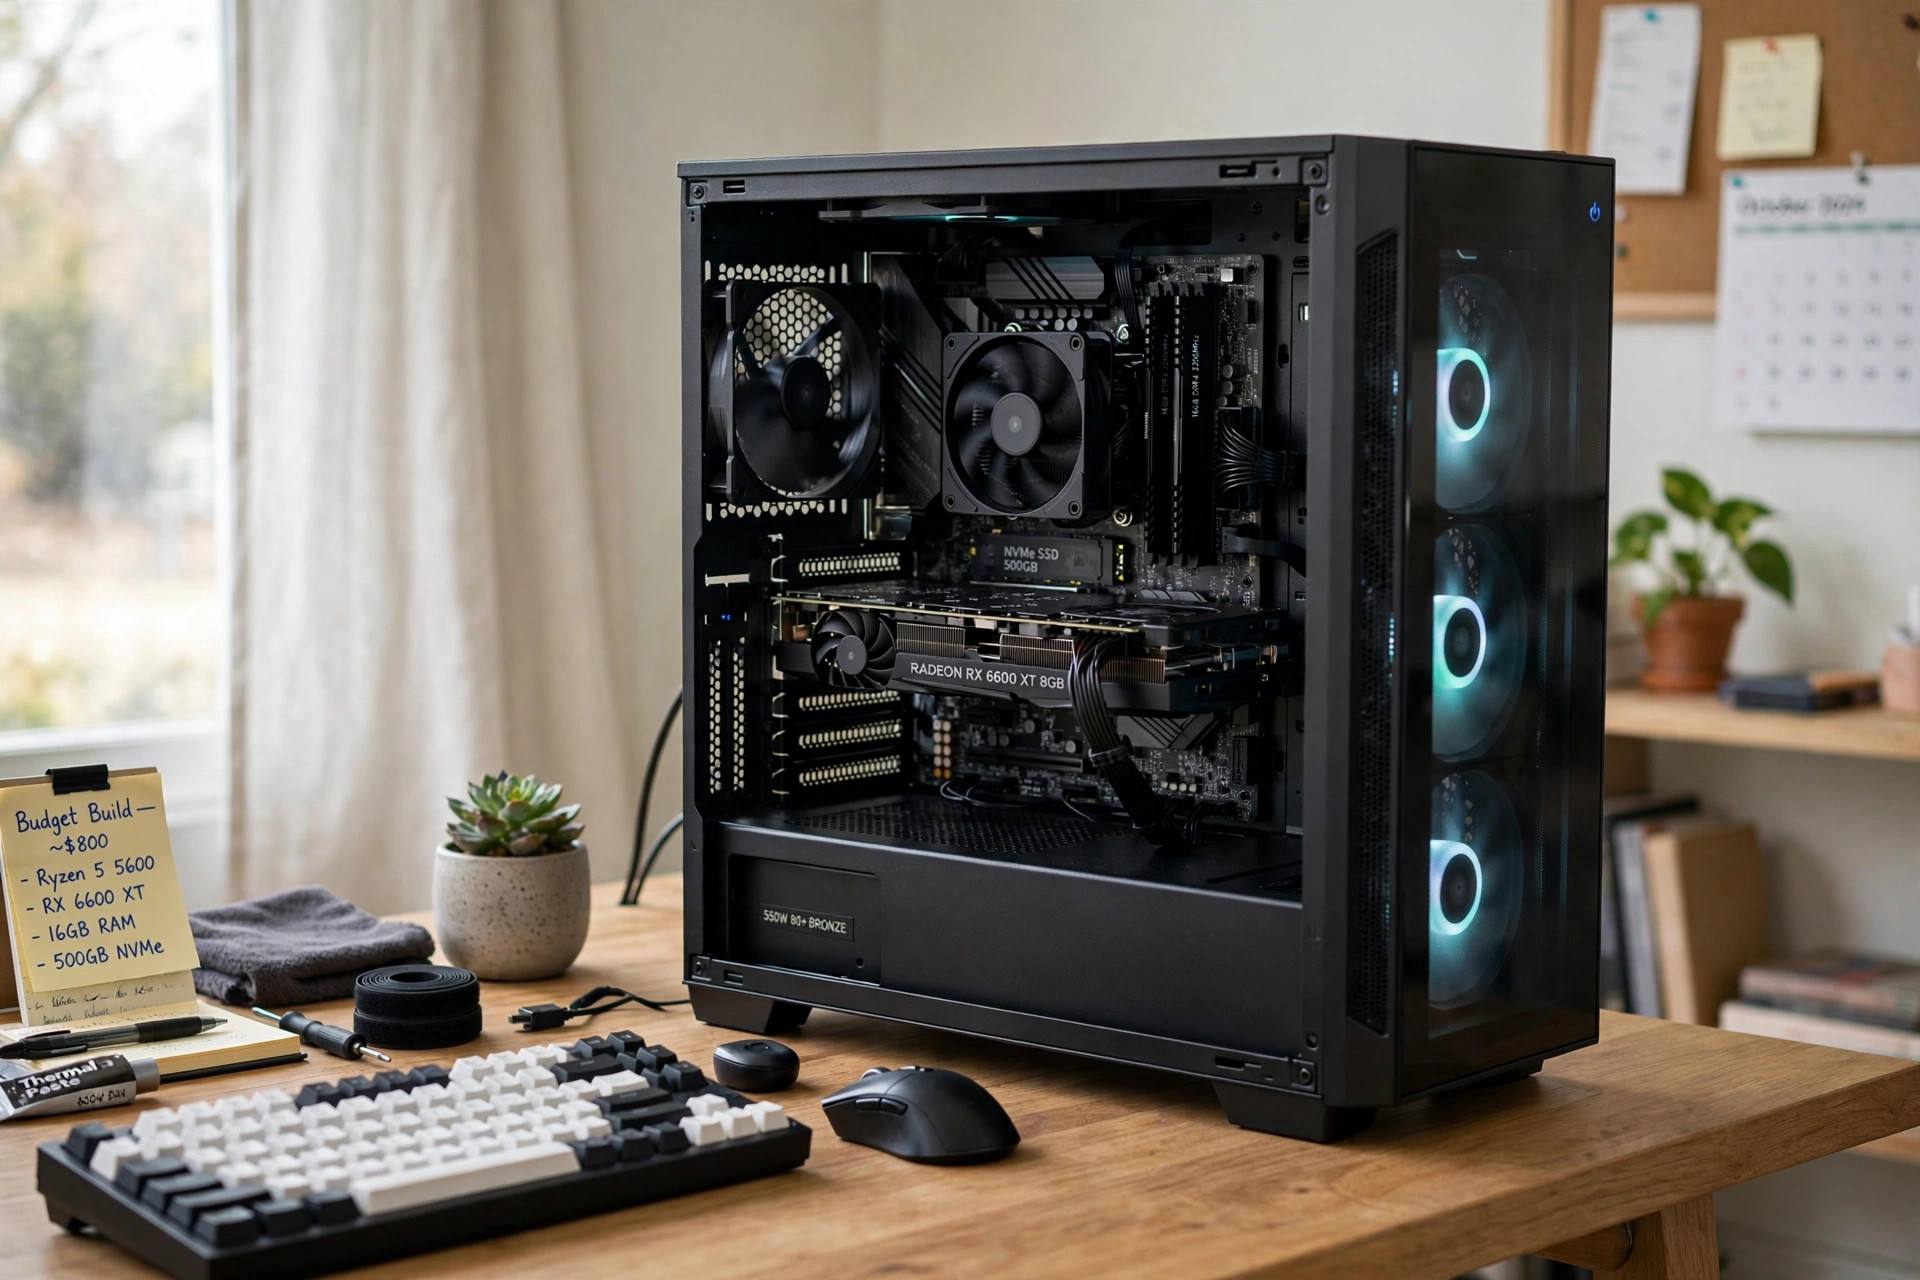
A budget build is not a dead end if you plan the path. Buy a power supply with headroom (550–650W for a $600 build) so a future GPU upgrade does not require replacing it. Choose a motherboard on a current socket with a plausible CPU upgrade one tier up. Leave a free RAM slot or two and a free M.2 slot. These choices cost little now and turn “I need a new PC” in three years into “I need a $250 GPU,” which is a much nicer problem.
And know the alternative: if your internet is fast and your budget is truly minimal, cloud gaming lets you play demanding titles on modest hardware by streaming them — worth understanding before you commit to a build, especially at the $400 tier where the value proposition is closest.
Where to Buy: Squeezing the Budget Further
Prices vary wildly between retailers, so never buy the whole parts list from one store out of convenience. Use price-comparison tools to catch each component at its lowest, watch for open-box deals at major electronics retailers (often 10 to 20 percent off for effectively new parts), and time big purchases around major sale events — but buy the GPU when the price is right, not when the calendar says so, since graphics card pricing follows its own cycles. Manufacturer rebates are real money if you actually file the paperwork; set a reminder the day the part arrives. And keep every box for at least the return window — a dead-on-arrival component is a free replacement if you kept the packaging, and an expensive lesson if you did not.
Frequently Asked Questions
How much does it cost to build a decent budget gaming PC?
$600 is the sweet spot for 1080p high-settings gaming at 60+ fps. $400 builds a competent esports and older-games machine; $800 reaches into 1440p territory. Below $400, consider used parts or cloud gaming instead.
Is it cheaper to build or buy a gaming PC?
Building is usually cheaper at the same performance level, and you get better component quality — prebuilts often cut corners on the power supply, motherboard and RAM. Prebuilts win on convenience and warranty simplicity. If you enjoy the process even slightly, build.
What matters most in a budget gaming PC?
The graphics card, by a wide margin — budget roughly 40–45% of your total on the GPU. After that: 16GB of RAM, an SSD (never a hard drive as primary storage), and a reliable power supply from a reputable brand.
Is it safe to buy a used graphics card?
Yes, with precautions: buy from reputable sellers with return policies, ask about mining history, and stress-test immediately on arrival. Used GPUs are the single best value in budget building — previous-generation cards at half price still handle 1080p excellently.
How long does it take to build a PC for the first time?
A careful beginner takes two to three hours including cable management. The process is simpler than it looks — components only fit where they belong. Watch one full build video first and keep your motherboard manual handy.
The Bottom Line
How to build a gaming PC on a budget: feed the GPU (40–45% of budget), never cheap out on the power supply, buy the SSD before anything fancy, hunt used GPUs patiently, and leave yourself an upgrade path. Do that and your $600 machine will embarrass builds that cost far more — I have watched it happen.