How to Back Up iPhone Photos: 5 Safe Methods (2026 Guide)

Your photos are probably the most irreplaceable thing on your iPhone. Apps can be re-downloaded, settings re-entered, but the photos of your kid’s first steps, that trip, your grandmother’s laugh? Those exist exactly once. Learning how to back up iPhone photos is the single highest-value fifteen minutes you can spend on your phone, and I say that as someone who has watched too many people learn its importance the hard way, after a lost, stolen, or drowned phone. Do not worry. I will walk you through five reliable methods, from the effortless automatic option to the belt-and-suspenders approach I personally recommend. By the end, your memories will exist in at least two places, and you will never have to think about it again. Let us take it one step at a time.
Why One Copy Is Zero Copies
Here is the uncomfortable truth: if your photos live only on your iPhone, you do not have a backup, you have a hope. Phones get lost, stolen, dropped in lakes, and run over. iPhones are reliable, but reliable is not immortal. The professional standard is the 3-2-1 rule: three copies of important data, on two different types of storage, with one copy off-site. For your photos, that translates to: the photos on your phone, plus a cloud backup, plus (ideally) a copy on a computer or external drive. Two methods from below gets you most of the way there; all three gets you the full peace of mind. Start with whichever method sounds easiest, because done today beats perfect someday.
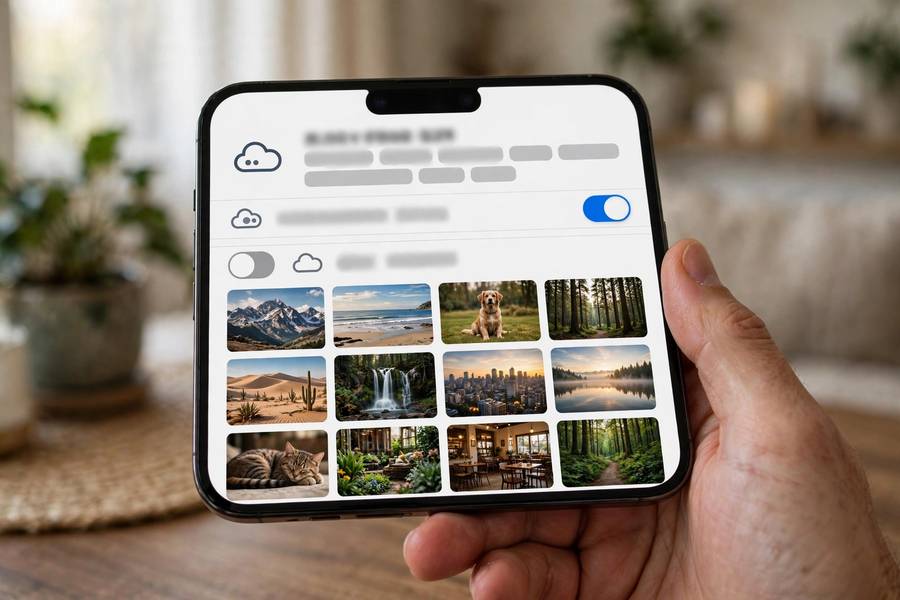
Method 1: iCloud Photos (Easiest and Most Automatic)
This is the method Apple designed for you, and for most people it is the right answer. Once enabled, every photo and video uploads automatically whenever you are on Wi-Fi. No remembering, no cables, no effort.
- Open Settings, tap your name at the top, then tap iCloud.
- Tap Photos and turn on Sync this iPhone.
- Choose Optimize iPhone Storage (recommended): full-resolution originals live in iCloud while lightweight versions stay on your phone, saving gigabytes. Or choose Download and Keep Originals if you want full copies in both places and have the space.
- Connect to Wi-Fi and let the initial upload run. For a large library, this takes hours or even days. Leave the phone charging overnight.
The honest caveat: iCloud includes only 5 GB free, and most photo libraries exceed that quickly. Paid plans are reasonable (check current pricing in Settings, then your name, then iCloud, then Manage Storage), and the cost of even the largest plan is trivial compared to losing years of photos. If your whole device, not just photos, needs protecting, also learn how to back up your entire iPhone, since a full device backup and iCloud Photos protect different things.
Method 2: Google Photos (Best Free-Tier Alternative)
Do not want to pay Apple? Google Photos is the strongest alternative, and it has one big advantage: 15 GB of free storage shared across Google services, triple Apple’s free tier.
- Install Google Photos from the App Store and sign in with your Google account.
- Tap your profile picture, then Photos settings, then Backup.
- Turn on Back up and choose upload quality: Original quality (counts fully against your 15 GB) or Storage saver (slightly compressed, and your free space lasts dramatically longer).
- Leave the app open on Wi-Fi for the initial upload.
Google Photos also has genuinely excellent search. Type beach 2023 or birthday cake and it finds photos without any manual tagging. Many people run both iCloud Photos and Google Photos simultaneously, which neatly satisfies the off-site redundancy principle with zero extra effort.
Method 3: Back Up to a Computer (Free and Fully Yours)
Cloud-averse or just want a local copy you physically control? A computer backup costs nothing and keeps your photos entirely in your hands.
- On a Mac: connect your iPhone with a cable, open the Photos app (or Finder on newer macOS for full device backups), select your iPhone, and import. Choose a destination folder or let Photos manage the library.
- On a Windows PC: connect with a cable, open the Photos app or File Explorer, and import from the device. Alternatively, install iCloud for Windows to sync your iCloud Photos library to the PC automatically.
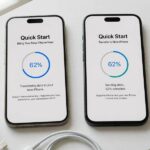
After importing, verify the photos actually arrived before deleting anything from the phone. Spot-check a few recent ones. This method pairs perfectly with a cloud method: cloud for convenience, computer for the nobody-can-ever-take-this-away-from-me copy. When you eventually upgrade phones, this same computer connection is also how you transfer everything to a new iPhone cleanly.
Method 4: External Drive (The Archivist’s Choice)
For the truly cautious, or anyone with a massive library, an external SSD or hard drive is cheap insurance. Connect a drive to your iPhone with a USB-C or Lightning adapter (or to your computer after importing), open the Files or Photos app, select your photos, and copy them over. Organize by year and month as you go: a folder like 2026-10-family-trip takes seconds now and saves hours later. Store the drive somewhere other than next to your phone, a drawer at work or a family member’s house. A backup sitting six inches from the original protects against phone failure but not against fire, flood, or theft.
Method 5: Amazon Photos (The Prime Perk Nobody Uses)
If you already pay for Amazon Prime, you are sitting on unlimited full-resolution photo storage that most subscribers never touch. Install the Amazon Photos app, sign in, enable auto-save, and your entire library uploads at original quality without counting against any quota. Video storage is limited, but photos, the bulk of most libraries, are unlimited. It is the best value in photo backup for Prime members, full stop.

What About Shared Albums and Family Sharing?
Two features deserve special mention because they confuse everyone. Shared Albums (formerly Shared Photo Streams) let you share photos with family without using your iCloud storage quota — great for grandparents. But shared albums do not count as a backup: they store reduced-resolution versions, have limits, and if you delete the original from your library, the shared copy eventually goes too. Treat them as sharing, not archiving. Family Sharing for iCloud+ storage lets up to six people share one storage plan — each person’s photos stay private, but you split the cost. It is the economical way to get everyone protected. One caution: if the family organizer stops paying, everyone’s syncing pauses simultaneously, so make sure at least one member also runs a second backup method like Google Photos. Redundancy should never have a single point of failure, including a single credit card.
How to Back Up iPhone Photos: My Recommended 15-Minute Setup
If you want my actual advice rather than a menu: turn on iCloud Photos with Optimize iPhone Storage today (Method 1). It is automatic and effortless. Then install Google Photos with Storage saver quality (Method 2) as your second copy, also automatic once set up. That is fifteen minutes of setup for permanent, redundant, off-site protection of every photo you will ever take. Add an annual computer or external-drive copy (Methods 3 or 4) if you want the full 3-2-1 standard. Then forget about it, which is exactly the point. Backups you have to remember are backups that eventually do not happen.
FAQ
Does iCloud backup include my photos automatically?
It depends on your settings. The whole-device iCloud Backup includes your photo library only if iCloud Photos sync is turned off. When iCloud Photos is on, photos sync separately and are excluded from the device backup to avoid duplication. Either way your photos are protected, but check Settings, then your name, then iCloud, then Photos to confirm sync is actually enabled. I assumed it was on is the saddest sentence in photo loss stories.
How do I know my photos are actually backed up?
For iCloud Photos: go to Settings, tap your name, tap iCloud, and check that Photos shows a recent sync status. For Google Photos: open the app and check the backup status at the top. The definitive test is seeing your newest photos on a different device or in a web browser. If they are there, the backup is real.
Will backing up photos free up space on my iPhone?
Only if you then remove the originals from the phone. With iCloud Photos Optimize iPhone Storage enabled, your phone automatically replaces full-resolution originals with lightweight versions as space gets tight. That is the hands-free way. Google Photos has a Free up space button that deletes device copies of already-backed-up photos. Never delete from the phone until you have verified the backup exists elsewhere.
What happens to my backed-up photos if I stop paying for iCloud storage?
Your existing photos stay in iCloud, but syncing pauses. New photos stop uploading, and if your storage is full, other iCloud services like device backups are affected too. Apple gives you a grace period to download your data or free up space. To avoid the cliff edge, either stay within the free 5 GB, which is unlikely for photo libraries, keep a paid plan, or maintain a second backup method like Google Photos so you are never single-dependent.
How long does the first photo backup take?
Longer than you expect — plan for it. A library of a few thousand photos can take several hours on fast Wi-Fi; tens of thousands of photos and videos can take days. The initial upload is the only slow part; after that, only new photos sync, which happens in seconds. Start the first backup on a Friday evening with the phone on Wi-Fi and charging, and let it run over the weekend. Do not start it on cellular data unless you have an unlimited plan and no regrets.
Are my backed-up photos private?
With reputable providers, yes for practical purposes: iCloud Photos supports end-to-end encryption for much of its data when Advanced Data Protection is enabled, which you can turn on in Settings under your name and then iCloud. Google encrypts data in transit and at rest. No cloud storage is immune to a compromised account, though, so use a strong unique password and two-factor authentication on your Apple ID and Google account. That one step matters more than which service you choose.