How to Wrap a Gift Neatly: Crisp Corners, Hidden Tape

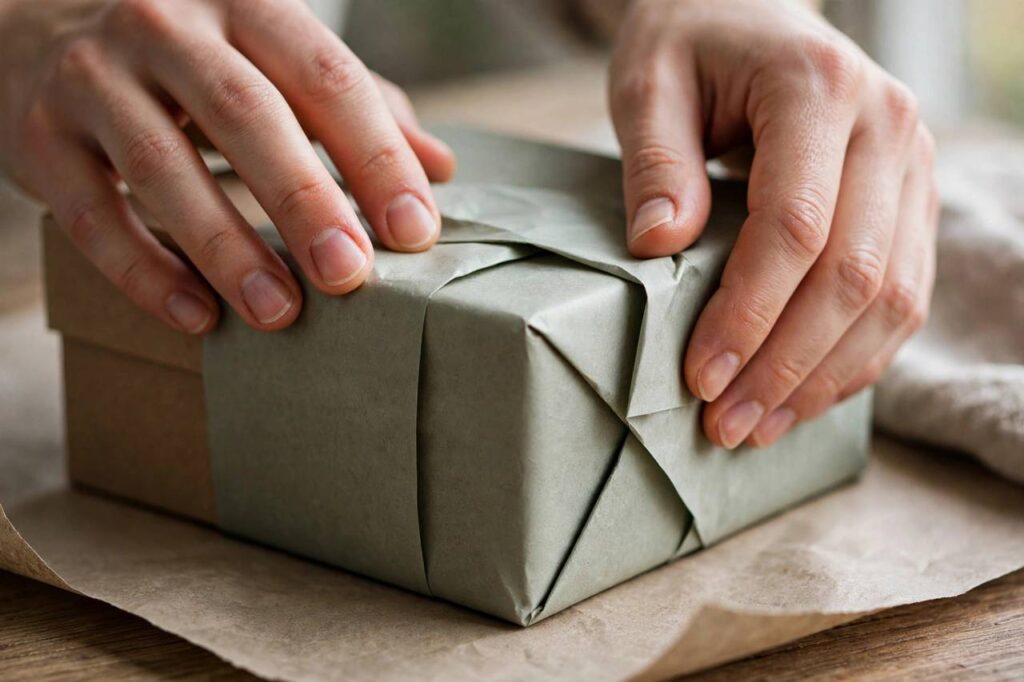
There is a special kind of disappointment in receiving a gift wrapped like it lost a fight with the paper. The gift inside might be perfect, but crumpled corners and visible tape tell the recipient you ran out of patience before you ran out of wrapping. Learning how to wrap a gift neatly is not about being crafty — it is about a few mechanical techniques that anyone can learn in an afternoon. I wrap dozens of gifts every holiday season, and the difference between amateur and professional-looking results comes down to measuring, folding, and hiding the tape. That is it. Here is the whole method.
Set aside a clear table, gather your supplies — wrapping paper, sharp scissors, double-sided tape, ribbon, and a bone folder or credit card for creasing — and work through the steps below. By the third gift, your hands will know what to do.
Step 1: Measure the Paper (the Step Everyone Skips)
Most bad wrapping starts here: too much paper creates bulky folds, too little leaves gaps. Place the gift box face-down in the center of the unrolled paper. For the width, pull the paper up one side and over the top — you want enough to cover the box plus about an inch of overlap. For the length, the paper should reach up each end of the box and fold over about three-quarters of the way across the end panels. Mark it, cut straight, and you have exactly what you need with minimal excess.
Cutting straight matters more than people think. A wavy cut edge becomes a wavy seam. Use the grid printed on the back of most wrapping paper as a guide, or fold the paper and cut along the fold for a clean line. Sharp scissors — not the dull kitchen pair — make this effortless. If you wrap often, a rotary cutter and a cutting mat are worth the small investment.
Step 2: The First Fold and the Hidden Seam
Center the box on the paper, pattern-side down. Bring one long edge up and over the box, creasing it firmly along the box’s edge with your finger or a bone folder — sharp creases are the secret to crisp results, so do not be gentle. Secure it with a small piece of double-sided tape on the box itself.
Now the other side: before folding it over, fold its raw edge under by about half an inch to create a clean hemmed edge. Then bring it across so it overlaps the first side, and tape it down — ideally with double-sided tape underneath so no tape shows on the surface. The seam should sit flat and centered on the bottom of the box. Run your creasing tool along both long edges of the box for razor-sharp lines. This one detail — the folded-under edge and hidden tape — is what separates neat wrapping from the obvious kind.
Step 3: Crisp Corners — the Hospital Corner Technique
The ends are where wrapping goes wrong, so slow down here. Stand the box on one end with the seam facing up. Fold the top flap down over the end of the box, creasing along the edge. Now you have two side flaps sticking out like wings. Take one wing and fold it inward at a 45-degree angle, pressing the diagonal crease flat against the box — this is the hospital corner, borrowed from bed-making, and it is what creates those sharp, professional edges.
Repeat on the other side, then fold the remaining bottom flap up over everything. The end should look like a clean envelope closure with no paper sticking out past the box’s edges. Tape it down with double-sided tape — again hidden underneath. Flip the box and repeat on the other end. If your corners look rounded instead of crisp, the fix is almost always firmer creasing: go back over every fold with the bone folder and press hard.
How to Wrap a Gift Neatly When the Shape Is Awkward
Not everything comes in a box, and awkward shapes defeat standard wrapping. The universal solution: put it in a box first. Gift boxes are cheap, and wrapping a box always looks better than wrestling paper around a stuffed animal or a bottle. For bottles specifically, a tall gift bag with tissue is the classic answer — neat, fast, and appropriate.
For soft items like clothing, fold the item flat, slip it into a shirt-sized gift box or a rigid mailer, and wrap that. For round or irregular objects that must be wrapped as-is, use the “candy wrapper” method: center the object on a large sheet, gather the paper at both ends, and tie with ribbon — it looks intentional rather than lumpy. And for anything truly unwrappable, a beautiful gift bag with properly fluffed tissue paper is not a compromise; it is the right tool for the job.
The Tape Question: Visible vs. Hidden
Standard clear tape works, but it shows — and on dark or matte paper, it shows a lot. Double-sided tape is the professional’s choice because it hides completely under the paper. Place small pieces on the box or under the folded edges rather than across the top of the paper. For heavy paper or thick folds, a glue tape runner (the kind scrapbookers use) holds better than double-sided tape and stays invisible.
One place visible tape is acceptable: securing ribbon ends underneath the box, where nobody sees it. Everywhere else, hide it. If you find yourself reaching for the tape dispenser in frustration mid-wrap, stop — the problem is usually paper tension or fold order, not adhesion. Re-fold rather than tape over mistakes; layered tape is what makes wrapping look homemade in the bad way.
Ribbon, Bows, and the Finishing Touches
Ribbon elevates neat wrapping to beautiful wrapping, and the technique is simple. Cut a length about four times the box’s perimeter. Center the box on the ribbon, bring both ends up, cross them, and wrap around the other direction — the classic cross pattern. Flip the box over and tie a knot, then a bow, on the bottom or the top depending on your preference. Top bows photograph better; bottom knots sit flatter for stacking.
For the bow itself: make two loops, cross them, pull one through — the same as tying shoelaces, just bigger and more deliberate. Curling ribbon gets its curl from dragging the blade of open scissors firmly along the ribbon’s shiny side; practice on a scrap first. Add a gift tag last, tucked under the ribbon or tied on with twine. Write the tag before attaching it — writing on an attached tag while trying not to dent the paper is a classic last-minute disaster.
Common Mistakes (and the 10-Second Fixes)
Wrinkled paper: you are either using too much paper or not creasing firmly. Re-measure, and press every fold with a creasing tool. Torn corners: the paper is too thin for the box’s sharp edges, or you pulled too hard — reinforce with a second layer underneath, or switch to heavier paper. Gaps at the ends: you cut the length too short; next time, leave more and trim the excess after the first fold.
Bulky end folds: too much paper at the ends — trim the side wings before folding them in. Sliding paper: the box is shifting while you work; put a piece of double-sided tape on the box first to anchor the paper. Pattern upside down: check the pattern direction before the first fold, not after. Every one of these has happened to every wrapper; the fix is always to slow down for thirty seconds rather than powering through.
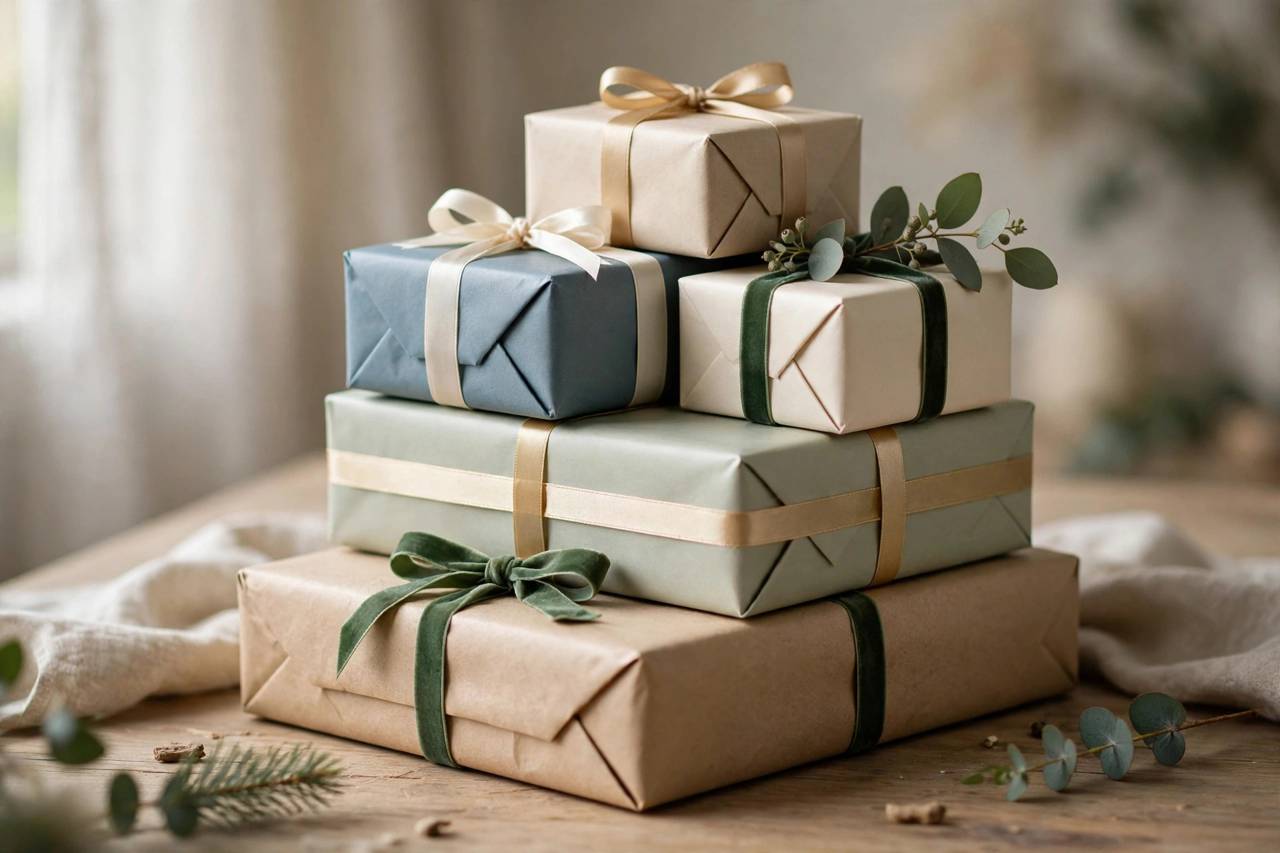
One more professional touch that costs nothing: wrap all the gifts for one occasion in a coordinated palette — two or three papers that share a color, with one ribbon style throughout. Individually neat gifts look good; a set of coordinated gifts looks stunning under the tree or on the table. Buy paper in multi-roll packs designed to coordinate, keep the ribbon consistent, and vary only the tags. Guests notice the collection before they notice any single box, and the overall impression is pure intention.
Frequently Asked Questions (FAQ)
What is the easiest wrapping paper for beginners?
Medium-weight paper with a grid on the back. The grid makes measuring and straight cuts easy, and medium weight creases crisply without tearing. Avoid ultra-thin dollar-store paper (tears) and very thick paper (will not crease sharply) until you have the technique down.
How do I wrap a gift without tape showing?
Use double-sided tape placed under the paper’s edges rather than on top. Fold raw edges under to create clean hems, and position seams on the bottom of the box. The combination of hidden tape and folded edges is the entire secret.
How much wrapping paper do I need per gift?
As a rule of thumb, you need a sheet roughly twice the box’s width plus an inch, by about one and a half times the box’s length. Measuring per the method above wastes less than guessing — most people use about half the paper they think they need once they measure properly.
What can I use instead of a bow?
A simple ribbon knot with trimmed ends looks clean and modern. Alternatives: a sprig of greenery tucked under twine, a wax seal on the tag, a dried flower, or a small ornament tied on as part of the gift. All of them look intentional and take seconds.
How do I wrap an oddly shaped gift?
Box it first — this solves nearly every awkward shape. For items that cannot be boxed, use the gathered candy-wrapper method with ribbon ties, or choose a gift bag with tissue paper. There is no prize for wrapping the unwrappable; there is only lumpy paper.
Should the pattern on wrapping paper go a certain direction?
For directional patterns (text, characters, scenes), orient the pattern upright relative to how the gift will sit when presented. Check before the first fold. For non-directional patterns it does not matter, which is one more reason beginners should start with geometric or abstract prints.
The Bottom Line
Knowing how to wrap a gift neatly is really three habits: measure the paper instead of guessing, crease every fold like you mean it, and hide the tape. Add crisp hospital corners and a simple ribbon, and your gifts will look like they came from a boutique. If you are wrapping for a wedding party and still need the gift itself, our bridesmaid gift ideas roundup is a good place to start. The wrapping, at least, you have handled.