How to Improve Your Balance for Sports: Drills & Plan

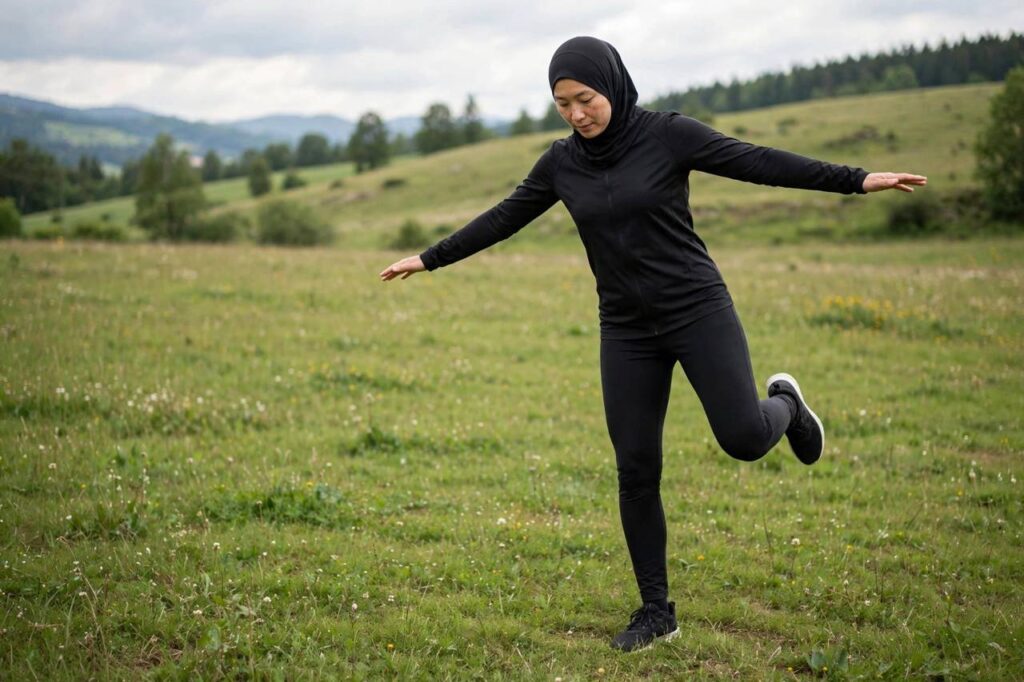
Watch an elite athlete change direction at full speed — a winger cutting inside, a tennis player sliding into a backhand, a basketball guard stopping on a dime. What you’re seeing isn’t just strength or speed. It’s balance: the ability to control your body while it’s moving, loaded, and off-center. If you’re wondering how to improve your balance for sports, the good news is that it’s one of the most trainable qualities in athletics, and it responds fast.
I’m Jake. I train balance with every athlete I work with, not as a cute warm-up extra but as a core part of the program. Better balance means cleaner movement, fewer ankle and knee injuries, and more power delivered exactly where you want it. Here’s the system: what balance actually is, the drills that build it, and a progression plan that works.
What “Balance” Means for an Athlete
Sports balance isn’t standing still on one leg (though that’s where it starts). It has three layers:
- Static balance: Holding a position — the foundation. Single-leg stands, held poses.
- Dynamic balance: Staying controlled while moving — lunges, hops, direction changes.
- Reactive balance: Recovering when something unexpected happens — landing awkwardly, getting bumped mid-air, slipping on turf. This is the layer that prevents injuries.
Underneath all three is proprioception — your nervous system’s awareness of where your body is in space. Every balance drill is really proprioception training: you’re teaching your brain to sense joint position and fire stabilizing muscles faster. Ankle sprains, the most common sports injury, are largely a proprioception failure — and proprioception is trainable.
Phase 1: Single-Leg Foundations (Weeks 1–2)
Master stillness before movement. Do these 3 times per week, barefoot if safe:
- Single-leg stand: 30 seconds per leg, eyes open. When that’s easy, close your eyes — removing vision forces the proprioceptive system to work overtime. Goal: 30 seconds eyes-closed per leg.
- Single-leg stand with head turns: While balanced, slowly turn your head left and right. This disrupts the vestibular system and builds real-world stability.
- Tandem stand: Heel-to-toe, like a sobriety test, 30 seconds. Then try it eyes-closed.
- Single-leg Romanian deadlift (bodyweight): Hinge forward on one leg, reaching toward the floor. 8 reps per leg. This is the bridge between static balance and strength.
Test yourself: if you can’t stand on one leg with eyes closed for 20 seconds, you have genuine balance deficits to fix before adding complexity. No shame in it — most adults can’t.
Phase 2: Dynamic Balance Drills (Weeks 3–4)
Now add movement. These drills train the balance you actually use in sports:
- Forward/backward/lateral lunges: Step, stabilize for a full second, return. The pause is the exercise — don’t rush through it.
- Single-leg hops (forward and lateral): Hop and stick the landing for 2 seconds. Quiet landings, knee tracking over toes. Start with 5 hops per direction per leg.
- Clock reaches: Standing on one leg, reach the free foot to 12, 3, 6, and 9 o’clock positions without touching down. This is the famous “star excursion” pattern used in rehab and performance alike.
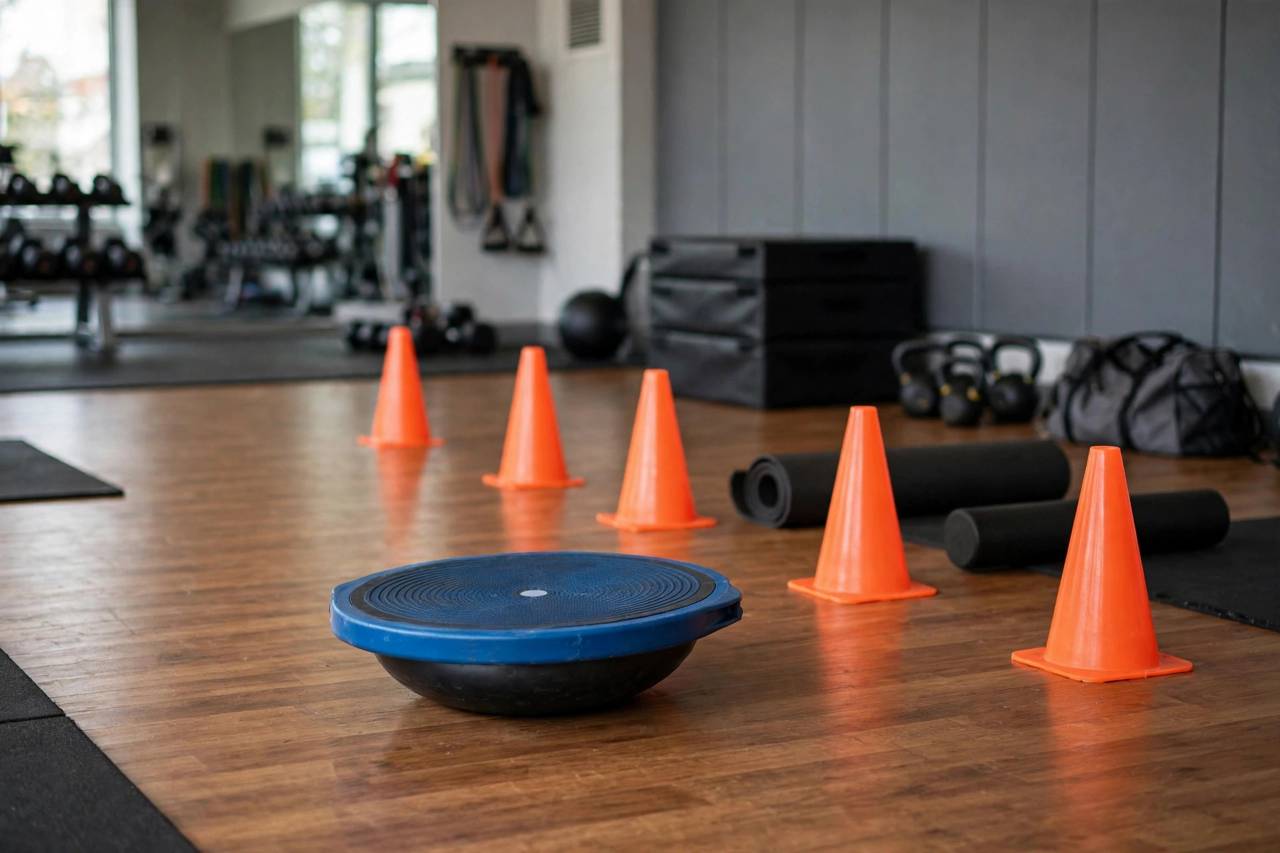
- Bosu/wobble board stands: If you have access to unstable surfaces, 30-second holds add a serious challenge. They’re a supplement, not the foundation — master solid ground first.
For the strength base that makes all of this stick, the single-leg movements in the bodyweight exercises library — split squats, step ups, single-leg deadlifts — build the muscle behind the balance.
Phase 3: Sport-Specific Balance (Weeks 5+)
Generic balance is good; specific balance is better. Match drills to your sport:
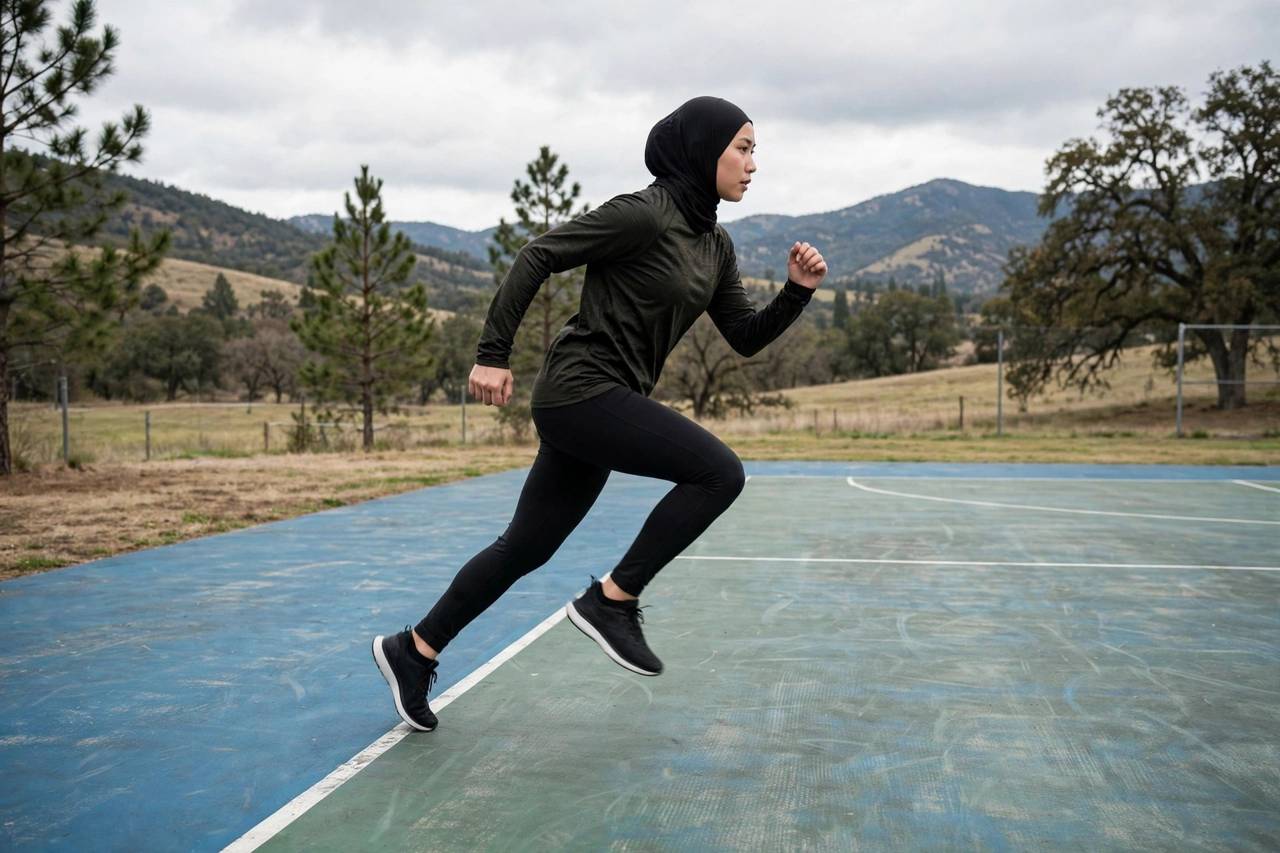
- Field/court sports (soccer, basketball, tennis): Lateral bounds with stuck landings, 180-degree jump turns with stable landings, single-leg deceleration drills — sprint 10 yards, stop on one leg, hold.
- Running: Single-leg hops and ankle-focused proprioception. Most running is single-leg support; train it directly.
- Combat/racquet sports: Rotational balance — medicine ball throws from single-leg stances, pivot drills.
- Skiing/skating: Lateral weight shifts, tuck holds on unstable surfaces.
The principle: train the positions your sport puts you in, under the fatigue your sport creates. Fresh-leg balance is easy; fourth-quarter balance is the skill.
Tools Worth Using (and Skipping)
Worth it: A simple wobble board or balance pad is cheap and effective for phases 2–3. benefits of resistance band training add excellent perturbation training — have a partner gently tug the band while you hold single-leg positions. Cones for marking hop targets.
Skip: Expensive “balance trainers” that are just wobble boards with branding. And be skeptical of standing on a BOSU ball while doing heavy lifts — the instability reduces the load you can use so much that you lose the strength benefit. Train balance and strength separately; combine them only in light, specific drills.
How to Improve Your Balance for Sports: Programming Rules
- Frequency: 10–15 minutes, 3 times per week, either as a warm-up block or a separate mini-session.
- Placement: Do balance work before heavy lifting or intense conditioning — fatigue wrecks proprioception, and practicing balance tired teaches sloppy patterns.
- Progression rule: Own each phase for two weeks before advancing. The test is simple: can you do the drills without wobbling, compensating, or grabbing something?
- Maintenance: Once built, one short session per week maintains it. Balance degrades without practice — use it or lose it applies.
Test Yourself First: Baseline Balance Assessments
Before training, measure. These simple tests give you a baseline to beat:
- Eyes-closed single-leg stand: Time how long you can stand on each leg with eyes closed. Under 10 seconds indicates significant deficit; over 30 is solid.
- Y-balance reach: Standing on one leg, reach the free foot as far as possible in three directions (forward, back-inside, back-outside) without touching down. Measure the reach distances — asymmetries greater than 4 cm between legs are associated with elevated injury risk in research on athletes.
- Single-leg hop for distance: Hop as far as you can on each leg and stick the landing. Compare sides — a gap over 10% suggests an imbalance worth addressing.
Retest every four weeks. Numbers going up is the most motivating feedback in balance training, and it tells you objectively whether the program is working.
The Ankle Strategy: Your Real Balance Muscle
Most people think balance lives in the core. It starts lower — at the ankle. The small muscles around the ankle make hundreds of micro-corrections per second during single-leg stance, and they’re the first line of defense against rolls and sprains.
This is why ankle-specific work deserves a place in every balance program:
- Alphabet ankles: Seated, trace the alphabet in the air with your big toe. Full range of motion in every direction, 1 set per foot.
- Resisted eversion/inversion: Loop a light band around your forefoot and rotate the foot outward and inward against resistance. The peroneal muscles trained here are the ones that prevent ankle rolls.
- Heel-to-toe rocks: Standing, slowly rock from heels to toes and back, 15 reps. Trains the full ankle range under load.
Strong, mobile ankles are the foundation everything above them stands on. Neglect them and you’re building balance on a wobbly base — literally.
Sample 15-Minute Balance Sessions
Session A (foundations): Single-leg stand eyes-open 30s per leg → eyes-closed 20s per leg → tandem stand 30s → single-leg Romanian deadlifts 8 per leg. Two rounds.
Session B (dynamic): Clock reaches 4 directions per leg → forward/lateral lunges with 2-second pauses, 6 per leg → single-leg hops with stuck landings, 5 per direction per leg → wobble board 30s per leg. One to two rounds.
Session C (sport-specific): Pick the drills matching your sport from Phase 3 above. Lateral bounds with stuck landings 3×6 per side, 180-degree jump turns 3×5, single-leg deceleration holds 3×20 seconds per leg. This is the session that transfers to game day.
Rotate A, B, C across your three weekly sessions. Each takes 12–15 minutes — short enough to do as a warm-up block, focused enough to drive real adaptation.
Balance for Older Athletes and Return-to-Sport
Balance degrades with age — proprioceptive sensitivity declines, and the consequences of a fall get more serious. For athletes over 40, balance training isn’t optional extras; it’s longevity work. The good news: older adults often improve faster than young athletes because they have more room to gain.
After injury, balance work is non-negotiable. Ankle sprains and knee injuries damage the proprioceptive sensors in the joint — rehab that skips balance retraining leaves the athlete physically healed but neurologically vulnerable, which is a major reason re-injury rates are so high. Any return-to-sport protocol should include progressive balance work, and clearance should require passing side-to-side symmetry tests, not just pain-free movement.
This is general fitness information, not medical advice — post-injury training should be guided by a qualified professional. But the principle is universal: rehab the sensor, not just the structure.
FAQ
How long does it take to improve balance?
Most people notice meaningful improvement in 2–4 weeks of consistent practice. Significant, sport-transferable balance takes 8–12 weeks. The nervous system adapts faster than muscle — early gains come quickly.
Does balance training prevent injuries?
Evidence strongly supports proprioception training for reducing ankle sprains, and there’s good support for ACL injury-prevention programs that include balance components. It’s one of the best-supported uses of balance work in sports science.
Should I do balance exercises every day?
Light daily practice (a minute of single-leg stands while brushing your teeth) is great. Structured, challenging balance sessions need recovery like any training — 3 times per week is the sweet spot.
Is yoga good for sports balance?
Yes — single-leg yoga poses are excellent static balance training. Just make sure you’re also doing dynamic, sport-specific work; holding tree pose won’t fully prepare you for landing a jump.
Why is my balance worse on one side?
Nearly everyone has a dominant side. Train the weak side first in every session and give it an extra set — asymmetries in balance predict injury risk, so closing the gap matters.
Balance is a skill, not a gift. Fifteen focused minutes, three times a week, and in a month you’ll move like a different athlete — more controlled, more confident, and a lot harder to knock off your spot. Start with the assessments, train the phases in order, and retest monthly. The numbers won’t lie — and your ankles will definitely thank you.