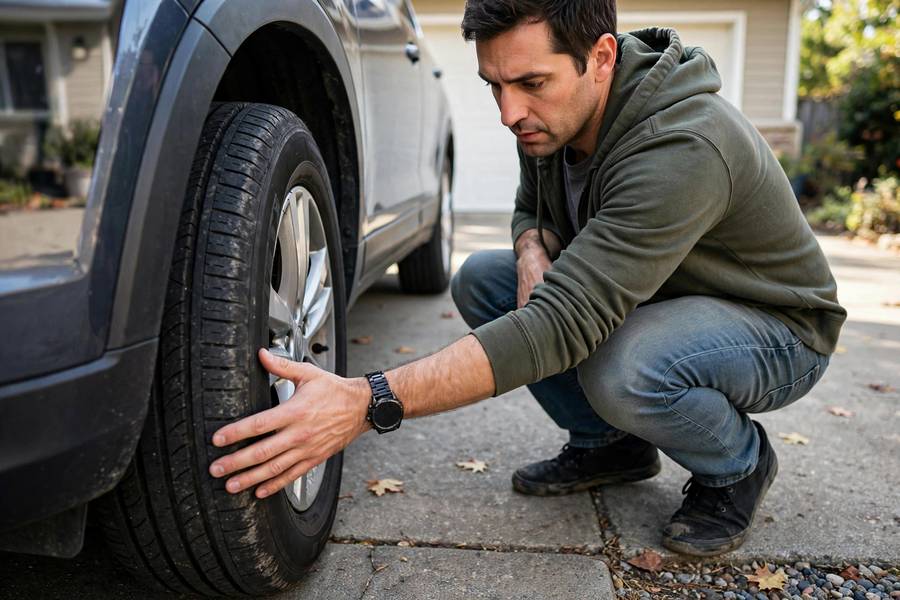
Can you check wheel alignment at home without a $30,000 alignment rack? To a useful degree — yes. I do quick driveway checks on my own cars all the time, and I can tell you which home tests actually work, which ones are internet myths, and when the driveway check tells you it’s time to pay a professional.
Fair warning upfront: home checks can detect misalignment, but they can’t measure it precisely or fix it. Think of these as screening tests — they tell you whether a shop visit is warranted, not the exact angles.
Contents
- Test 1: The Straight-Road Drift Test
- Test 2: The Tire Wear Inspection
- Test 3: The Steering Wheel Center Check
- Test 4: The String Method for Toe
- Test 5: The Tape Measure Toe Check
- What Home Checks Cannot Tell You
- DIY Myths That Do Not Work
- When to Skip the DIY and Go Straight to a Shop
- How Often to Do These Checks

Test 1: The Straight-Road Drift Test
The simplest and most useful home test. Find a straight, flat, empty road — a quiet street or empty parking lot works. Get up to 30–40 mph, center the car in the lane, then briefly loosen your grip on the steering wheel (don’t let go entirely — keep your hands hovering).
What you’re watching: does the car track straight, or does it drift left or right?
A properly aligned car should roll straight for several seconds with minimal drift. If it pulls noticeably to one side within a couple of seconds, something’s off — alignment, tire pressure, or possibly a dragging brake.
Important caveats: – Roads are crowned (sloped) for drainage — most roads slope slightly right. A gentle drift right on a crowned road is normal. Test on the flattest road you can find, or test in both directions. – Uneven tire pressure causes pulling too. Check and equalize pressure first — it’s the free fix that solves half of all “alignment” complaints. – Wind pushes cars around. Test on a calm day.
This test detects pulling but doesn’t tell you which angle is off. Still, it’s the fastest screening tool you have.
Test 2: The Tire Wear Inspection
Your tires keep a diary of your alignment. Reading it takes five minutes and tells you more than any other home check.
How to do it: With the car parked, crouch at each tire and look at the tread across its full width. Run your hand across the tread in both directions (carefully — worn tires can have sharp edges).
What to look for:
- One-sided wear (inner or outer edge balding): Classic camber problem. The tire is tilted, riding on one shoulder. Inner-edge wear is the most common — check the inside edges, which are easy to miss without crouching down.
- Feathering: Run your hand across the tread. If it feels smooth in one direction and rough/sawtooth in the other, that’s feathered wear — the signature of bad toe. The tires are scrubbing sideways as they roll.
- Center wear only: Usually overinflation, not alignment — but worth noting.
- Both edges worn, center fine: Underinflation.
- Patchy or cupped wear: Bouncing — usually worn shocks or balance issues, sometimes combined with alignment problems.
- One tire wearing differently from the others: That corner has the problem.
The penny test while you’re down there: stick a penny into the tread with Lincoln’s head down. If you can see the top of his head, that spot has less than 2/32″ of tread — the tire is done. Check multiple spots across each tire; uneven depth readings confirm uneven wear.
Do this monthly. It takes five minutes and catches alignment drift before it costs you a set of tires.
Test 3: The Steering Wheel Center Check
Drive straight on a flat road at moderate speed. Is the steering wheel centered — spokes level — when the car is going straight?
A crooked steering wheel with the car tracking straight is one of the most reliable alignment indicators there is. It means the toe is uneven side to side: the wheels are aligned to each other, but the whole front axle is steering slightly off from the car’s true centerline. The driver compensates unconsciously by holding the wheel crooked.
This one is almost never anything else. Tire pressure doesn’t do it. Road crown doesn’t do it. A wheel that’s 5–10 degrees off-center while driving straight = alignment issue, nearly every time.
Note the direction and approximate angle — “wheel sits about 10 degrees left when going straight” is useful information for the tech at the shop.
Test 4: The String Method for Toe
This is the classic DIY alignment technique, and it actually works for checking toe — the angle that causes the most tire wear.
What you need: Two jack stands (or anything stable at hub height), a long spool of thin string or fishing line, and a tape measure.
How to do it: 1. Park on the flattest surface you have. A garage floor is ideal. 2. Set a jack stand at each end of the car (front and rear bumpers), at hub height. 3. Run string along each side of the car, at hub-center height, pulled taut between the stands. The string should just touch the sidewalls of the tires or sit at a consistent small gap. 4. Measure the distance from the string to the front edge and rear edge of each wheel rim (not the tire — the rim edge is the consistent reference). 5. Compare: on each wheel, the front-of-rim and rear-of-rim measurements should be nearly equal. A difference of more than about 1/16″ (1.5mm) indicates toe is off on that wheel.
Reality check: This method is fiddly. The car must be perfectly level, the string perfectly straight and at the right height, and you’re measuring millimeters. It’ll tell you “toe is off” but not precisely how much, and it tells you nothing about camber or caster. I include it because it’s the best DIY option for toe, but honestly? Tests 1–3 catch 90% of problems with 10% of the effort.
Test 5: The Tape Measure Toe Check
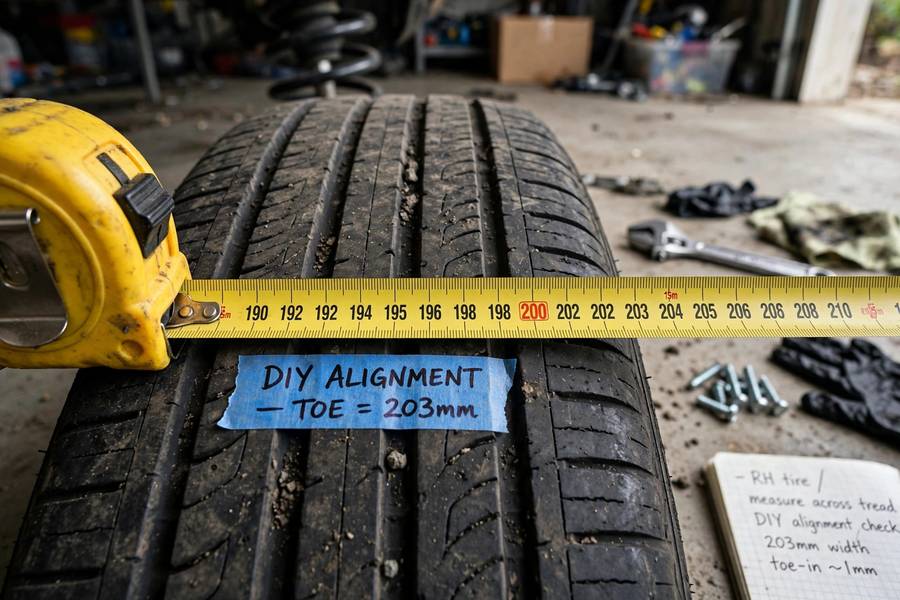
A quicker, rougher version of the string method:
- With the car on flat ground, steering wheel centered, mark the center of the tread on both front tires at the front (3 o’clock and 9 o’clock positions at axle height — use chalk or tape).
- Measure the distance between the two marks at the front of the tires.
- Roll the car forward (or rotate the marks) so the marks are now at the rear of the tires, at the same height.
- Measure again between the marks at the rear.
Reading the results: Front measurement smaller than rear = toe-in. Front larger = toe-out. Most cars spec a tiny amount of toe-in (1/16″ to 1/8″ total). A big difference — say half an inch — means toe is significantly off.
This is crude but effective as a yes/no test. It won’t replace a rack, but it’ll confirm what the drift test and tire wear already suggested.
What Home Checks Cannot Tell You
Be honest about the limits:
- Camber and caster angles — you can’t measure these at home without specialized tools (camber gauges exist, but they’re fiddly and the car must be perfectly level).
- Rear alignment — the string method can be adapted, but it’s significantly harder with the steering involved.
- Thrust angle — effectively impossible to check accurately at home.
- Precise numbers — home methods give you “it’s off” not “toe is 0.25 degrees out of spec.”
- Whether it’s adjustable — some cars need aftermarket kits for certain angles; only a shop assessment reveals this.
Home checks are triage. The rack gives the final answer.
DIY Myths That Do Not Work
Let me save you some time on popular internet advice:
- “Eyeball the wheels from the front” — Useless. Alignment is measured in fractions of a degree. You cannot see 0.1 degrees of toe with your eyes. Anyone who says they can is selling something.
- “Use a phone level app on the wheel” — Phone sensors aren’t calibrated for this, the wheel isn’t a flat reference surface, and the car isn’t level. Numbers you get are fiction.
- “Just drive and see if it feels fine” — Gradual misalignment is something you adapt to without noticing. By the time it “feels” wrong, the tires are already damaged.
- DIY alignment with wrenches — Adjusting tie rods at home without measuring is how you make things worse. I’ve fixed several DIY alignments that cost the owner a set of tires. Don’t.
When to Skip the DIY and Go Straight to a Shop
Do the home checks for routine monitoring. Skip straight to a professional when:
- You just hit something hard (pothole, curb, debris) and symptoms appeared
- The car pulls strongly or the wheel is significantly off-center
- Tires show severe uneven wear or cords are visible
- There’s any clunking, knocking, or looseness in the steering
- It’s been over a year / 15,000 miles since the last alignment check
And if your home checks say “something’s off” — trust them and book the appointment. The checks are good at detection; second-guessing them just costs tire life.
How Often to Do These Checks
My recommended routine:
- Monthly: Tire wear inspection (5 minutes while you’re already near the car) + glance at steering wheel centering during normal driving
- After any hard impact: Drift test + tire inspection immediately
- Annually: Professional alignment check on the rack, even if everything feels fine
- After suspension work or new tires: Professional alignment, non-negotiable
The monthly tire check is the highest-value habit. It catches camber wear, toe feathering, and pressure issues early — when they’re $100 problems instead of $800 problems.
If your checks point to a problem, the next step is understanding what you’re dealing with — start with what wheel alignment actually is for the fundamentals. And since uneven wear is what usually prompts these checks, make sure you know how to change a tire — a badly worn tire can fail without much warning. Curious whether your drive system affects what you feel? See AWD vs 4WD explained.

Frequently Asked Questions
The most effective home checks: the straight-road drift test, monthly tire wear inspection (looking for one-sided wear or feathering), and the steering wheel center check. The string method and tape measure can roughly check toe. None replace a professional rack measurement.
You can detect misalignment at home but shouldn’t attempt to fix it. Alignment is measured in fractions of a degree — adjusting tie rods without proper measurement usually makes things worse and can cost you a set of tires.
Key signs: the car pulls to one side on flat roads, the steering wheel sits crooked when driving straight, uneven tire wear (one edge balding or feathered tread), and vibration at highway speeds. Check tire pressure first — it causes similar symptoms.
For roughly checking toe, yes — it’s the best DIY method available. But it’s fiddly, only covers toe (not camber or caster), and gives approximate results. It confirms “something’s off” but can’t produce the precise numbers a shop needs.
Do quick home checks monthly (tire wear inspection takes 5 minutes) and get a professional alignment check annually or every 12,000–15,000 miles — plus after any hard impact, suspension work, or new tires.