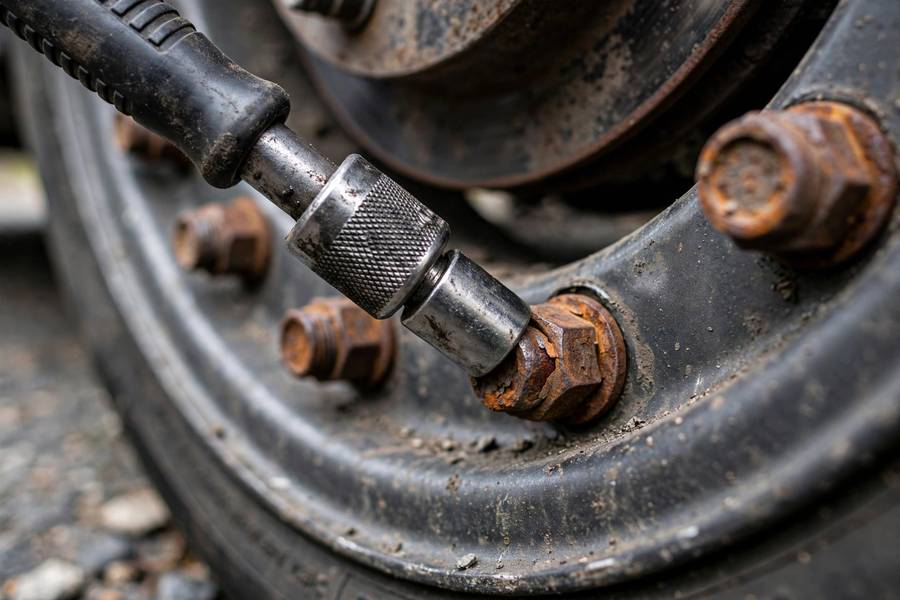
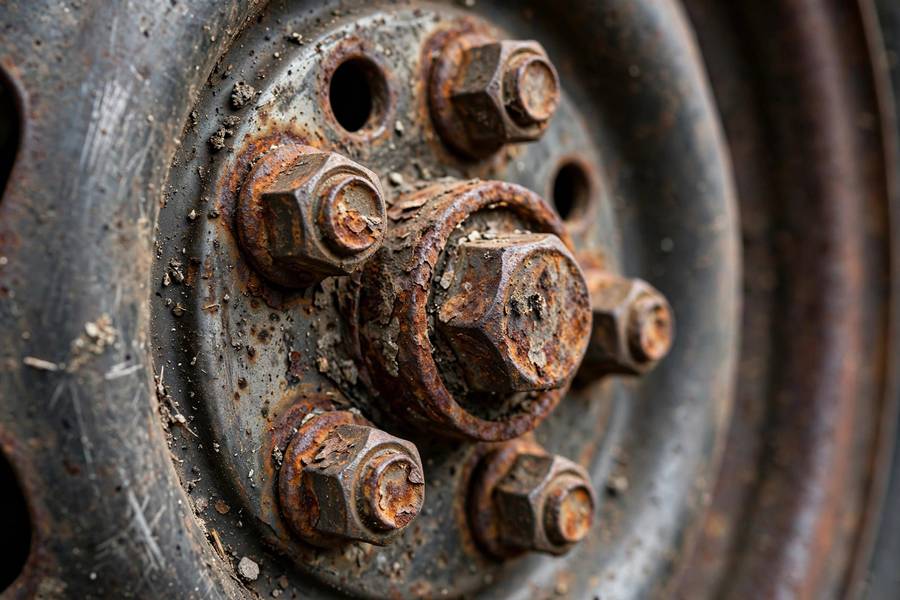
There’s a special kind of helplessness in standing on the roadside, factory wrench in hand, pushing with everything you’ve got while the lug nut doesn’t move a millimeter. I’ve been the rescue call for that scene more times than I can count, and the cause is almost always the same: the last person who touched those nuts — usually a shop with an impact wrench — put them on way too tight, and then rust did the rest. Here’s every method I know, in the order I’d try them. The full tire-change sequence is at how to change a tire.
Table of Contents
- Why Lug Nuts Get Stuck
- First: Confirm You’re Turning the Right Way
- The First Three Methods: Leverage, Weight, and Oil
- Method 4: Shock It Loose
- Method 5: Heat (Carefully)
- Method 6: The Pipe Extension (Cheater Bar)
- Method 7: Impact Tools
- Method 8: When It’s Rounded Off
- When to Stop and Call a Pro
- Frequently Asked Questions
Why Lug Nuts Get Stuck
Knowing the enemy helps. Lug nuts seize for four reasons, often combined:
- Over-torquing. The number one cause. An impact wrench in a hurry buries the nut far past spec, stretching the stud and galling the threads. Months later, it’s effectively welded by friction.
- Corrosion. Steel nuts on steel studs, exposed to road salt and moisture, rust together. The rust expands in the threads and locks everything solid. Cars in salt-belt regions are the worst for this.
- Galling. Aluminum wheels with steel nuts (or vice versa) can gall — the metals micro-weld under pressure. Once galled, the nut fights every turn.
- Cross-threading. If the nut went on crooked and was forced, the damaged threads bind permanently. This one’s usually a shop error, and it’s the hardest to fix without replacing the stud.
The pattern: it’s rarely one thing. It’s the over-torqued nut that then sat through two salty winters. Each method below attacks a different part of that combination.
First: Confirm You’re Turning the Right Way
Sounds insulting. Isn’t. When you’re under the car, upside down, frustrated, at night — people turn the wrong way more often than anyone admits. Lug nuts loosen counterclockwise (lefty loosey) viewed with the nut facing you. If you’ve been heaving clockwise, you’ve been tightening it further, and I say that with zero judgment because I’ve watched professionals do it.
Also confirm: is there a locking lug nut with a key pattern? If one nut looks different from the others — a patterned or splined head — that’s a wheel lock, and no amount of force with the standard wrench will move it correctly. You need the key. Find it before doing anything else.
The First Three Methods: Leverage, Weight, and Oil
These three solve the large majority of stuck lug nuts. Try them in order before reaching for anything exotic.
Method 1: Better Leverage (Breaker Bar)
Physics first: a longer handle multiplies your force. The factory L-wrench gives you maybe 8 inches of leverage; a breaker bar gives you 18-24. That’s triple the turning force from the same effort.
- Fit the correct-size socket (snug, no wobble — usually 17, 19, or 21mm) fully onto the nut.
- Keep the bar as close to horizontal as possible and push down smoothly with steady, increasing pressure — not jerky yanks.
- If the socket rocks or slips, stop — a slipping socket rounds the nut, and rounded nuts are a much bigger problem (see Method 8).
A breaker bar is a $20-30 tool that belongs in every trunk kit. It solves the stuck-nut problem outright in maybe 70% of cases. If you buy one upgrade from this whole guide, make it this.
Method 2: Body Weight, Done Right
No breaker bar? Use gravity:
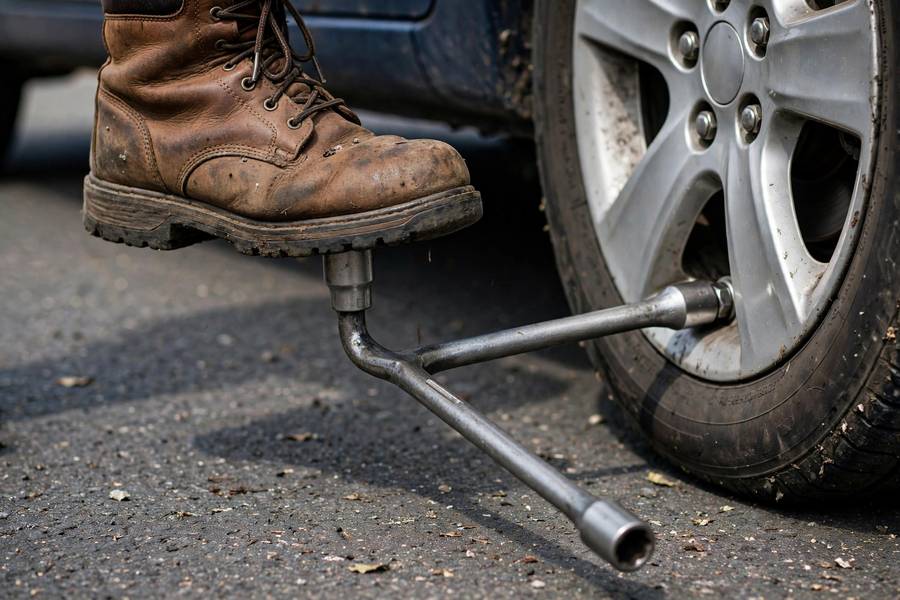
- Position the wrench handle pointing roughly horizontal (the 3 o’clock or 9 o’clock position for loosening, depending on side).
- Place your foot on the handle near its end and gradually transfer your weight onto it. Don’t stomp — sudden shock loads can snap the wrench or round the nut. Steady pressure.
- Keep a hand on the car for balance, and make sure the socket is fully seated before loading it.
This works because most adults weigh 3-4 times what their arms can push. The factory wrench plus body weight generates real torque. The risk is the wrench slipping off under load — which is why “fully seated socket, steady pressure, no stomping” is the mantra.
Method 3: Penetrating Oil and Patience
When corrosion is the culprit, chemistry beats force:
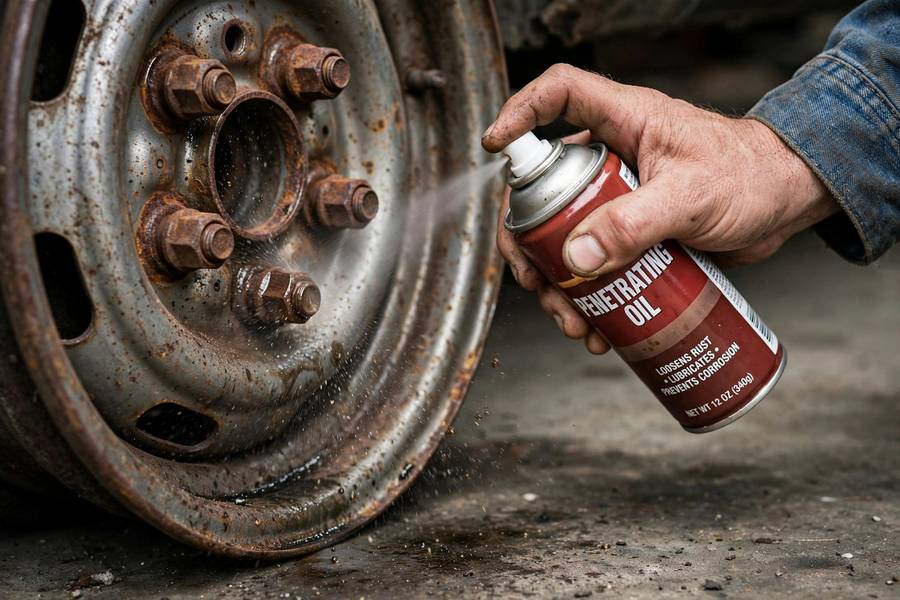
- Spray penetrating oil (PB Blaster, Kroil, Liquid Wrench — not WD-40, which is a water displacer, not a true penetrant) generously around the base of the nut where it meets the wheel.
- Wait. Fifteen minutes minimum; an hour is better; overnight is best. The oil needs time to wick into the threads by capillary action. Spraying and immediately wrenching wastes the spray.
- Tap the nut lightly with a hammer a few times after spraying — vibration helps the oil penetrate deeper.
- Reapply once, wait again, then try.
Patience is the active ingredient. I’ve seen nuts that laughed at a breaker bar surrender to an overnight soak. If you’re doing this roadside, spray it, set your triangles, call for a ride or wait it out — the waiting is the method.
Method 4: Shock It Loose
Sometimes static force fails where sharp impact succeeds. The idea: break the corrosion bond with sudden shock rather than sustained pressure.
- With the socket fully seated on the nut, strike the end of the wrench handle sharply with a hammer or mallet — a firm rap, not a demolition swing.
- Alternatively, a few sharp raps directly on the nut itself (through the socket) can crack rust bonds before you apply turning force.
- Follow the shock with steady turning pressure while the bond is disrupted.
The physics: rust bonds are brittle. Sustained force loads them gradually (and they hold); sharp impact exceeds their fracture point instantly. It’s the same principle as an impact wrench, applied manually. Don’t go wild — you’re shocking the bond, not the wheel bearing.
Method 5: Heat (Carefully)
Heat expands metal — and crucially, the nut heats faster than the stud inside it, expanding away from the threads and breaking the corrosion grip. This works, but it demands respect:
- A propane torch or heat gun on the nut for 30-60 seconds — the nut only, not the wheel, not the tire.
- Keep flame away from the tire. Rubber and heat are a bad combination; so are valve stems and TPMS sensors. Shield or avoid.
- Let it cool slightly, hit it with penetrating oil (the thermal cycling draws oil deeper — old mechanic’s trick), then turn.
- Never use heat near fuel lines, brake lines, or on locking nuts with plastic components.
I’ll be honest: I rarely recommend heat to DIYers for lug nuts, because the tire is right there and the margin for error is small. It’s in the list because it works, but methods 1-4 solve the vast majority of cases without a torch. If you’re considering heat, you’re probably close to “call a pro” territory anyway.
Method 6: The Pipe Extension (Cheater Bar)
Slip a length of pipe over the wrench handle to extend it — the classic cheater bar. A 3-foot pipe turns modest effort into enormous torque.
- It works. It also multiplies the risk: with enough leverage you can snap a wheel stud clean off, and a snapped stud turns a stuck nut into a shop repair.
- If you use one, apply force gradually and stop at the first sign of the stud flexing or the nut deforming. The goal is to break the bond, not the hardware.
- Never use a cheater on a torque wrench (you’ll destroy its calibration) or on locking nuts.
My rule: cheater bars are for professionals who can feel the difference between “bond breaking” and “stud yielding.” If you’re reading this guide, prefer the breaker bar (Method 1) — it’s the same physics with saner limits.
Method 7: Impact Tools
If you have access to them, impact tools are the purpose-built answer:
- Electric impact wrench (cordless, 1/2-inch drive): the DIY-friendly option. Hammering rotational impacts break corrosion bonds that steady force can’t. A decent one runs $100-150 and earns its keep across countless jobs.
- Manual impact driver (the hammer-hit kind): cheap ($20), effective on smaller fasteners, marginal on seriously stuck lug nuts — but better than nothing.
- Air impact wrench: shop territory. If you’re at home with a compressor, you already know.
Note the irony: the impact wrench probably caused your problem (over-torquing at the last tire shop), and now an impact wrench is the fix. The difference is control — your impact wrench on a stuck nut, used sensibly, versus a shop’s on every nut, cranked to maximum.
Method 8: When It’s Rounded Off
If the nut’s corners are already rounded — from slipping sockets, wrong-size wrenches, or previous struggles — standard methods stop working. Escalation path:
- Hammer on a slightly smaller socket. A 12-point socket one size down, driven onto the rounded nut with a hammer, can bite enough to turn it. Sacrifice the socket; it’s cheaper than the alternative.
- Bolt extractor sockets. Spiral-fluted sockets designed to bite into rounded heads. $15-30 for a set, and they work — this is the proper tool for the job.
- Nut splitter. A tool that cracks the nut in half without damaging the stud. Slow, methodical, effective. The nuclear option that isn’t actually destructive to anything that matters.
- Drill it out. Last resort, shop territory — drill through the nut to relieve the clamping force, then replace the stud. If you’re here, you’re calling a pro anyway.
Prevention beats all of this: always use the correct size socket, fully seated, before applying force. Rounded nuts are almost always made, not born.
When to Stop and Call a Pro
Knowing when to quit is a skill, not a failure. Call for help when:
- The stud is visibly bending or the nut is deforming under force — you’re about to break hardware.
- You’ve tried leverage + penetrating oil + shock and nothing moved — the bond is beyond roadside methods.
- It’s a locking nut and the key is missing or stripped — this is a shop extraction job.
- You don’t have solid ground, proper tools, or safe conditions — no repair is worth an injury.
- There’s any sign of previous cross-threading or thread damage — forcing it makes a repairable problem expensive.
A mobile mechanic or tow to a shop costs less than a snapped stud, a cracked wheel, or a crushed finger. I’ve never once thought less of someone who called it — but I’ve thought plenty about the ones who didn’t and broke things.
Once the wheel’s off and the new nuts go on, do it right this time: hand-thread first, star pattern, torque wrench to spec. The stuck nut you’re fighting today was made by someone skipping those steps yesterday. Don’t be yesterday’s someone. For the full sequence, how to change a tire has the procedure — and how to buy a used car is worth a read too, since stuck hardware is one of the things I always check on a prospective purchase.
Frequently Asked Questions
Start with better leverage (breaker bar), then body weight on the wrench, then penetrating oil with a 15-60 minute soak, then shock (hammer taps). Escalate to heat or impact tools only if needed. Always confirm you’re turning counterclockwise first.
Usually over-torquing by an impact wrench at the last shop, combined with rust and corrosion in the threads binding everything solid. Road salt regions are worst. Penetrating oil and patience address corrosion; leverage addresses over-torque.
Not well — WD-40 is a water displacer, not a true penetrating oil. Use PB Blaster, Kroil, or Liquid Wrench, spray around the nut base, tap lightly with a hammer, and wait at least 15 minutes (an hour is better) before trying.
Hammer on a slightly smaller 12-point socket, use spiral-fluted bolt extractor sockets ($15-30), or use a nut splitter to crack the nut without damaging the stud. Drilling is the last resort and a shop job.
Counterclockwise (lefty loosey) when viewed facing the nut. Double-check before applying serious force — turning the wrong way under frustration is more common than anyone admits and only tightens the nut further.