How to Sharpen Scissors at Home: 3 Methods Compared

Dull scissors don’t cut — they chew, fold, and frustrate. If you’re looking up how to sharpen scissors at home, you’re probably standing over a pair that used to glide through paper and now mangles it. Here’s the honest truth I’ve learned from years of keeping household scissors working: most dull scissors just need their edges realigned or lightly refreshed, and you can do that in your kitchen in ten minutes. But the method matters, and — just as important — some scissors should never meet a DIY method at all.
First, a quick diagnosis, because sharpening won’t fix every problem. Open and close the scissors slowly. If the blades feel loose and wobbly, tighten the pivot screw first — a loose screw mimics dullness perfectly. If the blades are nicked, bent, or the tips don’t meet, that’s a job for a professional sharpener or a replacement. If they just feel dull and draggy, read on.
Method Comparison: Sandpaper vs. Foil vs. Whetstone
Three methods dominate home advice, and they are not equal. Each has a real use case and a real limit.
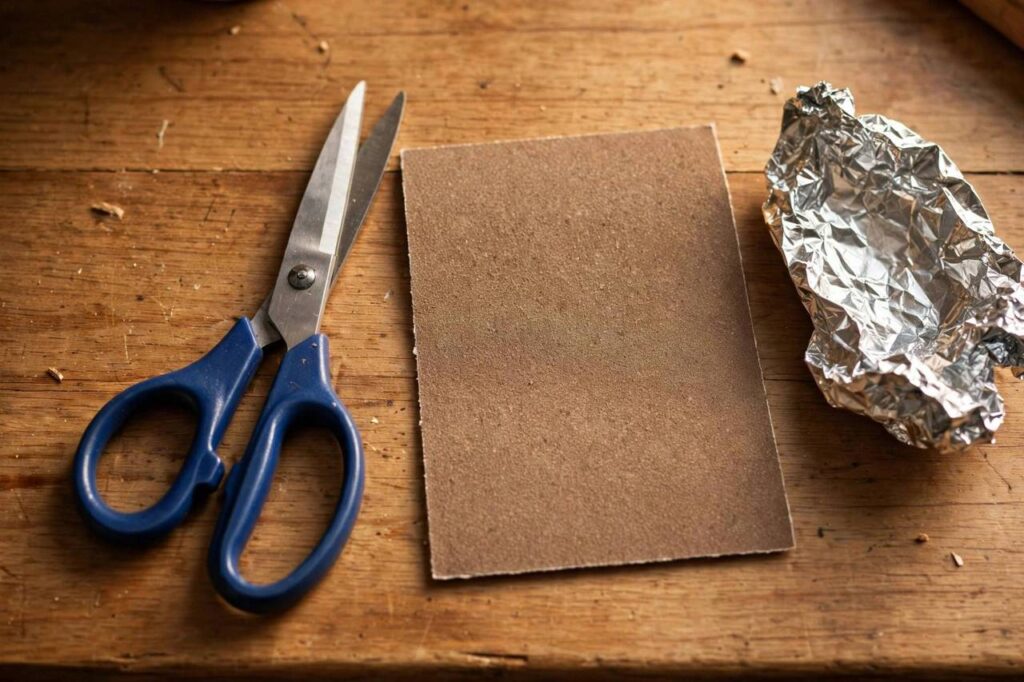
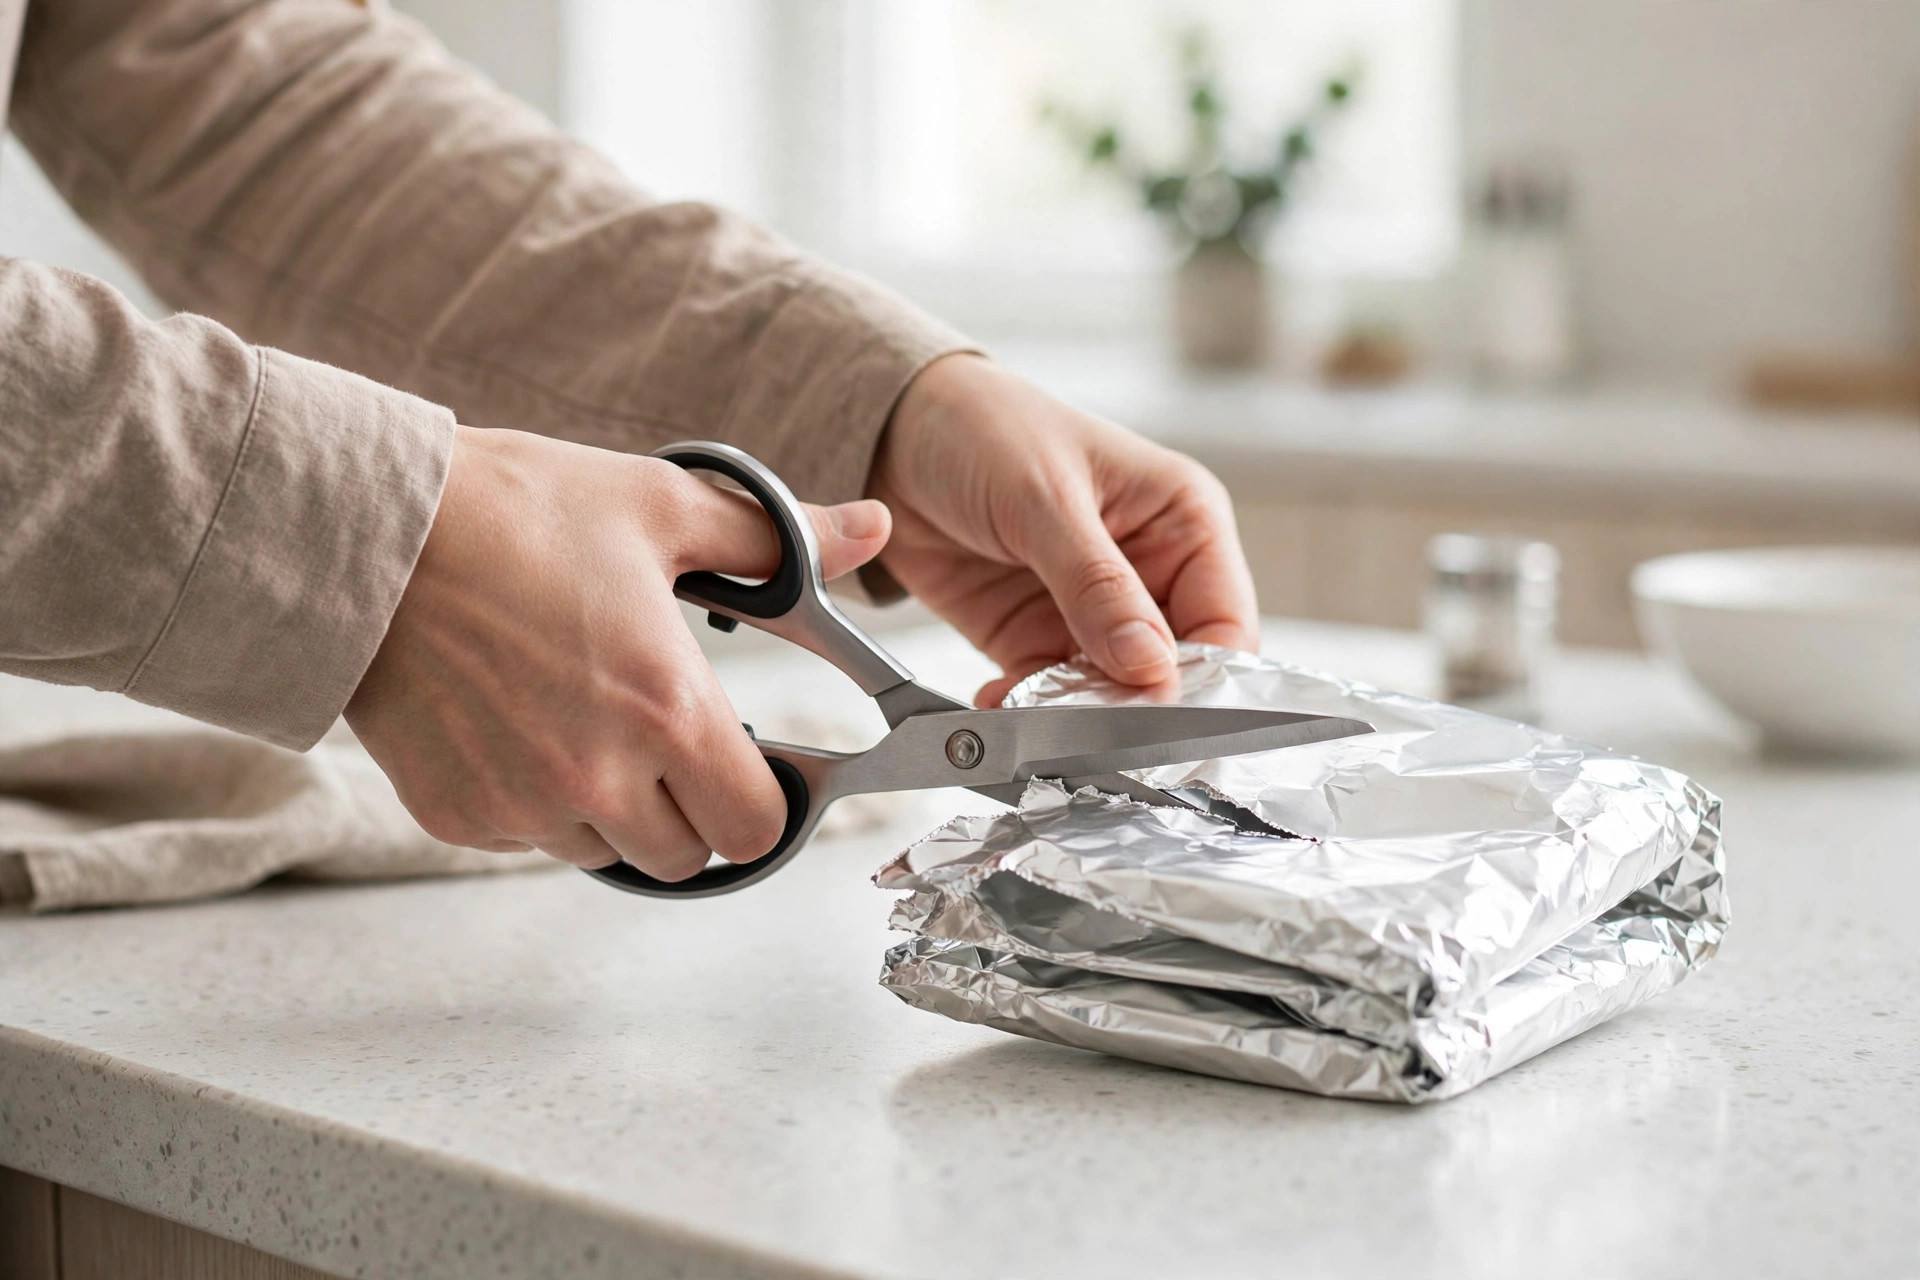
Aluminum foil (easiest, mildest). Fold a sheet of foil several times into a thick strip and cut through it 10–15 times, making full cuts from base to tip. This doesn’t truly sharpen — it cleans off gunk and micro-burrs and slightly burnishes the edge. Use it when scissors feel gummy or slightly draggy rather than truly dull. It takes two minutes and can’t hurt anything, which makes it the perfect first try.
Sandpaper (the middle ground). Fold a sheet of fine-grit sandpaper (150–200 grit) with the abrasive side out and cut through it the same way, 10–15 full cuts. The abrasive actually removes a tiny amount of metal, so this genuinely refreshes a dull edge. This is my go-to for standard household and craft scissors that have gone dull from normal use. Use light pressure and full-length cuts — short snips at the tips will sharpen unevenly.
Whetstone (the real sharpening). A whetstone gives you the sharpest, longest-lasting edge, but it requires technique. Disassemble the scissors if the screw allows it (much easier to sharpen one blade at a time). Soak the stone, then hold each blade flat against the stone at its factory bevel angle — usually about 15–20 degrees — and slide it along the stone in smooth strokes, working from base to tip, 10–15 strokes per side. Then reassemble and test on paper.
So when is each enough? Foil is enough for maintenance and light dullness. Sandpaper handles genuinely dull everyday scissors. The whetstone is for scissors you care about — good kitchen shears, sewing scissors — where you want a proper edge that lasts. One honest note: none of these will rescue scissors with damaged or chipped blades. Know when you’re polishing a lost cause.
Which Scissors Should NOT Be DIY Sharpened
This section saves people money, so read it before you start. Do not DIY sharpen:
- Pinking shears. The serrated edges require specialized equipment. Home methods will destroy the zigzag pattern.
- Hairdressing scissors. These have precise convex edges and cost real money. One bad whetstone session ruins a $200 pair. Take them to a professional sharpener.
- Serrated or micro-serrated blades (some kitchen shears, craft scissors). The serrations need individual attention with a tapered rod — flat methods flatten them.
- Expensive fabric scissors. If you paid good money for dressmaking shears, a professional sharpening (usually $5–10) is cheaper than replacing them after a DIY mistake.
- Scissors with a damaged pivot or bent blades. Sharpening can’t fix mechanical damage; a pro can sometimes re-set them.
Standard paper scissors, kids’ scissors, and basic kitchen shears? Sharpen away. The stakes are low and the methods are forgiving.
Step-by-Step: The Sandpaper Method (Best All-Rounder)
Since sandpaper hits the sweet spot of effective and forgiving, here’s the full process for how to sharpen scissors at home with it:
- Clean the blades first with warm soapy water and dry them. Sticky residue (tape, glue) dulls the feel of even sharp scissors — rubbing alcohol removes it.
- Tighten the pivot screw so there’s no wobble but the blades still move smoothly.
- Fold 150–200 grit sandpaper in half, abrasive side out.
- Cut through the folded sandpaper with long, full strokes from base to tip, 10–15 times. Use the whole blade length.
- Wipe the blades clean and test on paper. You should feel a clear difference.
- If still dull, repeat once more. If two rounds don’t fix it, the blades are likely damaged — see a professional.
Keeping Them Sharp: Maintenance Habits
Sharpening is the cure; habits are the prevention. Cut only what the scissors are made for — paper scissors that cut cardboard, wire, or (heaven forbid) metal will dull in a single session. Wipe blades after use, especially kitchen shears. Store scissors dry, not rattling loose in a drawer where the edges bang against other tools. And run the foil trick every few months as maintenance; it’s the scissors equivalent of honing a knife.
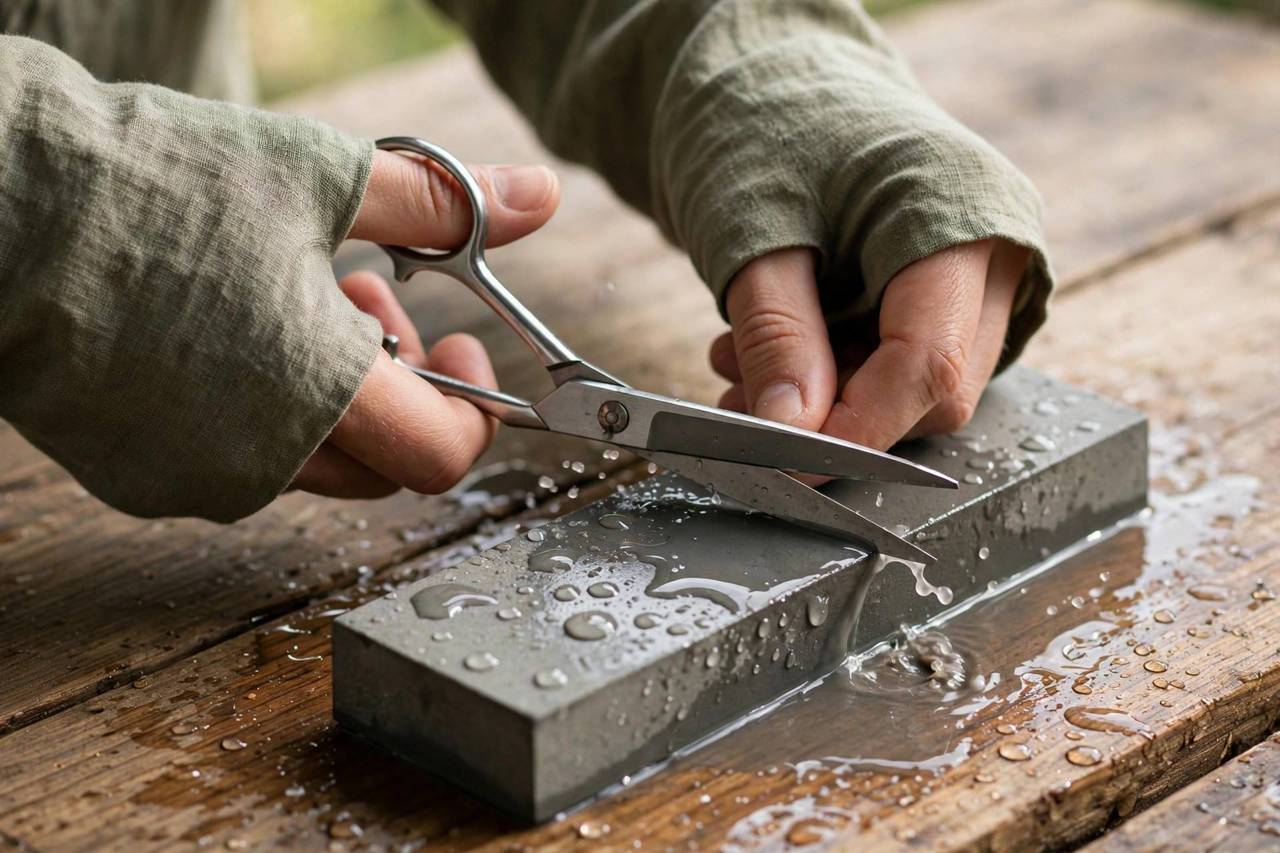
How to Sharpen Scissors at Home With a Whetstone, Step by Step
The whetstone method deserves a full walkthrough because it’s the only home method that produces a truly sharp, long-lasting edge — and the only one where technique actually matters. Here’s the complete process.
Setup: You’ll need a combination whetstone (1000/6000 grit is the versatile choice), a towel to keep it from sliding, and a bowl of water. Soak the stone for 5–10 minutes until bubbles stop rising. If your scissors have a screw pivot (not a rivet), disassemble them — sharpening one blade at a time is dramatically easier and more precise. If they’re riveted, you’ll work with them assembled, one blade at a time, which is fine but fussier.
The stroke: Each scissor blade has a factory bevel — usually about 15–20 degrees — on one side only (the inner faces are flat). Your job is to follow that existing angle, not create a new one. Place the beveled side flat on the stone, tilt to match the bevel, and slide the blade along the stone from base to tip in smooth, even strokes, as if you’re trying to shave a thin layer off the stone. Use light, consistent pressure — pressing hard is the beginner mistake; it gouges the stone and rounds the edge. Do 10–15 strokes, then feel for a burr: a tiny ridge of metal on the flat side of the blade. The burr tells you you’ve sharpened all the way to the edge. No burr, no sharpness — keep going.
Finishing: Once you feel a burr along the full length, flip the blade and lay the flat inner side on the fine (6000) grit side for 2–3 very light strokes — just enough to knock the burr off, not enough to create a new bevel on the flat side. Repeat for the second blade. Reassemble, tighten the pivot screw until there’s slight resistance, and add a drop of mineral oil at the pivot. The whole process takes 15–20 minutes the first time, under 10 once you’ve done it.
Testing Sharpness: How to Know You’re Done
Don’t guess — test. The paper test is the standard: the scissors should cut cleanly through a single sheet of printer paper from base to tip with no tearing, folding, or drag. Test the full length, not just the middle — uneven sharpening shows up at the tips first. For sewing scissors, upgrade to the fabric test: they should cut two layers of quilting cotton cleanly without chewing.
The thread test is the precision check: hold a single thread taut and snip it. Sharp scissors cut it cleanly; dull ones push it aside or fray it. And check the burr one more time — run your fingertip across (never along) the blade edge. A properly finished edge feels smooth; a remaining burr feels like a tiny wire. If you feel it, do 2–3 more light strokes on the fine stone.
One last honest note: even perfect technique has limits. If you’ve done two full whetstone rounds and the paper test still fails, the blades are likely nicked, bent, or worn past the point where home sharpening helps. That’s not failure — that’s diagnosis. Take them to a professional sharpener, who has grinders and jigs that can re-profile what a stone can’t.
Storing Scissors So They Stay Sharp
Sharpening is half the battle; storage is the other half. Scissors stored loose in a drawer bang their edges against everything in there — every rattle micro-dulls the edge you just restored. The fixes are simple: a blade sheath or cover (even a folded piece of cardboard taped shut works), a dedicated spot in a drawer organizer, or a magnetic strip or scissor block for kitchen shears.
Two more storage rules: dry, always. Put scissors away dry — moisture at the pivot breeds rust, and rust pits the edge. A drop of mineral oil at the pivot twice a year keeps the action smooth and corrosion at bay. And separate by purpose. The fastest way to dull good fabric scissors is letting someone use them on paper or — the classic horror — on a plastic clamshell package. Label them if you must. Scissors are like toothbrushes: sharing ruins them.
Frequently Asked Questions
Does cutting aluminum foil really sharpen scissors?
It cleans and lightly burnishes the edge rather than truly sharpening. It works well for scissors that feel gummy or slightly draggy, but it won’t restore a genuinely dull blade — use sandpaper or a whetstone for that.
What grit sandpaper sharpens scissors best?
Fine grit in the 150–200 range is the sweet spot: coarse enough to remove metal, fine enough not to chew up the edge. Fold it abrasive-side-out and cut through it with full-length strokes.
Can you sharpen scissors with a knife sharpener?
Most pull-through knife sharpeners aren’t designed for scissor bevels and can damage the edge angle. A whetstone used at the blade’s existing bevel angle (about 15–20 degrees) is the correct manual method.
How often should you sharpen household scissors?
For normal household use, once or twice a year is plenty, with the foil trick every few months as maintenance. Scissors used daily for crafts or sewing may need attention every few months.
Why do my scissors still feel dull after sharpening?
Usually one of three things: the pivot screw is loose (tighten it), the blades are nicked or bent (needs a pro), or you’ve been cutting materials the scissors weren’t designed for. Also check for sticky residue on the blades.
Is it worth paying a professional to sharpen scissors?
For expensive sewing, fabric, or hairdressing scissors — absolutely. Professional sharpening costs around $5–10 and preserves the factory edge geometry that home methods can’t reproduce on precision blades.
That’s the whole system: diagnose first, pick the method that matches the scissors, and leave the precision blades to the pros. Ten minutes, a sheet of sandpaper, and your scissors cut like they used to — that’s a good trade.