How to Scan Documents With iPhone: 2 Easy Methods (2026)

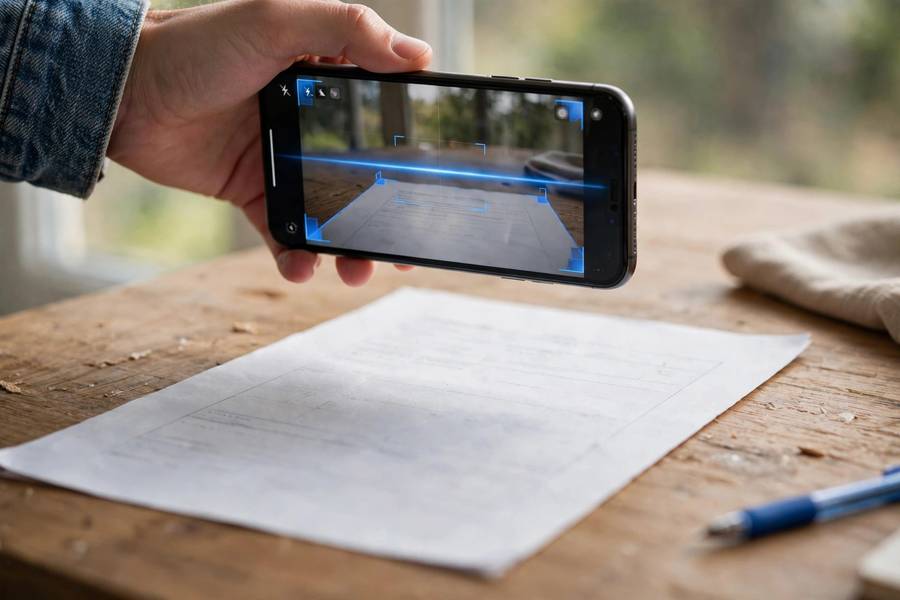
Receipt for taxes. A signed form that needs emailing. Your kid’s permission slip, due yesterday. Your iPhone is already a surprisingly good scanner — no extra app, no flatbed, no trip to the office supply store. Learning how to scan documents with iPhone takes about two minutes, and the built-in tools produce clean, straightened PDFs that look like they came from a real scanner. There are two methods, and which one you want depends on where the scan needs to end up: the Notes app is best for collecting multi-page scans, while the Files app is best for saving a PDF straight to a folder. Do not worry — I will walk you through both, patiently and step by step, plus the little quality tricks that separate a crisp scan from a blurry photo of paper. By the end, you will be scanning like you have done it for years. Let us take it one step at a time.
Method 1: Scan With the Notes App (Best for Multi-Page Documents)
The Notes app’s scanner is the most convenient option when you are scanning several pages into one document — it automatically detects page edges, corrects perspective, and compiles everything into a single PDF.
- Open the Notes app and create a new note (or open an existing one).
- Tap the camera icon above the keyboard, then choose Scan Documents.
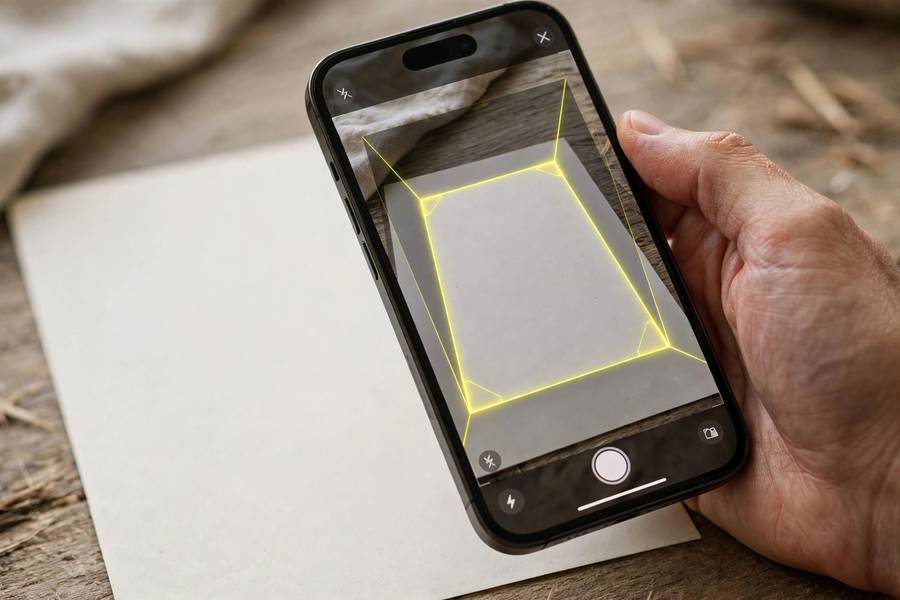
- Hold your iPhone over the document. In Auto mode (the default), the camera detects the page edges — highlighted in yellow — and captures automatically. For fiddly pages like receipts, tap Auto in the top-right to switch to Manual, then tap the shutter button yourself.
- Drag the corners to fine-tune the crop if needed, then tap Keep Scan.
- Repeat for additional pages, then tap Save. All pages are stored in the note as one document.
- To get a PDF: open the scanned document in the note, tap the Share button, and choose Save to Files, Mail it, or share it anywhere.
Shortcut worth setting up: add Notes to your Control Center (Settings, then Control Center), and you can jump straight to the scanner from the lock screen with a long-press on the Notes icon. If you scan documents regularly, this saves an absurd amount of tapping.
Method 2: Scan With the Files App (Best for Saving Straight to a Folder)
If your goal is a PDF in a specific folder — iCloud Drive, Google Drive, Dropbox — the Files app skips the middleman:
- Open the Files app and navigate to the folder where you want the scan to live.
- Tap the three-dots (More) button in the top-right, then choose Scan Documents.
- Capture your pages exactly as in the Notes method — Auto or Manual, adjust corners, Keep Scan.
- Tap Save. The PDF appears immediately in that folder, ready to upload, email, or file.
This is the superior method if you manage a digital filing system or need to upload the scan to a portal right away. And once your scans are safely stored, make sure they are protected — learn how to back up your iPhone so a lost phone never means lost documents.
How to Scan Documents With iPhone Like a Pro: 7 Quality Tips
- Light it evenly. Scan near a window or under a bright lamp. Harsh shadows across the page are the number-one quality killer — your own shadow from holding the phone is the usual culprit, so position the light to the side.
- Use a dark background. Place light paper on a dark table or mat. The contrast helps edge detection lock onto the page instantly instead of hunting.
- Hold steady and parallel. Keep the phone directly above the page, not at an angle. The perspective correction is good, but a straight-on capture is always sharper.
- Choose the right filter. Before saving, tap the filters icon (three overlapping circles). Black & White is best for text documents — it removes shadows, boosts contrast, and shrinks file size. Color is right for photos, and Grayscale sits in between.
- Go Manual for tricky pages. Glossy paper, crumpled receipts, and pages with boxes or heavy graphics confuse Auto mode. Switch to Manual, frame carefully, and tap the shutter yourself.
- Check every page before saving. Zoom into the preview and confirm text is legible. Retaking one page now beats discovering an unreadable scan when the deadline hits.
- Name the file immediately. “Scan 47” helps no one. Rename to something like 2026-10-14_electric-bill.pdf the moment you save it — future you will be grateful.
Troubleshooting: When Scans Go Wrong
Even a good scanner misbehaves sometimes. The built-in iPhone scanner is reliable, but lighting, paper type, and hand steadiness all affect results. Here are the fixes for the problems I hear about most, roughly in the order you are likely to encounter them:
- The app cannot find the page edges. Switch to Manual mode, make sure the paper is on a contrasting background, and flatten curled pages with your hand (out of frame). Glossy or very thin paper reflects light — angle your light source or move near a window.
- Text looks wavy or distorted. You held the phone at an angle. The perspective correction does its best, but reshoot holding the phone directly parallel to the page. For book pages with curved bindings, photograph each page half separately if needed.
- Colors look wrong. You probably have the Black & White filter on from a previous scan. Tap the filter icon and switch back to Color or Photo for anything where color matters.
- The PDF is enormous. Color scans of many pages get big fast. Re-scan text documents with the Black & White filter, which typically cuts file size by 80% or more. If you already saved it, use the share sheet to compress or convert before emailing.
- Can’t find where it saved. In Notes, the scan lives inside the note — it is not a separate file until you share it to Files. In Files, it saves to whichever folder was open when you tapped Scan Documents. When in doubt, check Recents in the Files app.
Bonus: Make Your Scans Searchable With Text Recognition
Here is a feature most people miss: your iPhone can read the text inside your scans. In the Notes app, open a scanned document and the text becomes selectable and searchable — you can copy a paragraph straight out of a scanned page. Even better, Spotlight search on your iPhone indexes text inside photos and scans, so searching for “electric bill” can surface the scan itself. For heavy-duty needs, third-party scanner apps add full OCR (optical character recognition) that converts entire documents into editable text. But for finding that one receipt six months from now, the built-in text recognition plus good file naming is plenty.
What to Do With Your Scans
A scan sitting in your phone helps no one. Build the habit of routing each scan somewhere useful the moment you make it — thirty seconds of filing now saves thirty minutes of searching later:
- Email or message it: from the share sheet, send the PDF directly — most recipients cannot tell it did not come from a real scanner.
- Sign it: open the PDF, tap the Markup icon, and add your signature with your finger or Apple Pencil. No printing, no pen, no re-scanning.
- Send it to your computer: use AirDrop to move scans to your Mac instantly, or save to iCloud Drive / Google Drive and open them on any device.
- File it: move important scans (tax documents, contracts, medical forms) into your organized folders right away — a scan you cannot find later is barely better than no scan.

FAQ
Is the iPhone scanner as good as a real scanner?
For documents — yes, genuinely. The iPhone’s scanner produces straightened, contrast-enhanced PDFs that are perfectly legible and accepted by banks, government portals, employers, and schools. A flatbed scanner still wins for high-resolution photo archiving or fragile originals, but for paperwork, your phone is more than sufficient.
Where do scanned documents get saved on iPhone?
It depends on the method. Notes app scans live inside the note you scanned them into — open the note, tap the scanned document, and use Share to save it as a PDF to Files. Files app scans save directly as PDFs into whatever folder you were browsing when you started scanning. Either way, use the share sheet to move them anywhere.
Can I scan multiple pages into one PDF on iPhone?
Yes — both methods support it. In the Notes or Files scanner, just keep tapping Keep Scan for each additional page before tapping Save. All pages compile into a single multi-page PDF automatically, in the order you scanned them.
Why are my scans blurry?
The usual causes, in order: your hand moved during capture (brace your elbows on the table), poor lighting (move near a window), the phone was too close (back up until the whole page fits with margin), or Auto mode captured before the camera focused (switch to Manual and wait half a second after framing). Fix the lighting first — it solves most blur.
Can I turn a scan into an editable Word document?
Not with the built-in scanner alone — it produces image-based PDFs. But you have easy options: open the PDF in the Files app, and you can select and copy recognized text out of it directly. For full conversion to editable text, third-party scanner apps with OCR export to Word or plain text, and free online OCR tools handle occasional conversions. For a page or two, copying the recognized text out of the scan is fastest; for whole documents, a dedicated OCR app earns its keep.
Is there a limit to how many pages I can scan at once?
No hard limit in either the Notes or Files scanner — people routinely scan 50+ page documents. Practical limits apply: very long scans create large files, and the app can get sluggish past a hundred pages. For book-length jobs, scan in chapters (20–30 pages each) and combine the PDFs later. Your phone’s available storage is the real ceiling, so check you have room before starting a marathon session.