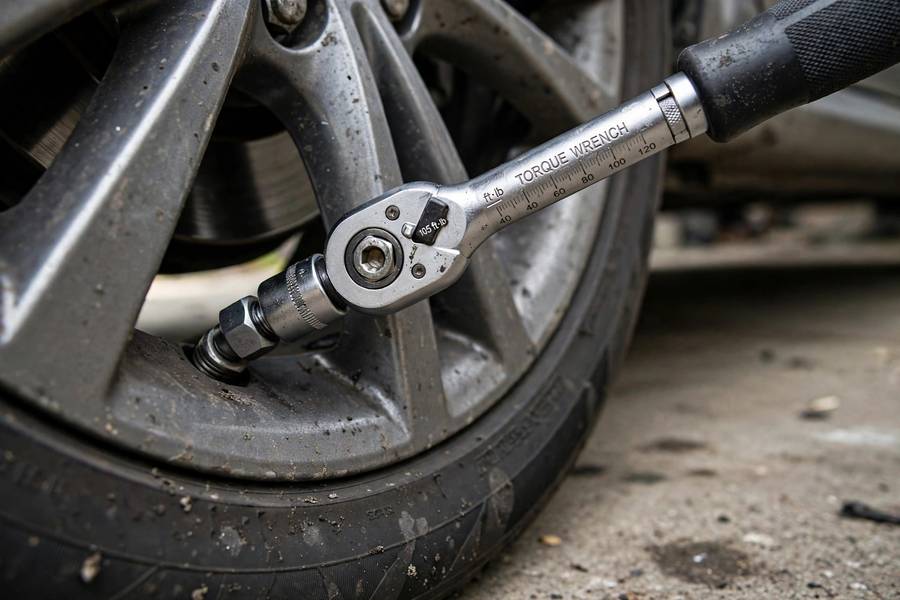
“Tight enough” is not a torque spec, though I’ve heard it said in shops that should know better. Lug nut tightness is one of those things that’s exactly right in a narrow window — too loose and the wheel can work itself free, too tight and you stretch studs, warp brake rotors, or make the nuts impossible to remove on the roadside. I’ve seen all of it. This guide gives you the actual numbers, explains why they matter, and shows you how to hit them without guessing. The broader tire-change process is at how to change a tire.
Table of Contents
- The Short Answer: Typical Torque Specs
- Why the Spec Matters (Not Just “Tight”)
- What Happens When They’re Too Loose
- What Happens When They’re Too Tight
- How to Torque Lug Nuts Properly
- The Star Pattern: Why and How
- Re-torquing: The Step Everyone Skips
- Torque Wrenches: What to Buy
- Frequently Asked Questions
The Short Answer: Typical Torque Specs
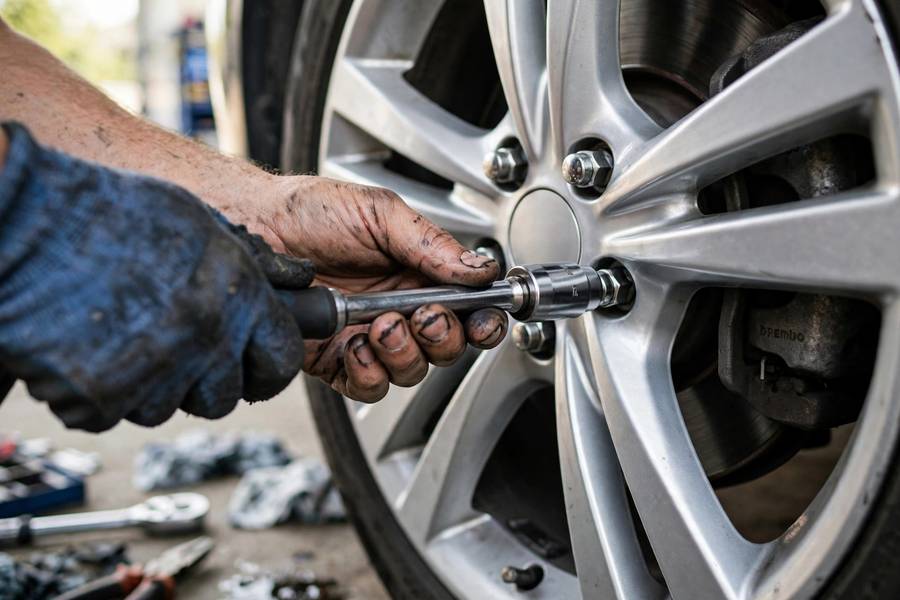
Your owner’s manual has the exact number for your car — that’s always the authority. But typical ranges by vehicle type:
- Compact and midsize cars: 80-100 ft-lbs (108-135 Nm)
- Larger sedans and small SUVs: 90-110 ft-lbs (122-149 Nm)
- Full-size trucks and large SUVs: 110-150 ft-lbs (149-203 Nm)
- Heavy-duty trucks: 140-165+ ft-lbs (190-224 Nm)
Common specific examples you’ll see quoted: many Hondas and Toyotas spec 80 ft-lbs; many Fords spec 100 ft-lbs; many full-size GM trucks spec 140 ft-lbs. But “common” isn’t “yours” — the manual wins every argument. It’s usually in the specifications or tire section, and it takes thirty seconds to look up.
One more note: specs assume clean, dry threads. Oil or anti-seize on the threads changes the friction, which changes what a given torque reading actually clamps. Unless your manual specifically calls for lubricant (some do), torque them dry.
Why the Spec Matters (Not Just “Tight”)
A lug nut’s job isn’t to be tight — it’s to create clamping force holding the wheel against the hub. Torque is just our measurable proxy for that clamping force. The engineers who designed your wheel assembly calculated exactly how much clamping force keeps the wheel seated under cornering loads, pothole impacts, and heat cycles — then converted that into a torque number you can measure.
Too little clamping force and the wheel micro-moves on the hub. Too much and you permanently deform the fastener. The spec is the sweet spot between those failures, and it’s narrower than most people think — which is why “good and tight” from a big impact wrench is how wheels get ruined in quick-lube shops.
Here’s what I tell every apprentice: the torque spec is the engineers talking to you directly. They did the math so you don’t have to. All you have to do is listen — with a torque wrench.
What Happens When They’re Too Loose
Under-torqued lug nuts are the scarier failure, because the consequences escalate:
- First: the wheel develops micro-movement on the hub. You might feel a faint vibration or hear a clicking on turns.
- Then: the movement hammers the studs and elongates the lug holes in the wheel. The nuts back off further — vibration loosens fasteners, which is a vicious cycle.
- Finally: in the worst case, the wheel separates from the vehicle at speed. I’ve seen the aftermath. It’s as bad as you’re imagining.
Warning signs of loose lug nuts: clicking or popping from a wheel (especially on turns), vibration that wasn’t there before, or — the obvious one — a wheel that visibly wobbles. If you suspect loose lugs, stop driving and check them. This isn’t a “get to it this weekend” situation.
The usual cause: someone hand-tightened and forgot the final torque, or a shop rushed the job. Which is why you always verify — even professional work. Trust, but torque-wrench.
What Happens When They’re Too Tight
Over-tightening is more common than under-tightening, because enthusiasm is easier than precision. The damage:
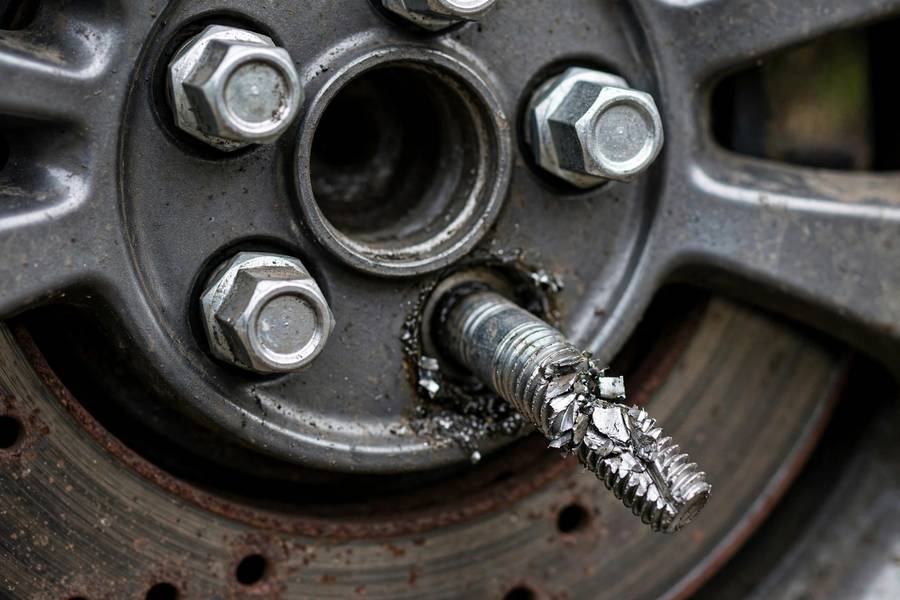
- Stretched studs. Wheel studs are designed to stretch slightly (that’s how clamping works), but over-torque stretches them past their elastic limit. They don’t spring back — they’re permanently weakened, and weakened studs snap. A snapped stud means the wheel is held by fewer fasteners, and the remaining ones are now overloaded.
- Warped brake rotors. Excessive, uneven clamping force distorts the rotor hat, which manifests as brake pulsation — that shudder in the pedal when you stop. I’ve diagnosed countless “warped rotors” that were really “gorilla-torqued lug nuts.”
- Cracked alloy wheels. Over-torque on aluminum wheels can crack the lug seats, especially with tapered-seat nuts. Expensive lesson.
- Seized nuts. Over-tightened nuts gall and seize, which means the next person to remove them — possibly you, on a dark roadside — can’t. The number one cause of “I couldn’t get the lug nuts off” is the last person putting them on too tight.
The irony: the person reefing on the wrench thinks they’re being safe. They’re manufacturing the next failure.
How to Torque Lug Nuts Properly
The procedure, step by step:
- Hand-thread first. Spin each nut on by hand several turns. If it binds early, back off — it’s cross-threading. Never power through resistance with a wrench.
- Snug in star pattern. With the wheel in the air (or just touching), snug all nuts in the star sequence — firm, but not final.
- Lower the car until the tire has enough weight on it to prevent spinning.
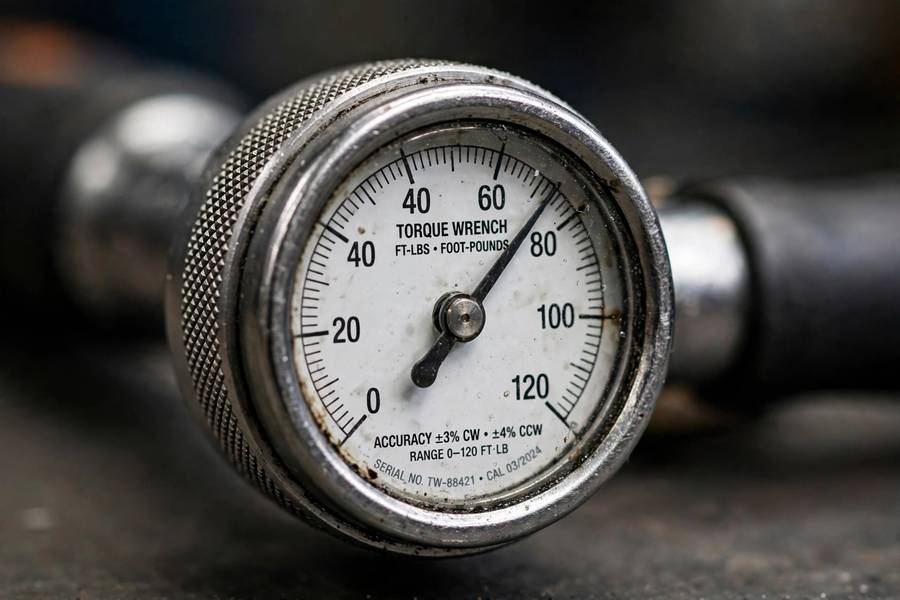
- Torque in star pattern to the spec. Set your torque wrench to the spec, and tighten each nut in star sequence until the wrench clicks (or signals, depending on type). One smooth pull per nut — don’t jerk it.
- Final pass. Go around once more in star pattern to confirm. The first nut sometimes settles as the others load up.
Key technique points: keep the torque wrench at 90 degrees to the nut (extensions and adapters change the effective torque — avoid them if you can); pull smoothly, don’t bounce; and never use the torque wrench to loosen — it’s a measuring instrument, not a breaker bar.
The wheels come off for more than tire changes — brake jobs need the exact same treatment — so while you’re learning the star pattern, it’s worth reading up on how brakes work too.
The Star Pattern: Why and How
The star (or crisscross) pattern exists for one reason: to seat the wheel flat against the hub. Tightening nuts in a circle pulls the wheel down unevenly — one side seats first, and the wheel cocks slightly. That misalignment causes vibration, uneven loading, and in bad cases, loosening.
For a 5-lug wheel: imagine the nuts numbered 1-5 clockwise. Tighten in order 1, 3, 5, 2, 4 — always jumping across the center. For 4-lug: 1, 3, 2, 4 (opposites). For 6-lug: 1, 4, 2, 5, 3, 6 — again, always across.
Draw it on paper once if the sequence confuses you — after doing it twice, it’s muscle memory. Every tire shop on earth uses this pattern; it’s not optional technique, it’s the procedure.
Re-torquing: The Step Everyone Skips
After any wheel installation — new tires, rotation, brake job, flat change — re-torque the lug nuts after 50-100 miles of driving. This is in every manufacturer’s guidance and almost nobody does it.
Why it matters: wheels settle. Heat cycles, initial seating, the microscopic conforming of metal to metal — all of it can reduce clamping force slightly in the first miles. A nut torqued perfectly in the shop can be measurably looser after a week of commuting. The re-torque catches that.
It takes five minutes with a torque wrench: loosen nothing, just check each nut in star pattern at the spec. If the wrench clicks immediately, it was fine. If a nut turns before clicking, it had loosened — and you’re glad you checked.
I re-torque my own vehicles religiously, and I’ve caught loose nuts often enough to never skip it. Make it a habit: wheel off, wheel on, drive a few days, re-torque. Put a reminder in your phone the day the work is done.
Torque Wrenches: What to Buy
You need one. Here’s the practical buying guide:
- Type: A click-type torque wrench is the standard — set the value, pull until it clicks. Beam-type is cheaper and can’t go out of calibration, but harder to read in tight spots. For lug nuts, click-type wins.
- Range: Get one covering 20-150 ft-lbs (or 30-200 Nm). That covers lug nuts plus most common fasteners. Don’t buy a tiny inch-pound wrench for this job.
- Drive size: 1/2-inch drive is the standard for lug nuts. Your sockets need to match.
- Price: A serviceable click-type wrench runs $30-60. This is not a tool to buy at the absolute bottom — accuracy matters — but you don’t need the $200 pro model for lug nuts.
- Care: Always return it to its lowest setting after use (relieves the internal spring), never use it as a breaker bar, and don’t drop it. A torque wrench is a measuring instrument that happens to look like a wrench — treat it like one.
Thirty to sixty dollars, used twice a year minimum, preventing thousand-dollar failures. Best value in the toolbox.
Frequently Asked Questions
Follow your owner’s manual — typical specs are 80-100 ft-lbs for cars, 90-110 for small SUVs, and 110-150+ for trucks. Always use a torque wrench and the star pattern; “as tight as possible” damages studs and rotors.
Over-tightening stretches wheel studs past their elastic limit (weakening them), warps brake rotors (causing pedal pulsation), can crack alloy wheels, and seizes nuts so they can’t be removed roadside.
Tighten lug nuts in a crisscross sequence jumping across the center (e.g., 1-3-5-2-4 on a 5-lug wheel) rather than in a circle. This seats the wheel evenly against the hub and prevents vibration and uneven loading.
Yes — re-torque after 50-100 miles of driving. Wheels settle during initial heat cycles, which can reduce clamping force. Checking takes five minutes and catches loosened nuts before they become dangerous.
For removal, yes. For final tightening, no — always finish with a torque wrench to spec. Impact wrenches routinely over-torque, stretching studs and warping rotors. Many shops use torque sticks as a compromise, but a hand torque wrench is the gold standard.