How to Remove Rust From Hand Tools: 5 Methods Compared

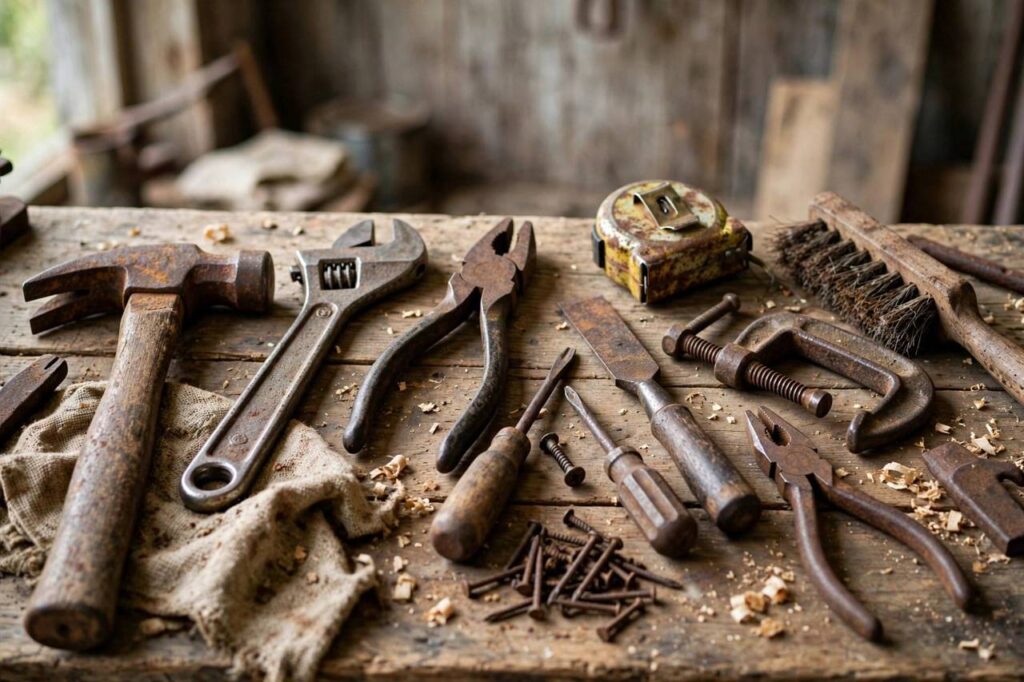
Open a toolbox that sat in a damp garage for a season and you will find it: the orange-brown bloom of rust creeping across wrenches, pliers, and screwdrivers. It looks like the end, but it rarely is. Learning how to remove rust from hand tools is one of the highest-value skills in home maintenance, because a twenty-minute cleaning session can save tools that would cost hundreds to replace.
I have restored everything from my grandfather’s wrenches to garden tools left out in the rain, and I can tell you there is no single best method. The right choice depends on how bad the rust is, how much time you have, and what the tool is worth. This guide compares five proven methods honestly, then covers prevention, because the best rust removal is the kind you never have to do.
First: Assess the Rust Before You Start
Not all rust is equal. Surface rust is a light orange dusting that wipes off with a cloth; it has not pitted the metal. Moderate rust is rougher, with visible texture and some pitting, but the tool’s shape and edges are intact. Severe rust means deep pitting, flaking, or frozen moving parts.
Surface and moderate rust are almost always worth fixing. Severe rust is a judgment call: a quality wrench with pitting is still a good wrench, but a precision tool with rusted measuring faces may never be accurate again. Check moving parts first. If pliers or adjustable wrenches still move after cleaning, they are fine. If cutting edges are deeply pitted, they may need professional sharpening or replacement.
How to Remove Rust From Hand Tools: 5 Methods Compared
Here is the honest comparison. Time estimates assume a typical hand tool like a wrench or hammer head.
| Method | Time | Cost | Best For |
|---|---|---|---|
| White vinegar soak | 4-12 hours (mostly waiting) | Pennies | Moderate rust on multiple tools at once |
| Baking soda paste | 30-60 minutes | Pennies | Light surface rust, spot treatment |
| Wire brush / steel wool | 10-30 minutes | A few dollars | Quick cleanup, loose rust |
| Commercial rust remover | 15-60 minutes | $8-15 | Severe rust, valuable tools |
| Electrolysis | 2-8 hours setup + run | $20-40 in parts | Heavily rusted antiques, no abrasion |
Method Details: When Each One Wins
White vinegar soak: the set-and-forget winner
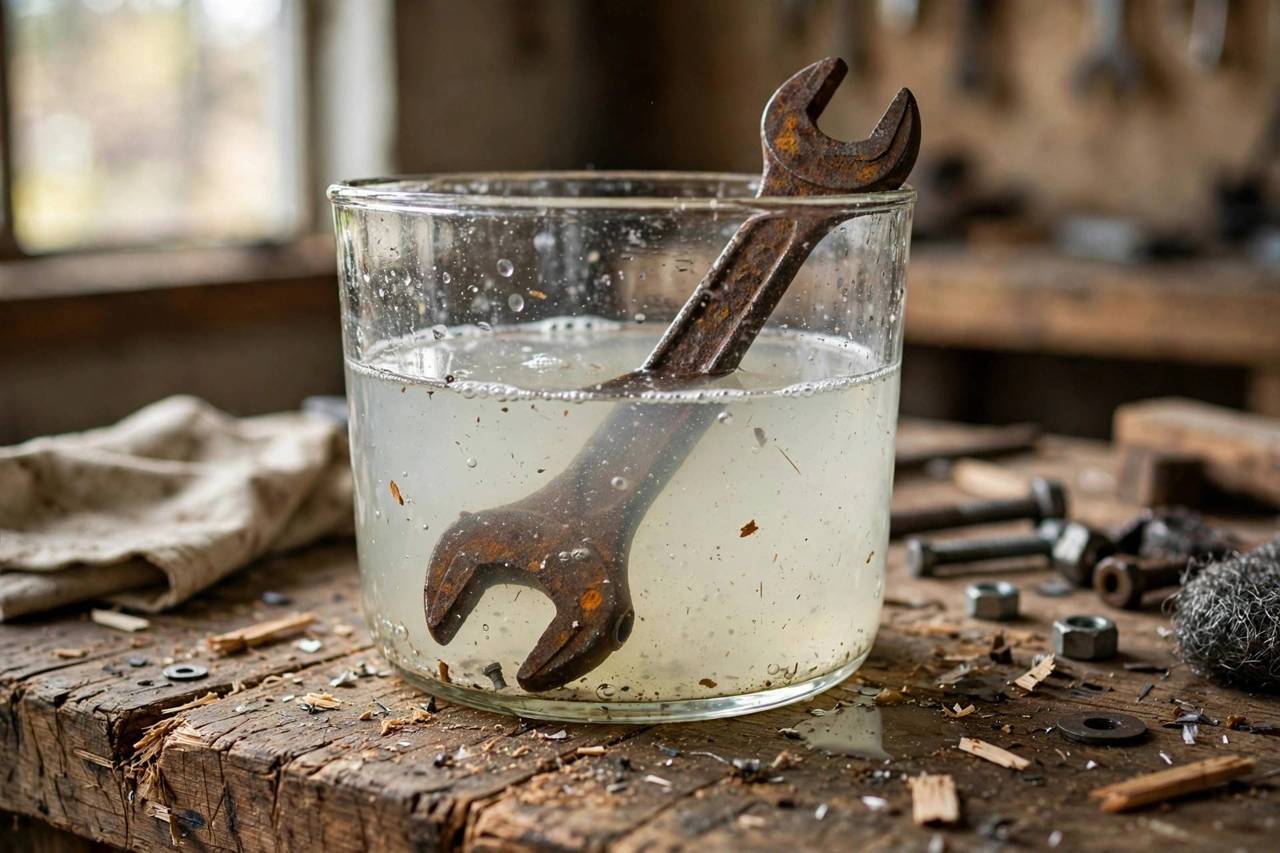
Submerge the tool in white vinegar for 4 to 12 hours. The acetic acid dissolves rust without much effort from you. After soaking, scrub with an old toothbrush, rinse, and dry immediately. This is my default for batches of tools because the hands-on time is under ten minutes. The catch: vinegar can darken some metals and will damage chrome plating with long soaks, so check chrome tools after a few hours, not overnight.
Baking soda paste: gentle and controlled
Mix baking soda with water into a thick paste, apply to rusted spots, and let it sit for an hour before scrubbing. It is mildly abrasive and alkaline, which makes it safe for tools you don’t want to soak. Best for light rust and for tools with wooden handles you want to keep dry.
Wire brush and steel wool: fast and physical
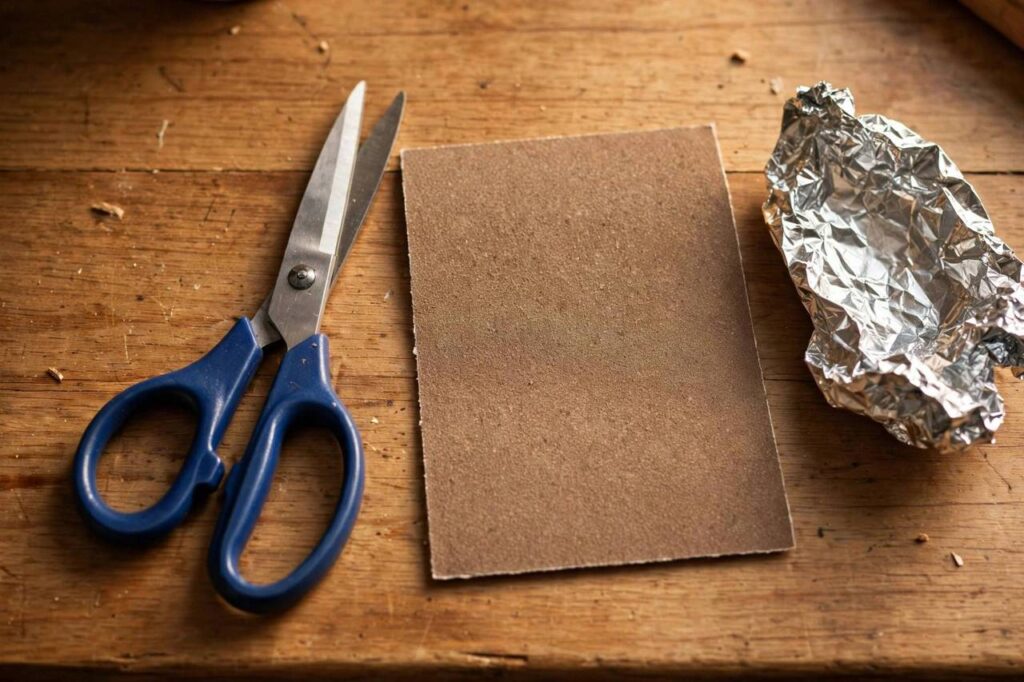
For loose surface rust, nothing beats mechanical removal. A brass or steel wire brush takes off flaking rust in minutes. Follow with fine steel wool for smoothing. Wear gloves and eye protection, because rust flakes and wire bristles fly. This method removes metal along with rust, so use a light touch on precision tools.
Commercial rust remover: for the valuable ones
Products based on phosphoric or oxalic acid are formulated to convert or dissolve rust without attacking sound metal. They cost more but are worth it for quality tools, because they are more predictable than DIY chemistry. Follow the label exactly, especially the rinse and neutralization steps, because residue left on the tool invites new rust.
Electrolysis: the restoration hobbyist’s choice
Electrolysis uses a low-voltage current in a washing-soda solution to lift rust without any abrasion, which makes it ideal for antique tools where preserving every detail matters. It requires a battery charger, a sacrificial steel electrode, and basic electrical safety sense. Overkill for a rusty hammer, perfect for a family heirloom plane.
After Rust Removal: Protect the Metal
Freshly cleaned metal rusts faster than metal that was never rusty, because cleaning exposes bare steel. The hour after rust removal matters more than the removal itself. Dry every tool completely, a heat gun or hair dryer on low works well for crevices, then apply protection.
For tools used regularly, a light wipe with camellia oil or 3-in-1 oil is enough. For tools going into storage, paste wax provides longer-lasting protection. Moving parts get a drop of penetrating oil worked back and forth. And anything with a wooden handle benefits from a light coat of boiled linseed oil, which seals out the moisture that starts the whole cycle.
Rust Prevention for Tool Storage
Prevention beats restoration every time. Store tools somewhere dry; a damp basement or uninsulated garage is where rust is born. Silica gel packs or a rechargeable dehumidifier in the toolbox absorb the moisture that condenses on metal overnight. A VCI (vapor corrosion inhibitor) emitter in a closed toolbox protects everything inside for months.
Small habits compound. Wipe tools down after use, especially after working outdoors or with anything wet. Never put a tool away damp. And if you live somewhere humid, an occasional light oiling of rarely used tools takes five minutes and prevents hours of restoration later. The same principle applies to car bodies, where unfixed scratches can turn into rust if moisture gets under the paint.
Protecting Tool Markings and Edges During Cleaning
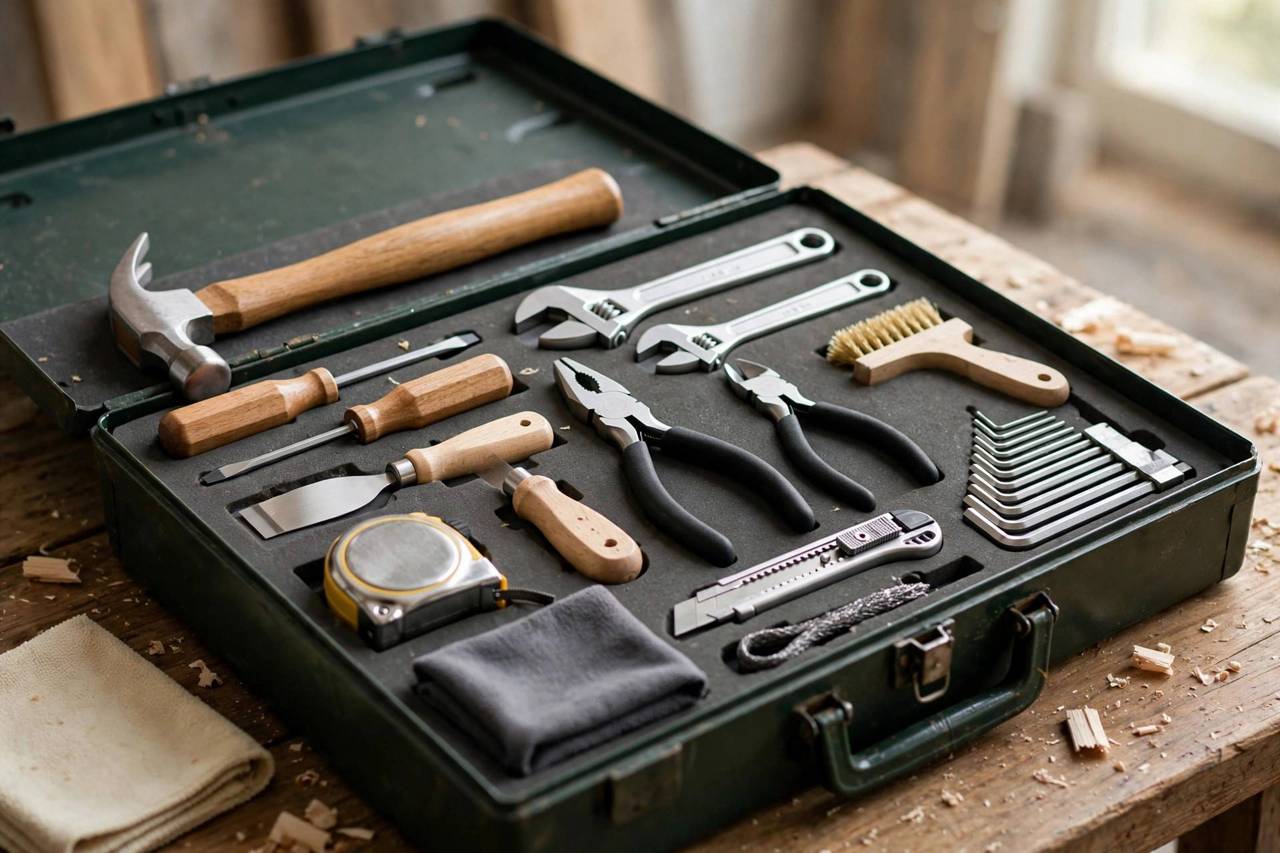
One thing the basic methods don’t tell you: aggressive rust removal can erase the markings that make a tool useful. Stamped size markings on wrenches, measurement lines on squares, and brand etchings all sit on the surface. Before wire-brushing or soaking, photograph the markings for reference, and mask etched areas with tape when using abrasives nearby.
Cutting edges need special care. Chisels, plane irons, and drill bits should have their rust removed without grinding the bevel. Soak methods like vinegar or commercial removers are safer for edges than wire wheels, which can overheat and soften tempered steel. After rust removal, cutting tools almost always need resharpening; consider that part of the restoration, not an extra chore.
When to Restore and When to Replace
Restoration makes sense when the tool is quality, the rust hasn’t compromised its function, and your time is worth less than replacement cost. A rusted premium wrench is absolutely worth an afternoon. A rusted bargain-bin screwdriver is not; replace it and spend the afternoon on something better.
The decision points: deep pitting on precision surfaces (measuring tools, calipers) usually means replacement, because accuracy can’t be restored. Frozen adjustments that won’t free with penetrating oil mean the tool’s working life is over. Structural thinning, where rust has eaten enough metal to weaken the tool, is a safety issue; retire it. Everything else is a candidate for the methods in this guide.
Restoring Rusty Garden Tools
Garden tools rust faster than workshop tools because they live outdoors and meet soil moisture daily, but they’re also more forgiving to restore since precision matters less. A shovel or hoe with surface rust just needs a wire brush followed by a wipe of linseed oil. For heavily rusted digging tools, the vinegar soak works, but honestly, thirty minutes with a wire brush and some oil usually suffices.
The real garden-tool trick is prevention at the point of use. Keep a bucket of sand mixed with a cup of vegetable oil in the shed; plunge tools in and out a few times after use. The sand scours off soil and the oil coats the metal. It takes twenty seconds and it’s the reason old-timers’ tools last decades. Wooden handles get the same linseed oil treatment as workshop tools, applied once a season.
Frequently Asked Questions
Does WD-40 remove rust?
WD-40 loosens light surface rust and is excellent for freeing rusted moving parts, but it is not a true rust remover for moderate or severe rust. Use it as a first step on stuck tools, then follow with one of the methods above for the actual rust.
Can you remove rust from chrome tools?
Light rust on chrome can be removed with aluminum foil dipped in water, which is gentler than steel wool and won’t scratch the plating. If the chrome itself is pitted through to the steel underneath, the rust will return, because the protective layer is gone.
How long should I soak tools in vinegar?
Four to twelve hours for most hand tools. Check progress at four hours. Leaving tools in vinegar for days can etch the metal and darken the finish, so longer is not better.
Is rust on tools dangerous?
Rust itself is not poisonous, but deeply rusted tools can have weakened structure and sharp flaking edges. The bigger risk is tetanus from cuts, so wear gloves, clean wounds promptly, and keep your tetanus vaccination current if you work with rusty metal.
Should I oil tools after every use?
Not after every use, but wipe them dry after every use and oil them before storage if they won’t be used for a while. Tools used daily in dry conditions need oiling far less often than tools stored in a humid garage.
Can rust spread from one tool to another?
Rust itself doesn’t spread like a disease, but the conditions that caused it affect everything in the same damp toolbox. If one tool is rusty, inspect them all and fix the storage moisture problem to protect the rest.
How do I remove rust from tools with wooden handles?
Protect the wood from soaking: use paste or brush methods on the metal parts rather than submerging the whole tool. Mask the handle with tape and plastic wrap if using liquid removers. Afterward, treat the wood with boiled linseed oil to seal it against future moisture.
The Bottom Line
Vinegar soaks handle most jobs with minimal effort, baking soda and wire brushes cover quick cleanups, commercial removers earn their price on valuable tools, and electrolysis rescues antiques. Clean, dry, oil, and store dry, and you will rarely need any of these methods twice on the same tool.