
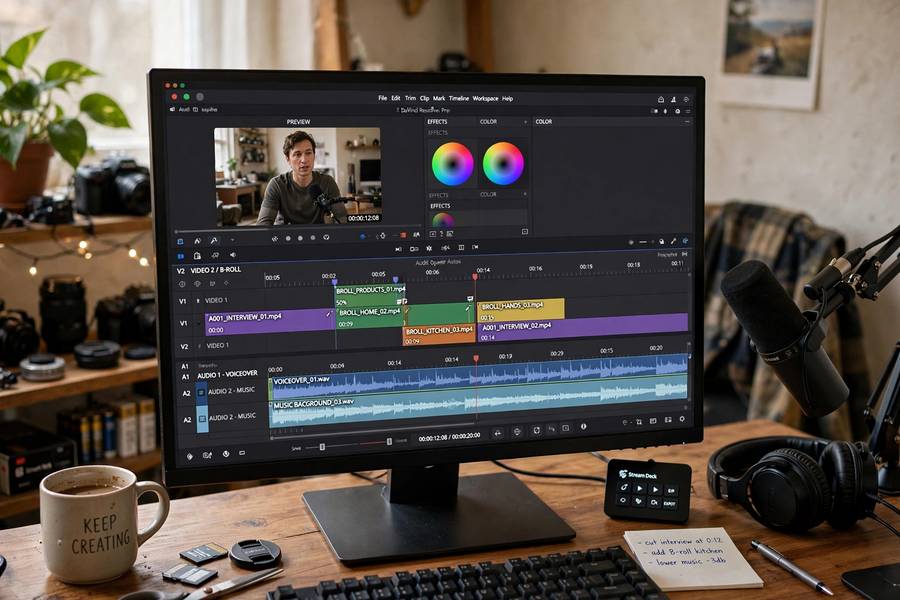
Your acting reel is the hardest-working employee you’ll ever have. It auditions while you sleep, it introduces you to casting directors you’ll never meet, and it makes its case in about ninety seconds. I’ve watched casting directors scroll through dozens of these in a sitting, and the difference between the ones that get a callback and the ones that get skipped is not talent — it’s construction. Here’s how to make an acting reel that does its job: what goes in, what stays out, and how the people watching it actually think.
Table of Contents
- How to Make an Acting Reel That Works
- What a Reel Is (and What It Isn’t)
- The Golden Rules of Reel Editing
- Where to Get Footage When You’re Starting Out
- Shooting Scenes From Scratch
- The Technical Specs That Actually Matter
- What Casting Directors Really Think
- Frequently Asked Questions

How to Make an Acting Reel That Works
Start with the viewer’s reality: a casting director opens your reel with a specific role in mind and about ninety seconds of attention. They’re not watching a short film. They’re scanning for evidence — can this person act on camera, do they fit the type, is there a moment that makes me keep watching?
So the reel’s job is brutally simple: prove you’re castable, fast. Everything about how to make an acting reel flows from that. The best reels feel effortless — a minute or two of you, being compelling, in situations that look like real productions. The worst feel like homework: long, unfocused, technically shoddy, opening with a title card that eats ten seconds of your ninety.
Here’s the mindset shift that fixes most bad reels: you’re not making a demo of your range. You’re making an argument. The argument is “cast me.” Every clip either advances that argument or dilutes it. Be ruthless. A reel with two killer minutes beats a reel with six uneven minutes every single time — because nobody watches the six minutes.
Length target: 60–90 seconds for beginners, up to two minutes max for experienced actors with real credits. If you’re debating whether to include a clip, the answer is no. The reel should leave them wanting more, not checking the timestamp.
What a Reel Is (and What It Isn’t)
Definitions first, because the terminology gets sloppy:
A demo reel / acting reel is a short compilation of your on-camera acting work — clips from films, TV, web series, or self-produced scenes, edited together to show what you do. This is the standard industry tool, and it’s what this guide covers.
It isn’t a montage. The music-video-style supercut — you laughing, you crying, you running, set to inspirational music — tells casting directors nothing. They need scenes, with dialogue, in context. A montage is a trailer for a movie that doesn’t exist.
It isn’t a short film. Your reel is not the place to showcase the twelve-minute short you starred in. Pull the best 20–30 seconds from it. The short film has its own life at festivals; the reel has a different job.
It isn’t your life story. No childhood photos, no “journey” narration, no title cards explaining your artistic philosophy. The reel starts with you, acting, immediately. Your name appears briefly — a lower-third or a simple card, three seconds max — and then it’s scenes.
The Golden Rules of Reel Editing
These are the rules working editors and actors swear by. Break them at your peril:
1. Lead with your best. The first clip is the only one guaranteed to be watched. Open with the moment that makes someone stop scrolling — your strongest scene, your most compelling ten seconds. Chronological order is irrelevant. Impact order is everything.
2. Front-load the face. Casting directors want to see you — your eyes, your reactions, your presence. Open on a close or medium shot of your face, not a wide establishing shot of a location. If they can’t see you acting in the first five seconds, you’ve lost them.
3. Scenes, not snippets. Each clip should be a mini-scene with a beginning, middle, and end — 15 to 30 seconds that shows you listening, reacting, and driving a moment. Rapid-fire two-second cuts look dynamic and prove nothing.
4. Show range, but stay coherent. Two to three contrasting clips is the sweet spot — dramatic, comedic, different energy. But they should all feel like you. A reel that veers from Shakespeare to slapstick to horror reads as unfocused, not versatile.
5. Match the market. Your reel should look like the work you want to book. Targeting TV procedurals? Your clips should feel like TV procedurals. Chasing indie films? Indie energy. The reel is a promise about what you’ll deliver on set.
6. Cut ruthlessly. Every actor wants to include the scene they loved shooting. If it’s not your best work, it’s hurting you. Get a second opinion from someone who’ll be honest — a teacher, a working actor, an editor. Kill your darlings.
7. End clean. No blooper outtakes, no “thanks for watching,” no lingering. Last strong moment, brief contact card, done. Leave them with the performance, not the packaging.
8. Update it. A reel is a living document. New better footage replaces old footage, always. The reel you made two years ago is a historical artifact; casting directors want to see who you are now.
Where to Get Footage When You’re Starting Out
The classic beginner’s dilemma: you need a reel to get work, and you need work to get a reel. Here’s how people actually solve it:
Student films. Film schools are reel factories. The production value varies, but the best student projects look genuinely professional — and the directors are tomorrow’s filmmakers. Do good work, stay in touch, get the footage. Always confirm in writing that you’ll receive usable clips.
Indie shorts and web series. Low-budget productions need actors; you need footage. It’s a fair trade. Vet the project first — a reel clip from something that looks terrible hurts more than no clip at all. Ask to see the director’s previous work before committing.
48-hour film festivals and competitions. These chaotic weekend shoots produce surprisingly usable footage — high energy, real crews, compressed timelines. The constraints often force everyone to their best work.
Class scene work, shot properly. Many acting classes now offer on-camera scene shoots as part of the curriculum — professionally lit, properly shot scenes designed for reels. If your class doesn’t, ask. It’s a reasonable expectation.
Shooting Scenes From Scratch
No usable footage yet? Shoot your own. This is more normal than beginners think — and when done well, it’s indistinguishable from professional clips:
Pick the right scenes. Choose 2–3 short scenes (1–2 pages each) from produced film or TV scripts — not originals. Casting directors recognize professional writing, and it signals taste. Pick scenes that fit your type and the work you’re targeting. Avoid the overdone monologues everyone’s seen; find the scene that’s perfect for you.
Cast a scene partner. Your reel is only as good as the person across from you. Find the best actor you know — ideally someone slightly better than you, who’ll pull your performance up. A weak scene partner tanks the clip no matter how good you are.
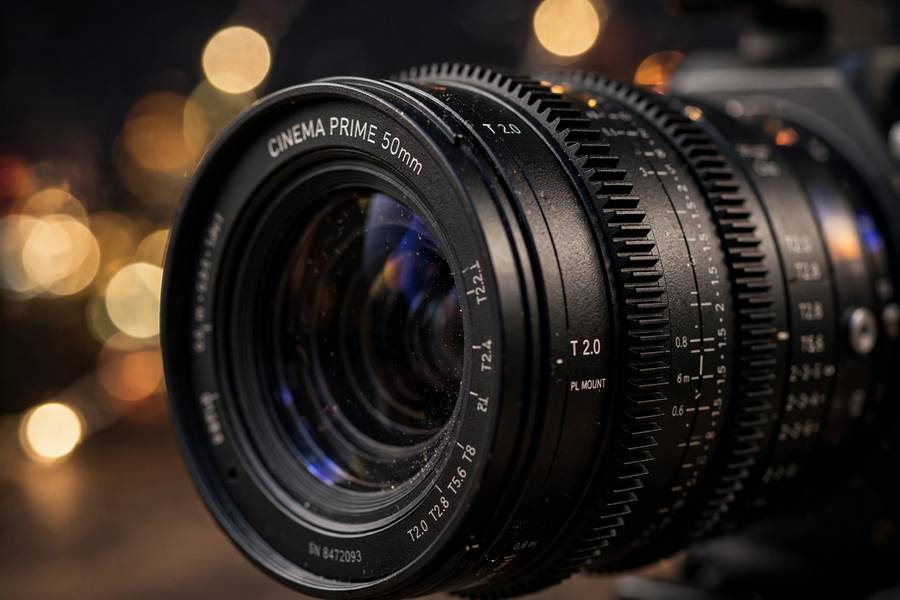
Hire the crew properly. This is where self-produced reels live or die. You need: a competent DP with a real camera (not a phone — the image quality gap is visible), clean audio (a boom operator or lav mics; bad sound kills more reels than bad acting), and decent lighting. Budget $500–$2,000 for a half-day shoot, depending on your market. It’s the best money a beginner can spend.
Direct it simply. The goal is footage that looks like it came from a real production — which means invisible technique. Clean coverage, natural lighting, no flashy camera moves. Let the acting carry it. If viewers notice the directing, something’s wrong.
The standard these self-produced scenes must meet: a casting director shouldn’t be able to tell it’s self-produced. If they can, it’s not ready. Some of the best filmmaking tips for micro-budgets apply directly here — sound first, lighting second, camera third.
The Technical Specs That Actually Matter
The unglamorous part — and the part that silently disqualifies reels every day:
Resolution and format. 1080p minimum, 4K if you have it. H.264 MP4 is the universal safe format.
Sound. Clean, consistent dialogue audio across all clips. Normalize levels so the viewer isn’t adjusting volume between scenes. No music beds under dialogue scenes — ever. If a clip’s audio is unusable, the clip is unusable, no matter how good the performance.
What Casting Directors Really Think
I’ve asked casting directors what they actually do with reels. The honest answers:
“I watch ten seconds.” Not ninety. Ten. If those ten seconds don’t hook them, they move on. This isn’t cruelty — it’s volume. A busy casting director might review a hundred reels for one role. Your reel’s opening is the entire audition.
“I’m looking for reasons to say yes, but I find reasons to say no faster.” Bad audio, a sloppy opening, footage that looks amateur — these are instant passes. The bar isn’t “brilliant.” The bar is “professional enough that I keep watching.”
“Update your reel or I’ll assume you quit.” A reel from three years ago with no new material reads as a stalled career. Even working actors refresh theirs. The reel is a signal of momentum — or its absence.
“The best reel I ever saw was 45 seconds.” Brevity with confidence. One actor, two scenes, undeniable. That’s the target. Everything else is scaffolding around that idea.
The meta-lesson: casting directors aren’t film critics. They’re not evaluating your art; they’re solving a hiring problem. Your reel is a job application. Make it easy to say yes — which, in the end, is what how talent agents work comes down to as well: the entire industry is a machine for making “yes” easy and “no” fast. Build your reel accordingly.

Frequently Asked Questions
Shoot your own scenes: pick 2-3 short scenes from produced scripts, cast a strong scene partner, hire a competent DP and sound person, and edit professionally. Done well, self-produced footage is indistinguishable from professional clips.
60-90 seconds for beginners, up to two minutes maximum for experienced actors. Casting directors often decide in the first ten seconds, so lead with your strongest moment and cut everything that isn’t your best work.
No montages set to music, no title cards explaining your philosophy, no bloopers, no background/extra work, no clips with bad audio, and nothing longer than it needs to be. Every clip must show you acting in a real scene.
Vimeo is the industry standard — clean player, no ads, embeddable. Use a clear title with your name and “Acting Reel,” a thumbnail showing your face mid-performance, and an end card with contact information.
Yes — student films are one of the best reel sources for beginners. Always confirm in writing that you’ll receive high-resolution clips, and only use footage that looks professional; a bad-looking clip hurts more than no clip.
Whenever you have better footage — new strong material should immediately replace weaker clips. A reel older than two years with no updates signals a stalled career to casting directors, so treat it as a living document.