How to Clean a Burnt Pan Bottom Without Ruining the Pan

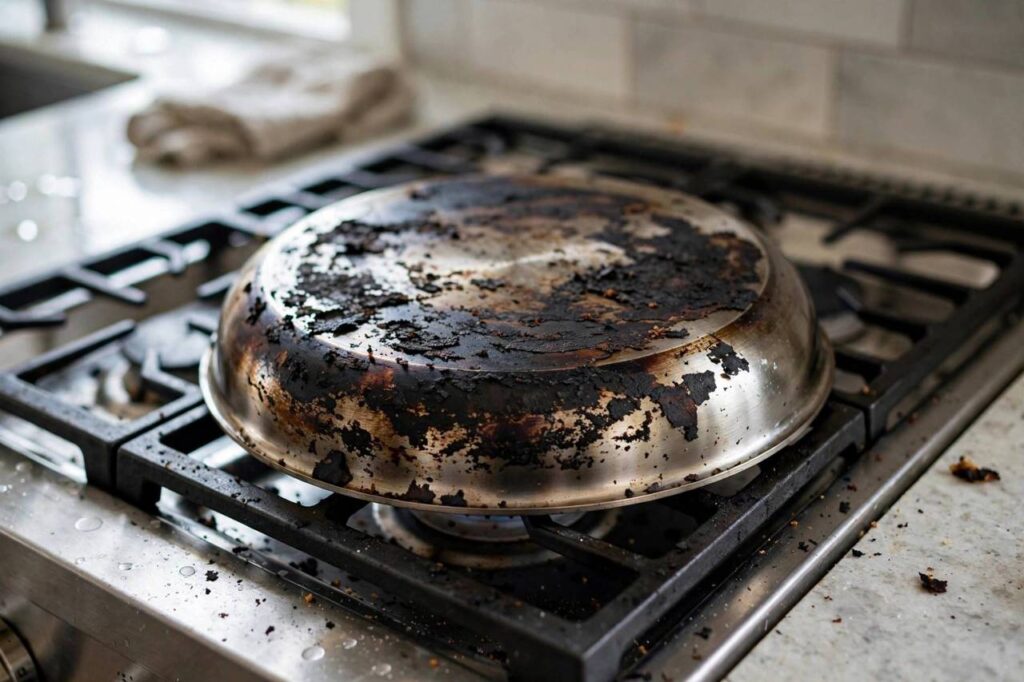
Every cook has that moment: you walk away from the stove for “just a minute,” and come back to a pan with a black, crusty bottom that looks like it belongs in a landfill. Before you reach for the harshest cleaner in the cabinet, take a breath. How to clean a burnt pan bottom depends entirely on what the pan is made of, because the method that saves a stainless steel skillet will destroy a nonstick one.
I have rescued dozens of scorched pans in my own kitchen, and the difference between success and a ruined pan is always the same: match the method to the material. This guide walks through stainless steel, nonstick, cast iron, and copper separately, with exactly what to do and the mistakes that turn a cleaning job into a replacement purchase.
How to Clean a Burnt Pan Bottom: Stainless Steel Method
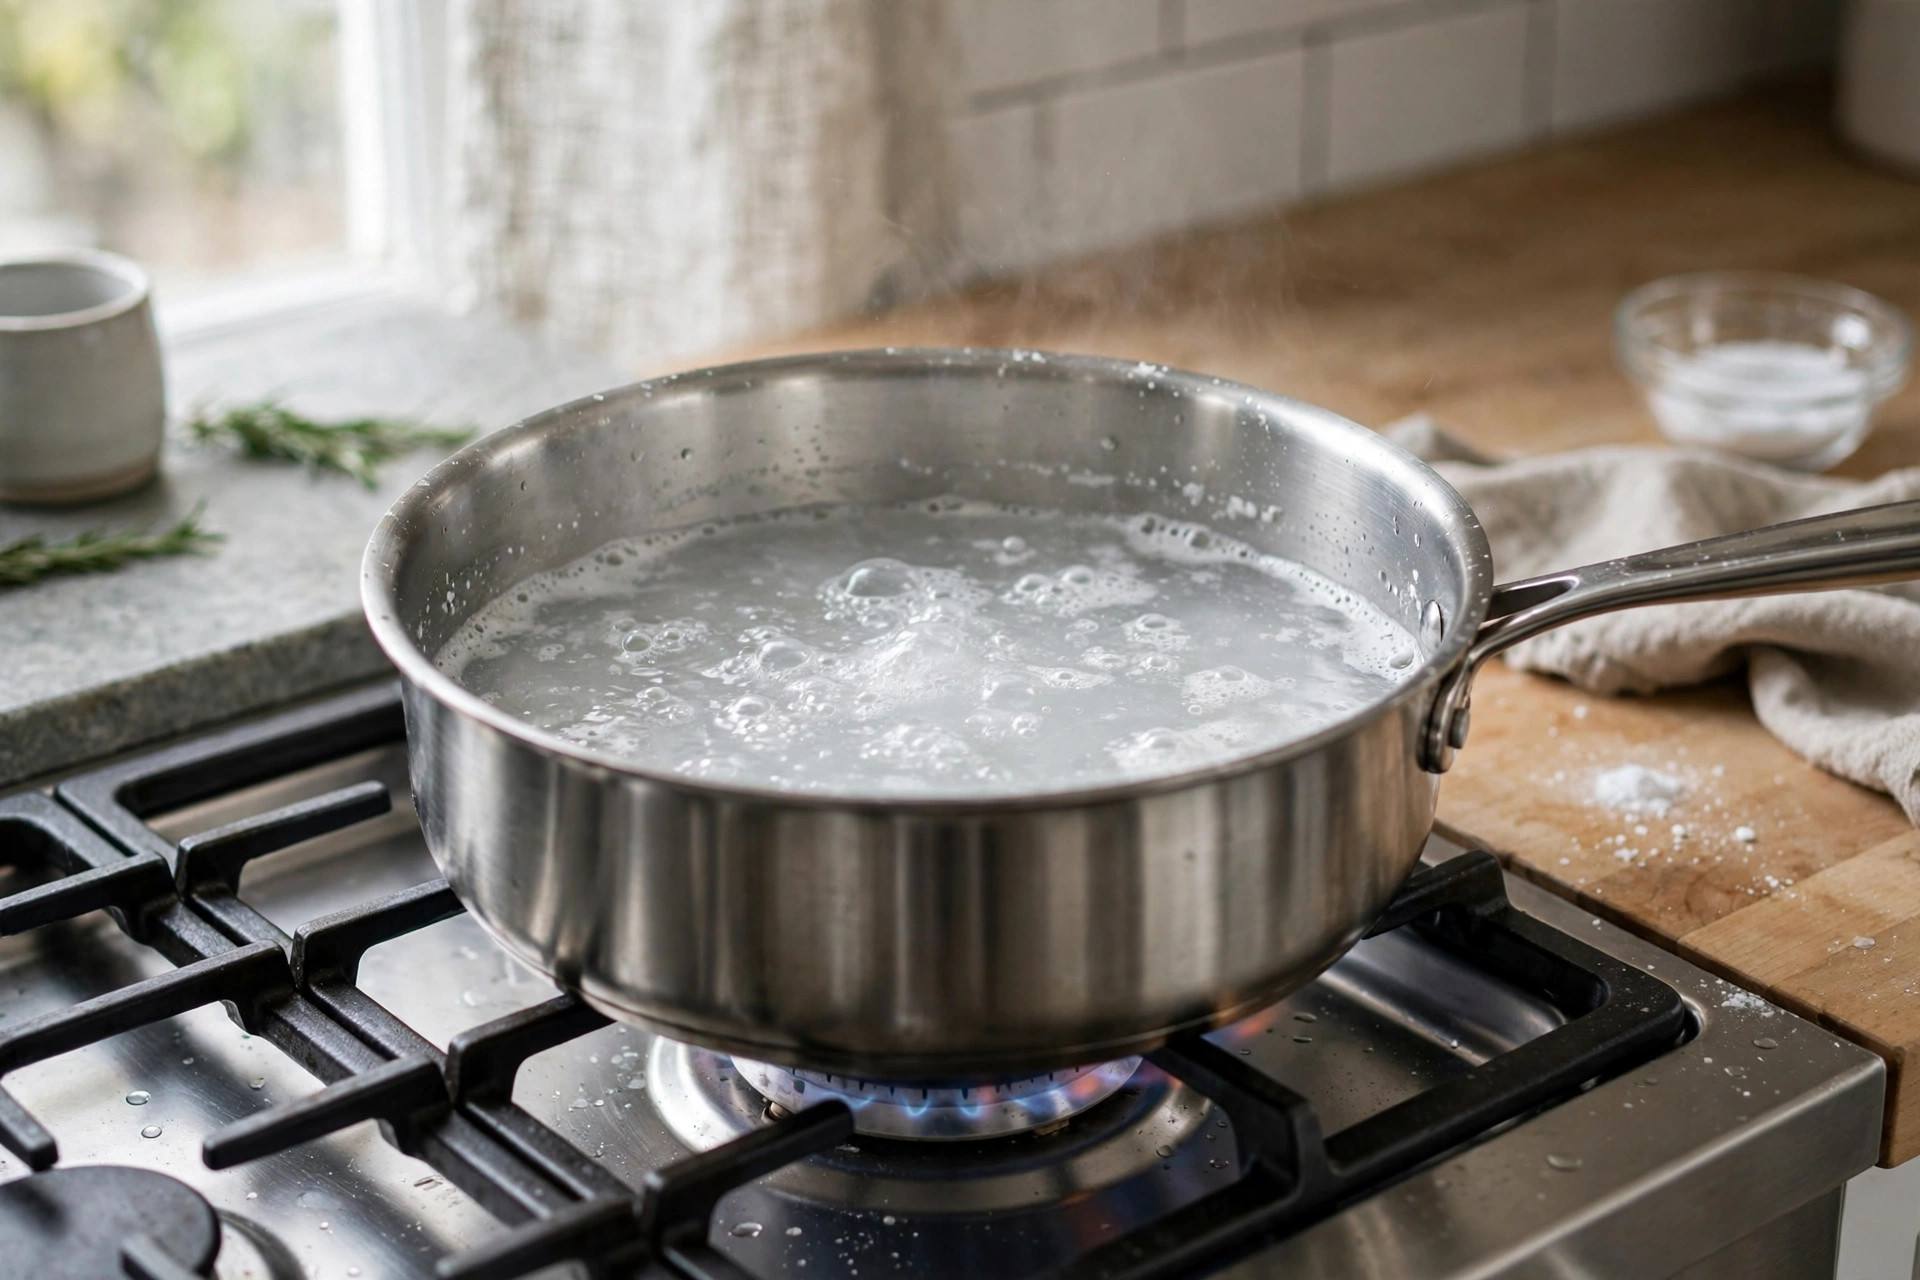
Stainless steel can take the most aggressive cleaning, which is good news because it also shows burns the most. Start by filling the pan with water, adding two tablespoons of baking soda, and simmering for 10 to 15 minutes. The heat and the alkaline solution loosen carbonized food remarkably well. Let it cool, then scrub with a non-scratch pad.
For stubborn blackening that survives the simmer, make a paste of baking soda and hydrogen peroxide, spread it over the burnt area, and let it sit for 30 minutes before scrubbing. This combination lifts discoloration that looks permanent. As a last resort, a dedicated stainless cleaner like Bar Keepers Friend restores the finish, but always scrub with the grain of the steel and rinse thoroughly.
The one thing to avoid on stainless is bleach, which can pit the surface, and oven cleaner, which is overkill that risks damaging handles and rivets. Patience and baking soda outperform harsh chemicals here.
Nonstick: Gentle or Gone
Nonstick is the material where most people destroy their pans. The coating that makes eggs slide is thin and delicate, and once it is scratched or overheated, the pan is done. Never use abrasive scrubbers, metal utensils, baking soda paste scrubbed hard, or oven cleaner on nonstick.
The safe method: fill the pan with warm water, add a drop of dish soap, and let it soak for an hour. Then wipe with a soft sponge. For burnt-on residue, simmer a solution of water with two tablespoons of baking soda for five minutes, let it cool, and wipe gently. The simmer does the work so your sponge doesn’t have to.
Be honest with yourself about the damage. If the burnt food came off but the coating underneath is discolored, flaking, or peeling, the pan is finished. Continuing to cook on damaged nonstick is not worth it. Replace it, and next time keep the heat at medium or below, because nonstick coatings degrade above high heat even without burning food.
Cast Iron: Salt, Heat, and Reseasoning
Burnt food on cast iron looks catastrophic but is usually the easiest fix of all. The classic method: pour a generous handful of coarse salt into the warm (not hot) pan and scrub with a folded paper towel or a stiff brush. The salt acts as an abrasive that won’t harm the seasoning the way soap and steel wool will.
For truly carbonized messes, boil water in the pan for a few minutes to loosen the burnt layer, then scrub with salt. Dry the pan immediately and completely on low heat, because cast iron rusts fast when left wet. Then rub in a thin layer of cooking oil while the pan is still warm to restore the seasoning.
The big mistake with cast iron is soaking it. Never leave cast iron sitting in water, and never run it through the dishwasher. A short boil is fine; an overnight soak invites rust that takes real work to remove. Treat the seasoning like the valuable nonstick surface it is.
Copper: Pretty but Demanding
Copper pans burn food fast because they conduct heat so efficiently, and burnt residue on copper needs a gentle touch to protect the finish. Soak in warm soapy water first, then use a paste of lemon juice and salt, or a dedicated copper cleaner, applied with a soft cloth.
Scrub in the direction of the existing finish lines, never in circles, and avoid anything abrasive. Copper is a soft metal; steel wool leaves permanent scratches that no polish will fix. After cleaning, dry immediately to prevent water spots, which show on copper more than any other material.
If your copper pan has a stainless or tin lining, clean the interior according to the lining material, not the copper exterior. Most burnt food sits on the lining, so the stainless method usually applies inside.
Mistakes That Ruin Pans
Across all materials, a few errors cause most of the damage. Plunging a hot pan into cold water can warp it permanently through thermal shock; always let pans cool for a few minutes first. Using metal utensils or abrasive pads on nonstick and coated surfaces destroys the coating in seconds. And the dishwasher, while convenient, is brutal on cast iron seasoning, copper finishes, and the handles of many pans.
The other common mistake is giving up too early and reaching for oven cleaner. It works, but it is designed for oven interiors, not cookware, and it can damage finishes, handles, and nonstick coatings. The slower methods in this guide take more time but leave you with a pan you can keep using.

Cleaning the Outside Bottom of the Pan
So far we’ve covered burnt food inside the pan, but the outside bottom gets its own kind of blackened buildup from gas flames and spills. For stainless exteriors, the baking-soda simmer works from the outside too: place the pan in a larger pot or the sink with hot water and baking soda, and let it soak. A paste of baking soda applied to the exterior, left for an hour, then scrubbed with a non-scratch pad, handles most flame discoloration.
For nonstick exteriors, stay gentle: hot soapy soak and a soft sponge only. Cast iron exteriors can take the salt scrub. Whatever the material, never use oven cleaner on the outside of a pan with a nonstick interior; the fumes and residue aren’t worth the risk near a cooking surface.
Restoring Shine After the Burn
Once the burnt food is gone, you may be left with rainbow discoloration (on stainless) or a dull finish. The rainbow effect is heat tint, a harmless oxidation layer. A splash of white vinegar wiped over the warm pan usually removes it. For a full shine restoration on stainless, a dedicated stainless steel cleaner applied with the grain brings back the original luster.
On copper, a paste of lemon juice and salt or a commercial copper polish restores the gleam, but accept that copper develops a patina with use. Chasing a mirror finish on a working copper pan is a losing battle; clean is the goal, showroom-new is a bonus.
Burnt Sugar and Caramel: The Stickiest Case
Burnt sugar is the final boss of pan cleaning because it bonds to the pan like glue as it cools. The counterintuitive fix: don’t let it cool. Fill the pan with hot water immediately while it’s still warm (not screaming hot, to avoid thermal shock) and let it soak. Sugar dissolves in water; the only enemy is letting it harden first.
If it already hardened, simmer water in the pan for ten to fifteen minutes. The sustained heat redissolves even rock-hard caramel. For sugar burnt black onto stainless, follow the simmer with the baking soda paste method. And learn the lesson burnt sugar teaches every cook once: never walk away from caramelizing sugar. It goes from perfect to ruined in under a minute.
Frequently Asked Questions
Can a badly burnt pan be saved?
Usually yes, unless the damage is to a coating. Burnt food on stainless steel, cast iron, and copper almost always cleans off. On nonstick, if the coating itself is scorched or peeling, the pan cannot be saved and should be replaced.
Is it safe to cook in a pan after using baking soda to clean it?
Yes, as long as you rinse thoroughly. Baking soda is food-safe and rinses away completely. The same applies to salt and vinegar methods. Just make sure no cleaning residue remains before cooking.
Why does food burn on the bottom of my pan?
The usual causes are heat that is too high, too little fat or liquid, and walking away at the wrong moment. Thin pans with hot spots burn food faster than heavy, even-heating pans. Lower heat and staying nearby prevent most burning.
Can I use vinegar on a burnt pan?
Vinegar helps on stainless steel and can be simmered with water to loosen residue. Avoid long vinegar soaks on cast iron, which can strip seasoning, and on aluminum, which can discolor. Always dilute and rinse.
How do I prevent pans from burning in the future?
Preheat properly, use enough fat, keep heat moderate rather than maximum, and deglaze promptly. Matching the burner size to the pan also prevents hot spots that scorch food around the edges.
Can I put a burnt pan in the dishwasher to clean it?
The dishwasher won’t remove burnt-on food effectively and can damage cast iron seasoning and copper finishes. Hand-clean using the material-specific methods above, then use the dishwasher only for normal washing afterward if the pan is dishwasher-safe.
Is black residue on pans harmful to health?
Burnt food residue (carbonized bits) isn’t acutely toxic in normal cooking amounts, but heavily charred food regularly consumed isn’t great either. The practical answer: clean it off because it affects flavor and can harbor rancid oils, not because of a poisoning risk.
How do I clean a burnt pan bottom with oven cleaner safely?
I don’t recommend it for cookware. Oven cleaner is formulated for oven interiors and can damage pan finishes, handles, and nonstick coatings, besides leaving residues you don’t want near food. The baking soda simmer and paste methods in this guide achieve the same result without the risk.
The Bottom Line
Stainless steel takes simmering and scrubbing, nonstick needs gentleness, cast iron wants salt and reseasoning, and copper demands a soft touch. Match the method to the material, avoid thermal shock and harsh abrasives, and that burnt pan will cook again.