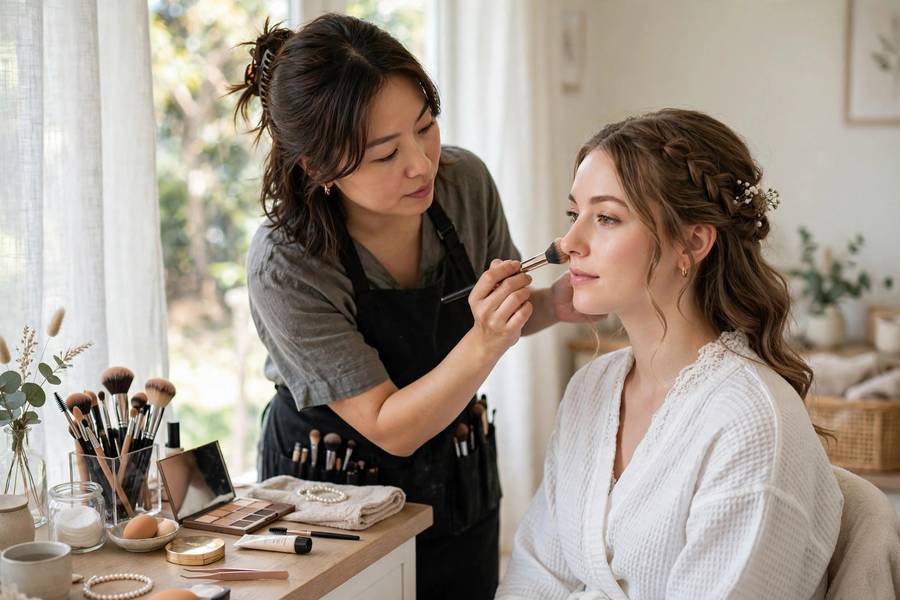
Your wedding makeup has the hardest job of any makeup you’ll ever wear. It needs to look flawless in person and in 4K video, survive happy tears and an August heatwave, last fourteen hours, and still look like you — just the most radiant version.
I’ve watched hundreds of brides get ready, and the ones who look incredible at midnight aren’t the ones who wore the most makeup. They’re the ones who followed the fundamentals. Here they are.
Table of Contents
- Start With Skin (Months Before)
- The Trial: Non-Negotiable
- The Long-Wear System
- Eyes: The Emotional Center
- Lips That Last
- Photography Considerations
- The Touch-Up Kit
- DIY vs. Professional
Start With Skin (Months Before)
Great wedding makeup starts months before the wedding, with skin.
For a deeper dive, see our guide to planning a wedding in 6 months.
- 3–6 months out: Establish a consistent routine — gentle cleanser, moisturizer, sunscreen daily. Don’t overhaul everything at once; introduce one product at a time.
- No experiments in the final month. No new peels, no new retinoids, no first-time facials within 2–3 weeks of the wedding. Reactions happen, and you don’t want to meet yours now.
- Hydrate and sleep. Boring, free, and more effective than any primer. The week before the wedding, prioritize both.
- The week of: A gentle exfoliation 2–3 days before (not the day before), a hydrating mask, and absolutely no picking.
If you’re working with a facialist, tell them the wedding date at the first appointment so they can plan the treatment calendar.
The Trial: Non-Negotiable
Book a full trial 6–8 weeks before the wedding. This is not optional — it’s the single highest-value beauty appointment in wedding planning.
How to make the trial work:
– Bring references — 3–5 photos of looks you love, and 1–2 of what you don’t. “Natural but polished” means different things to different artists; photos align you.
– Wear white or ivory to the trial. Makeup reads differently against white than against your everyday clothes.
– Schedule something after. Go to dinner, take photos in different lighting, and see how it wears over 6+ hours. The trial isn’t just about the look — it’s about the longevity test.
– Speak up in the moment. “That’s more blush than I’d wear” is easy to fix during the trial and awkward to regret later. A good artist wants the feedback.
– Photograph it in natural light, indoor light, and flash. What looks perfect in the studio mirror can read differently on camera.
Red flags: An artist who dismisses your references, won’t adjust, or insists you need far more (or less) than you’re comfortable with. This is a collaboration.
The Long-Wear System
Fourteen-hour makeup isn’t about one magic product — it’s about layering, in order:
- Prep: Clean, moisturized skin. Let moisturizer absorb fully (10+ minutes) before makeup.
- Primer: A gripping primer on the T-zone and anywhere makeup fades first. Eye primer on lids is non-negotiable — it prevents creasing for hours.
- Foundation: Long-wear formulas, applied in thin layers. Two thin layers outlast one thick one, every time. Set the T-zone lightly with translucent powder — heavy powder ages you in photos.
- Cream before powder: Cream blush and contour under a light powder set last longer than powder alone.
- Setting spray: The final seal. A good setting spray genuinely extends wear by hours — it’s the closest thing to a magic product in this list.
The blush rule: Apply slightly more color than feels natural. Camera and distance eat about 30% of your blush and lip color. Your artist knows this; trust the trial photos over the mirror.
Eyes: The Emotional Center
You’ll cry. Plan for it.
- Waterproof everything: Mascara, eyeliner — waterproof, no exceptions. Test your waterproof mascara for a full day before the wedding; some formulas flake.
- Lash strategy: Individual or strip lashes photograph beautifully and survive tears better than mascara alone. If you’ve never worn them, try them at the trial — and consider a lash trial run on a normal day first.
- Eyeshadow: Matte or satin finishes photograph better than heavy glitter (which can read as texture issues in HD). A little shimmer on the lid center is lovely; disco-ball is not.
- Brows: Define them — brows frame the face in photos. But don’t go dramatically darker than natural; the camera amplifies contrast.
Lips That Last
You’ll eat, drink, and kiss — plan accordingly:
- Long-wear lip color or stain as the base, with a matching bullet lipstick for touch-ups.
- Lip liner in a matching shade prevents feathering and extends wear dramatically. Fill the whole lip with liner under color for maximum staying power.
- Blot and reapply after the ceremony and before portraits — that’s when it matters most.
- Your MOH holds the lipstick. Part of her job description, along with tissues and the emergency kit.
Shade advice: Go one shade deeper or brighter than your everyday — cameras wash out lip color. But stay in your comfort family; your wedding day isn’t the time to debut a bold red if you’ve never worn one (unless the trial convinces you).
Photography Considerations
Your makeup artist and photographer should be allies. Share these notes:
- HD and flash: Modern cameras pick up everything — blend meticulously, especially jawline and neck (extend foundation slightly down the neck to avoid the mask line).
- Avoid SPF flashback: Some sunscreens and foundations with high SPF create a white cast in flash photography. Your artist should know low-flashback formulas — mention it explicitly.
- Shimmer placement: A little highlighter on cheekbones and brow bones glows beautifully; too much reads as sweat in photos.
- The crying plan: Waterproof everything (above), plus a plan — dab, don’t wipe. Your photographer will capture the tears; that’s a feature, not a bug.
The Touch-Up Kit
Assemble this for your maid of honor (or keep it in the bridal suite):
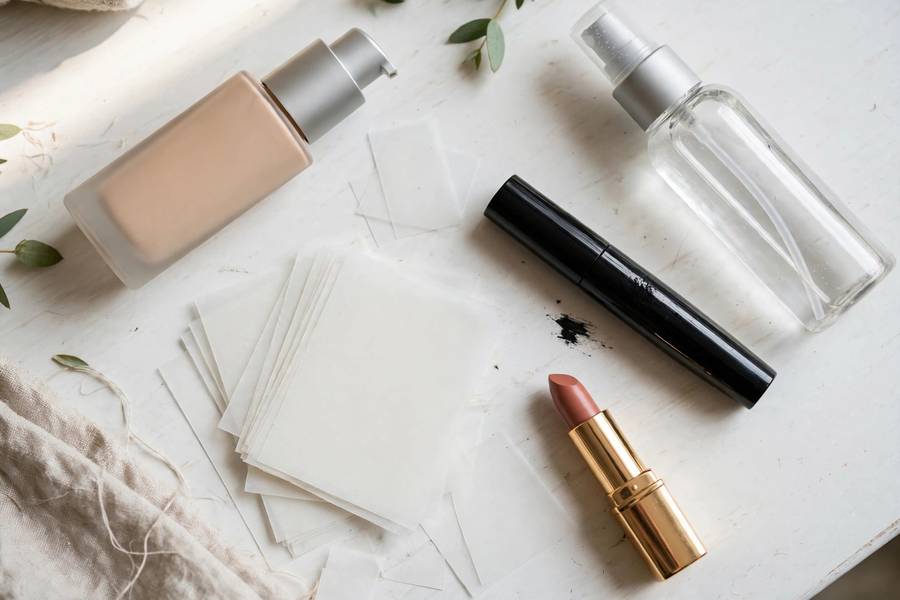
- Blotting papers (not more powder — blot first, always)
- Pressed powder compact
- Your lipstick + liner
- Mini setting spray
- Tissues (for tears — dab, don’t wipe)
- Clear deodorant wipes
- Mini perfume rollerball
- Band-aids (new shoes) and fashion tape
- Pain reliever and any personal essentials
This kit lives in your wedding day emergency kit — the full version covers everything beyond makeup.
DIY vs. Professional
Hire a professional if: You want to relax that morning, you’re not confident in your skills, you have tricky skin, or your wedding is large enough that timing matters. Most brides hire — and most are glad.
DIY if: You’re genuinely skilled, your look is simple and well-practiced, or budget demands it. If DIYing: practice the full look three times, photograph each attempt, invest in the long-wear products above, and give yourself 50% more time than you think you need.
The hybrid: Professional for the bride, DIY for bridesmaids — or professional application with a lesson beforehand so you can do touch-ups confidently.
Whatever you choose, the goal is the same: makeup that lets you forget about your face and be present. When you’re not thinking about your lipstick during your vows, the makeup did its job. That’s the real test — not the mirror, not the photos, but the feeling of not thinking about it at all.
Frequently Asked Questions
Layer in order: primer, thin layers of long-wear foundation, cream products before powder, and setting spray as the final seal. Waterproof eye products are essential. Two thin layers of foundation outlast one thick layer every time.
Yes — it’s non-negotiable. Book 6-8 weeks out, bring reference photos, wear white, and schedule something afterward to test wear over 6+ hours. The trial aligns you and your artist and reveals longevity issues before the wedding day.
Avoid heavy glitter eyeshadow (reads as texture in HD), high-SPF foundations that cause flashback (white cast in flash photos), and unblended jawline lines. Matte and satin finishes photograph most reliably.
Waterproof mascara and eyeliner, lash extensions or strips (which survive tears better), and the dab-don’t-wipe technique with tissues. Keep blotting papers and your lipstick in the touch-up kit. A few tears are expected and photograph beautifully.
Hire a professional if you want a relaxed morning, have tricky skin, or value expertise under pressure. DIY works if you’re genuinely skilled and practiced — do three full practice runs with photos. Either way, invest in long-wear products and do a complete trial.
Blotting papers, pressed powder, your lipstick and liner, mini setting spray, tissues, deodorant wipes, mini perfume, band-aids, and fashion tape. Give it to your maid of honor — part of her job is keeping you flawless from ceremony to last dance.